
Table of Contents
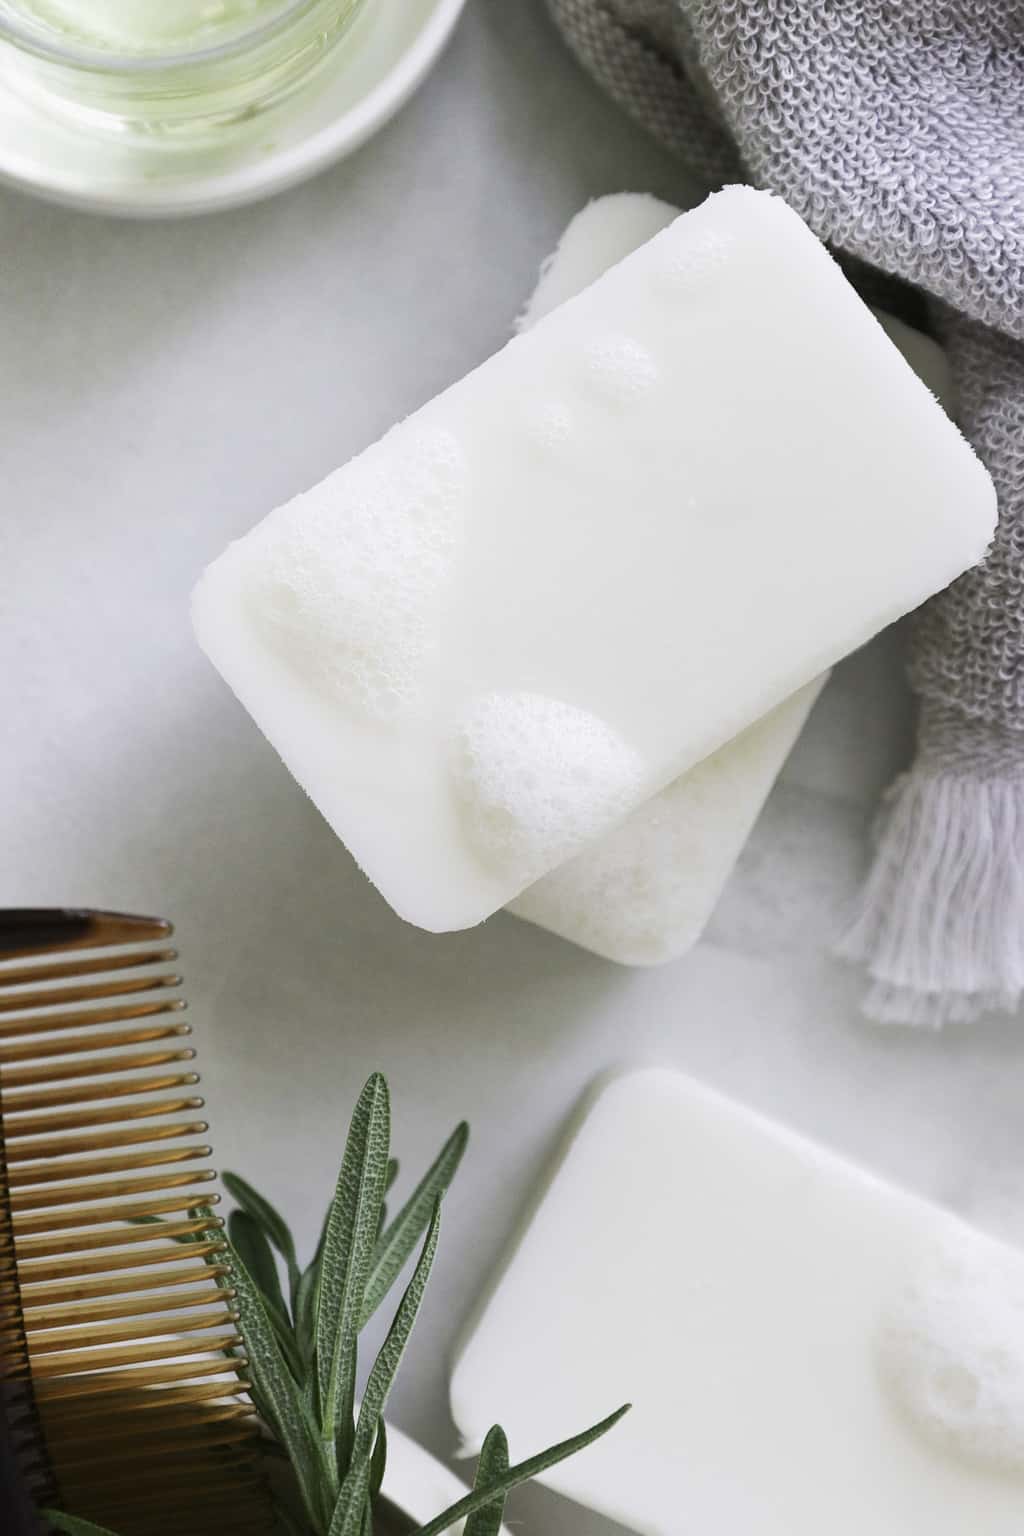
Making shampoo bars from scratch with lye is a little complicated and may intimidate some inexperienced DIY-ers. Good news: there’s an easier way! You can make shampoo bars using melt-and-pour soap base, which is a convenient option for those who prefer a simpler and quicker method. Read on to learn how!
1. Dry Hair Shampoo Bar
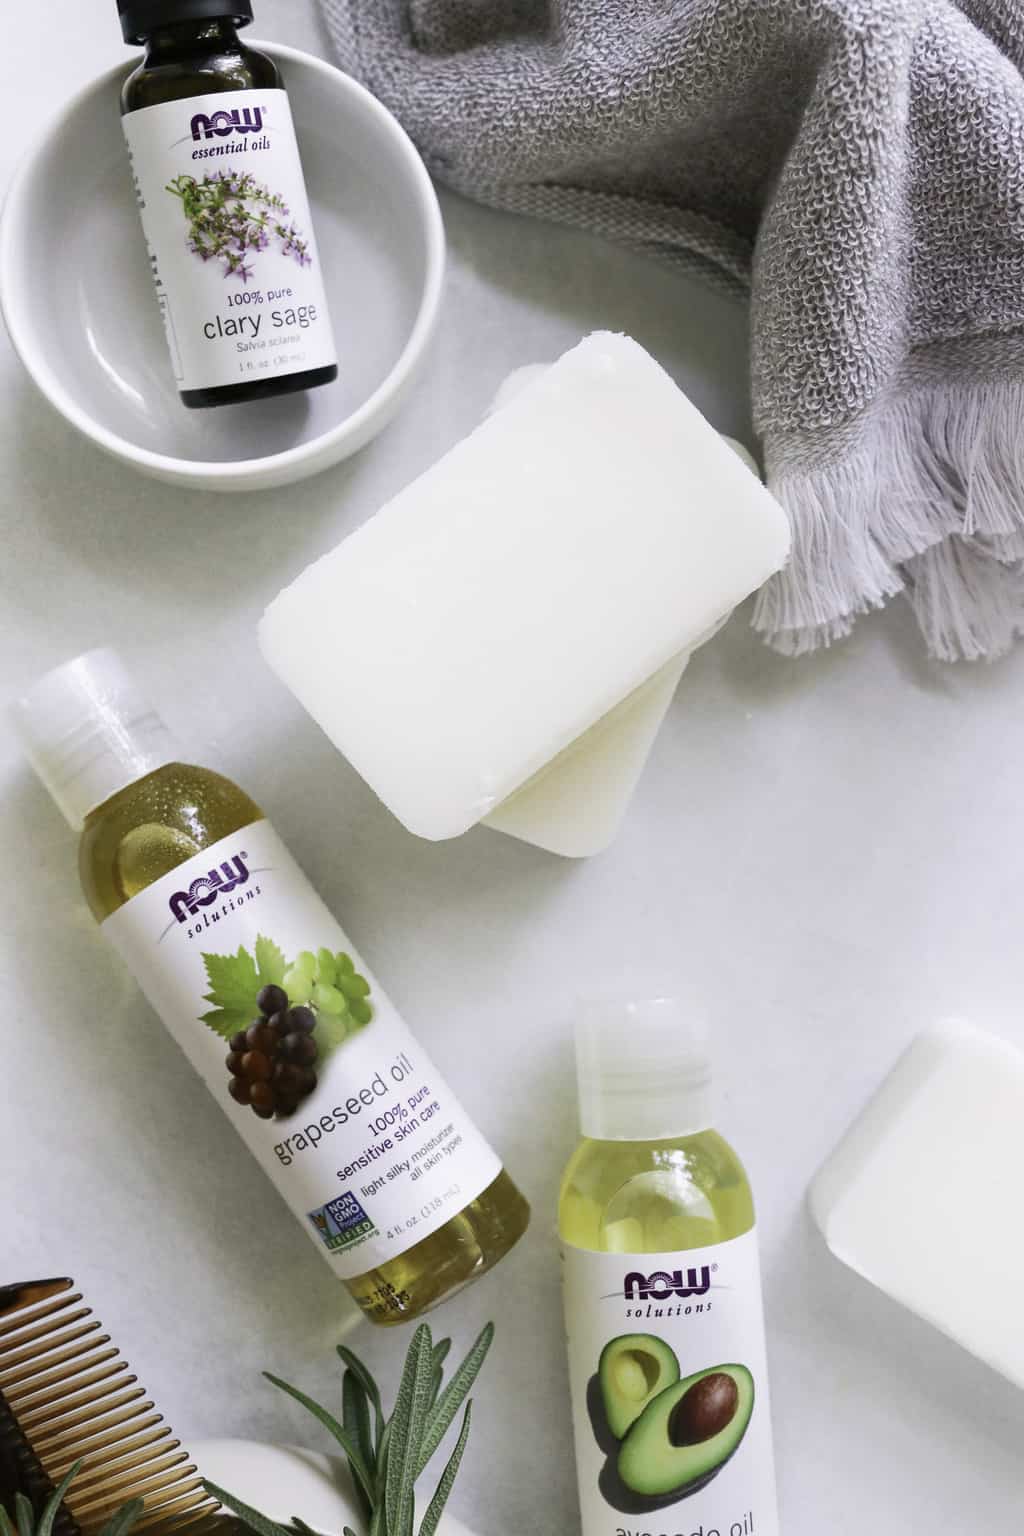
Here’s a recipe for making shampoo bars with melt-and-pour soap that contains moisturizing avocado and grapeseed oils. It’s also loaded with clary sage essential oil to help keep your strands long and strong.
Essential oils for dry hair: frankincense, sandalwood, geranium, chamomile, rose, and patchouli
—1 pound melt-and-pour soap base (preferably a moisturizing variety)
—2 tablespoons avocado oil
—1 tablespoon grapeseed oil
—1 teaspoon argan oil
—100 drops clary sage essential oil
2. Oily Hair Shampoo Bar
Essential oils for dry hair: bergamot, cedarwood, cypress, geranium, grapefruit, juniper berry, lemon, lime, tea tree, and lavender
—1 pound melt-and-pour soap base (preferably a clarifying variety)
—1 tablespoon grapeseed oil
—1 tablespoon apple cider vinegar
—1 tablespoon lemon juice
—1 teaspoon tea tree essential oil
—100 drops essential oils (such as peppermint, rosemary, or lemongrass)
3. Fine Hair Shampoo Bar
Essential oils for fine hair:
—1 pound (454g) melt-and-pour soap base (preferably a lightweight and volumizing variety)
—1 tablespoon almond oil
—1 tablespoon rice bran oil
—1 tablespoon marshmallow root powder
—1 teaspoon lavender essential oil
—1 teaspoon lemon essential oil
—1 teaspoon rosemary essential oil
4. Shampoo Bar for Promoting Hair Growth
Essential oils for hair growth: rosemary, lavender, peppermint, tea tree, cedarwood
—1 pound (454g) melt-and-pour soap base (preferably a nourishing and strengthening variety)
—1 tablespoon castor oil
—1 tablespoon argan oil
—1 tablespoon rosemary essential oil
—1 teaspoon cedarwood essential oil
—1 teaspoon peppermint essential oil
How to Make Melt-and-Pour Shampoo Bars
1. Cut the melt-and-pour soap base into small cubes for easier melting.
2. Place the soap cubes in a microwave-safe bowl or double boiler.
3. Melt the soap base according to the instructions provided with the specific brand you are using. Ensure it is completely melted.
4. Add the carrier oils to the melted soap base. Stir well to combine.
5. Add the essential oils of your choice and mix thoroughly.
6. Pour the mixture into soap molds or a lined loaf pan.
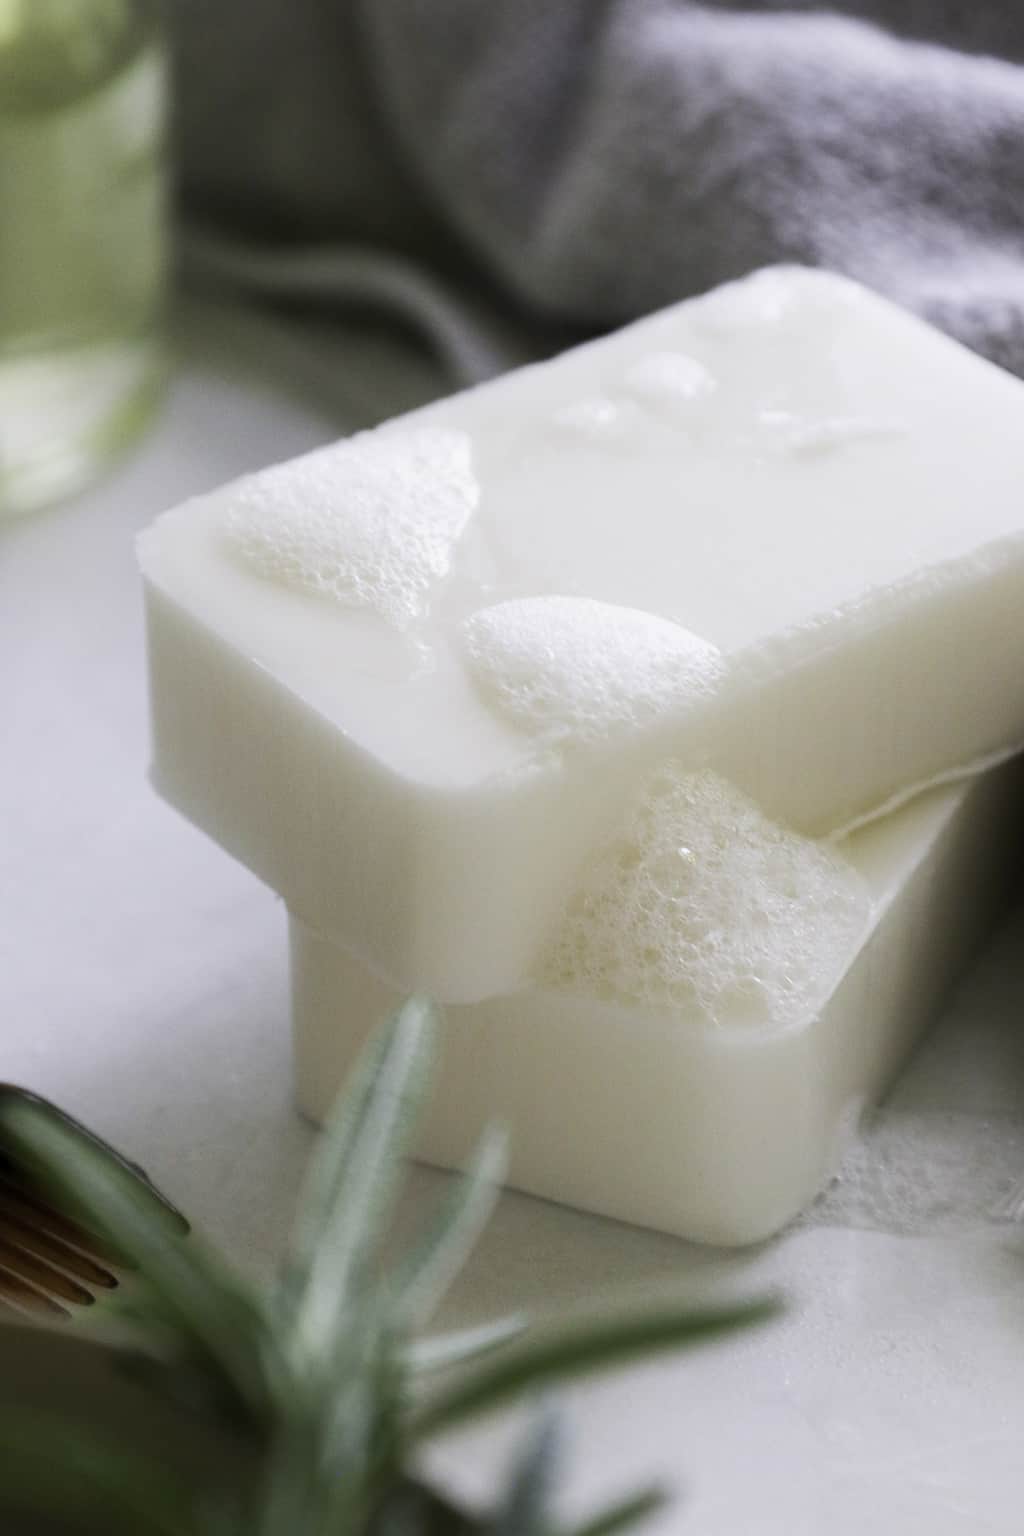
7. Allow the shampoo bars to cool and harden completely.
8. Once hardened, remove the bars from the molds and let them air dry for a day or two to eliminate excess moisture.
9. Store the shampoo bars in a cool, dry place until ready to use.
Melt and Pour Shampoo Bar Tips + Tricks
Here are some tips and tricks for making shampoo bars with melt-and-pour soap:
Choose the right melt-and pour-soap base: Look for a soap base that is specifically formulated for shampoo bars or one that is suitable for hair care. These bases often contain additives like conditioning agents and can provide better lather and cleansing properties for your hair.
Add nourishing ingredients: Enhance the benefits of your shampoo bars by adding nourishing ingredients such as oils, butters, or botanical extracts. This can help moisturize and condition the hair, leaving it soft and manageable.
Use essential oils: Incorporate essential oils that are beneficial for hair health and scalp conditions. For example, tea tree oil is known for its antimicrobial properties and can help with dandruff [source], while lavender oil can promote a calming and soothing effect [source] on the scalp.
Avoid overheating: Melt-and-pour soap bases should be warmed gently to avoid overheating or boiling, which can affect the quality and texture of the soap. Use low heat settings and stir frequently to ensure even melting.
Add ingredients at the right time: When customizing your shampoo bars with additional ingredients like oils, butters, or essential oils, it’s important to add them at the appropriate time. Wait until the soap base has melted and cooled slightly (but not solidified) before incorporating these ingredients. This helps to preserve their beneficial properties.
Stir gently: When adding ingredients to the melted soap base, stir gently to avoid excessive air bubbles. Air bubbles can affect the appearance and texture of your shampoo bars.
Choose suitable molds: Use silicone molds specifically designed for soap making because they make it easy to release the shampoo bars once they have solidified.
Allow for proper curing time: After unmolding, allow your shampoo bars to cure for a few days to a week to dry out and harden. This allows the excess moisture to evaporate and results in a longer-lasting and more solid bar.
Store properly: Once cured, store your shampoo bars in a cool, dry place to extend their shelf life. Use a soap dish or container that allows proper airflow to prevent them from becoming soft or mushy.
Experiment and have fun: Don’t be afraid to experiment with different ingredients, essential oil blends, or molds to create unique shampoo bars. It’s a creative process, so have fun and enjoy the journey of making your own personalized haircare products.
How to Use Shampoo Bars
These shampoo bars can be used like regular shampoo bars. Wet your hair, lather the bar in your hands or rub it directly onto your scalp and hair, and then rinse thoroughly. Here’s a step-by-step guide on how to use them:
Wet your hair thoroughly: Before applying the shampoo bar, wet your hair under warm water to ensure it is completely saturated.
Rub the shampoo bar between your hands or directly on your hair: Take the shampoo bar in your hands and rub it between your palms to create a lather. Alternatively, you can rub the bar directly onto your hair, focusing on the roots and scalp.
Apply the lather to your hair: Once you have enough lather, apply it to your hair. Start at the roots and work your way down to the tips, massaging it into your scalp and hair. You can also gently run the shampoo bar along the length of your hair for additional cleansing.
Massage and lather: Using your fingertips, massage the lather into your scalp using circular motions. This helps to stimulate blood circulation and distribute the shampoo evenly. Continue lathering until you feel your hair is thoroughly cleansed.
Rinse thoroughly: Rinse your hair under running water until all the shampoo is washed out. Make sure to rinse out all the lather to avoid any residue.
Repeat if desired: Depending on your hair’s needs and level of oiliness, you can choose to repeat the process for a second round of cleansing. Some people find that a single wash is sufficient, while others prefer a double cleanse.
Follow with conditioner (if needed): After rinsing out the shampoo, you can follow up with a conditioner if your hair requires additional moisture. Apply the conditioner to the lengths and ends of your hair, avoiding the scalp.
Rinse and towel dry: Rinse out the conditioner thoroughly, and then gently squeeze out excess water from your hair. Pat your hair dry with a towel, or use a soft T-shirt to absorb excess moisture.
Allow the shampoo bar to dry: After use, place the shampoo bar in a well-draining soap dish or container and allow it to dry between uses. This helps to extend its lifespan and prevent it from becoming soft.
Remember, it may take a few washes for your hair to adjust to using shampoo bars, especially if you are transitioning from conventional liquid shampoos. Give it some time, and you will likely notice the benefits of using shampoo bars, such as reduced product buildup, increased volume, and healthier-looking hair.
References (in order of appearance):
1. Carson CF, et al. Melaleuca alternifolia (tea tree) oil: a review of antimicrobial and other medicinal properties. Clin Microbiol Rev. 2006.
2. Koulivand PH, et al. Lavender and the nervous system. Evid Based Complement Alternat Med. 2013.


