

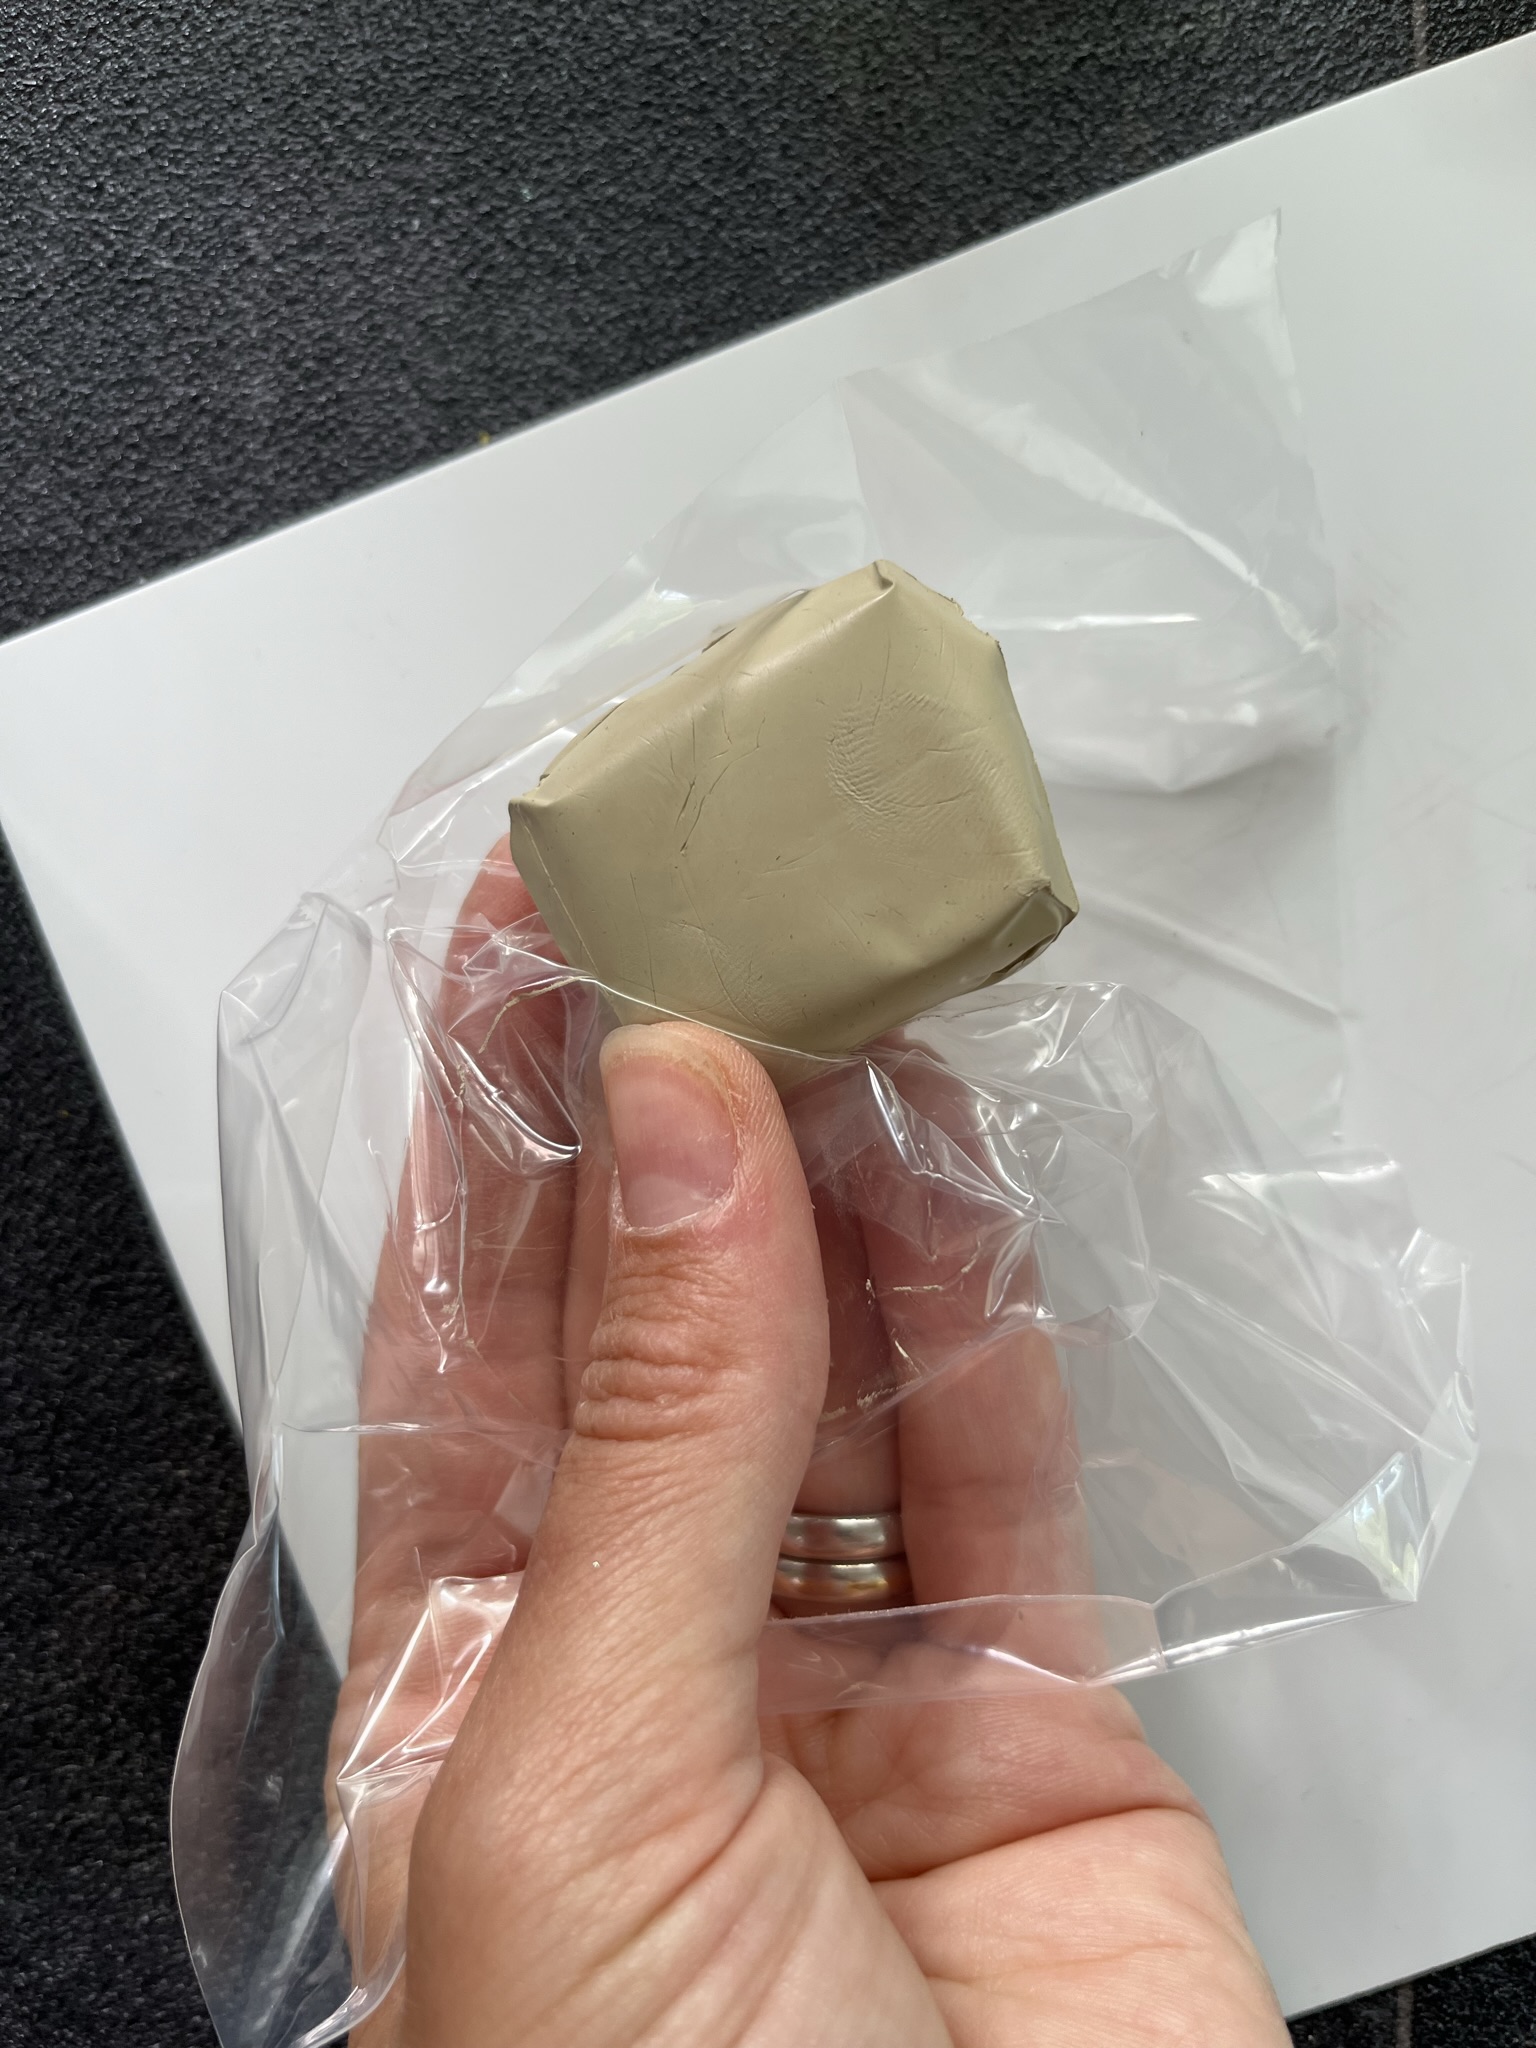
Step 1
Unwrap the silver clay and place on a smooth wipeable surface.
You could cover the surface in balm to ensure the silver clay can be removed or lifted easily. This project uses 50g of silver clay and will produce many pieces of jewellery.
Step 2
Place the acrylic strips either side of the silver clay and use a plastic tube or acrylic rolling pin to roll out the silver clay about 3-4mm thick. The acrylic strips ensure when rolling out the silver clay the thickness is even throughout.

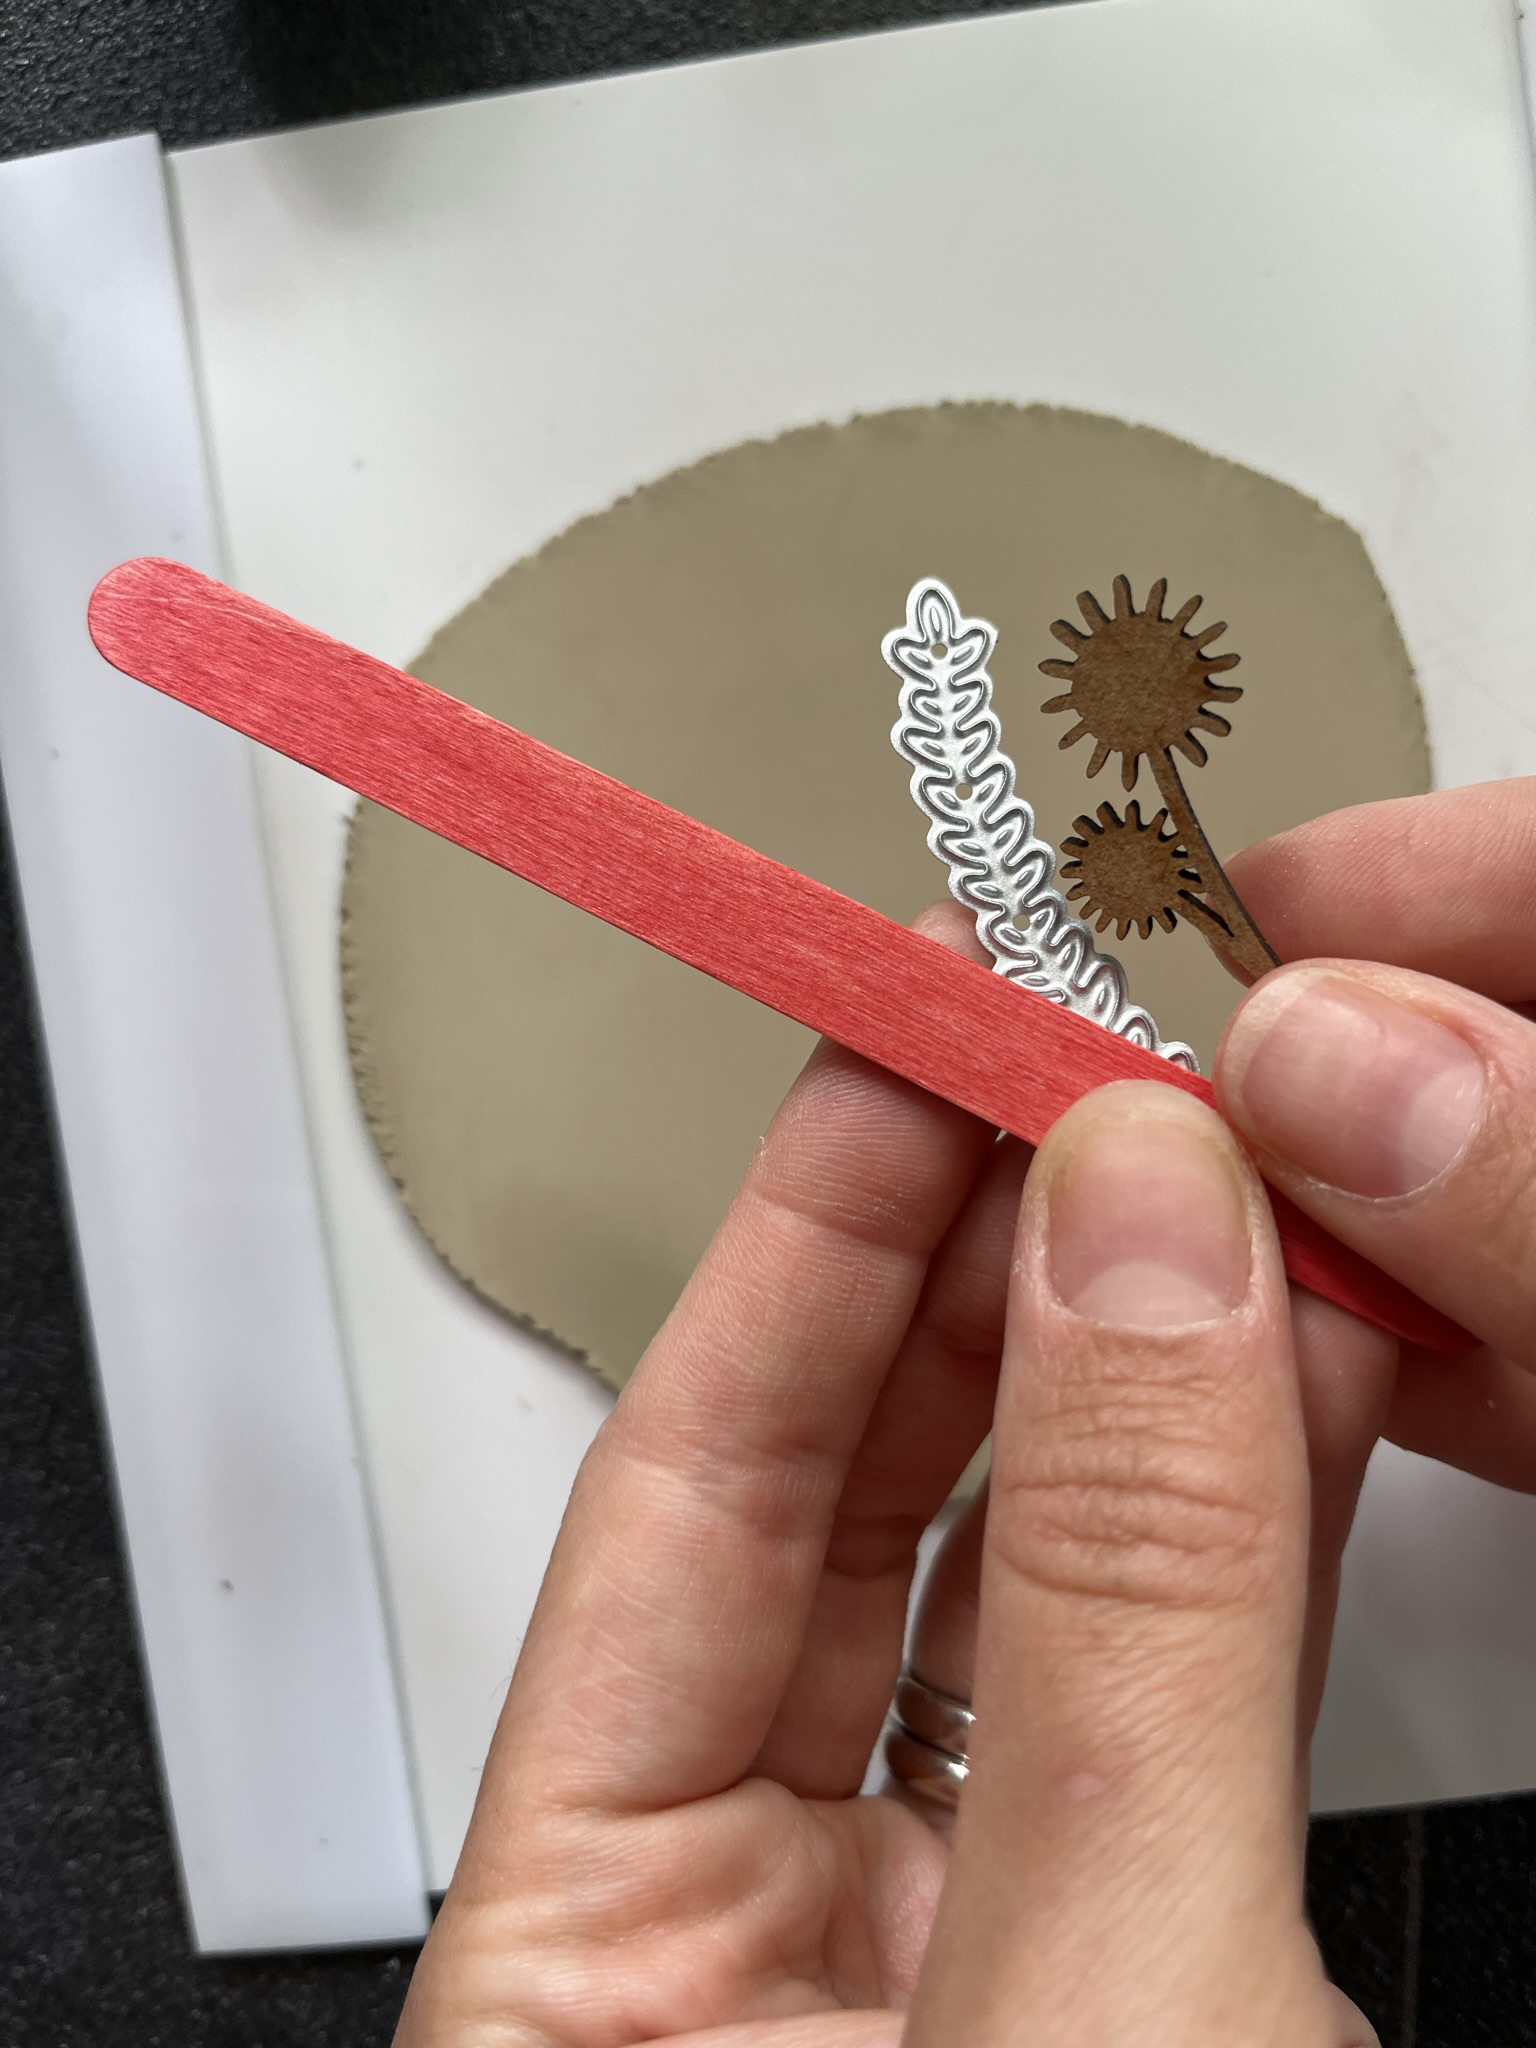
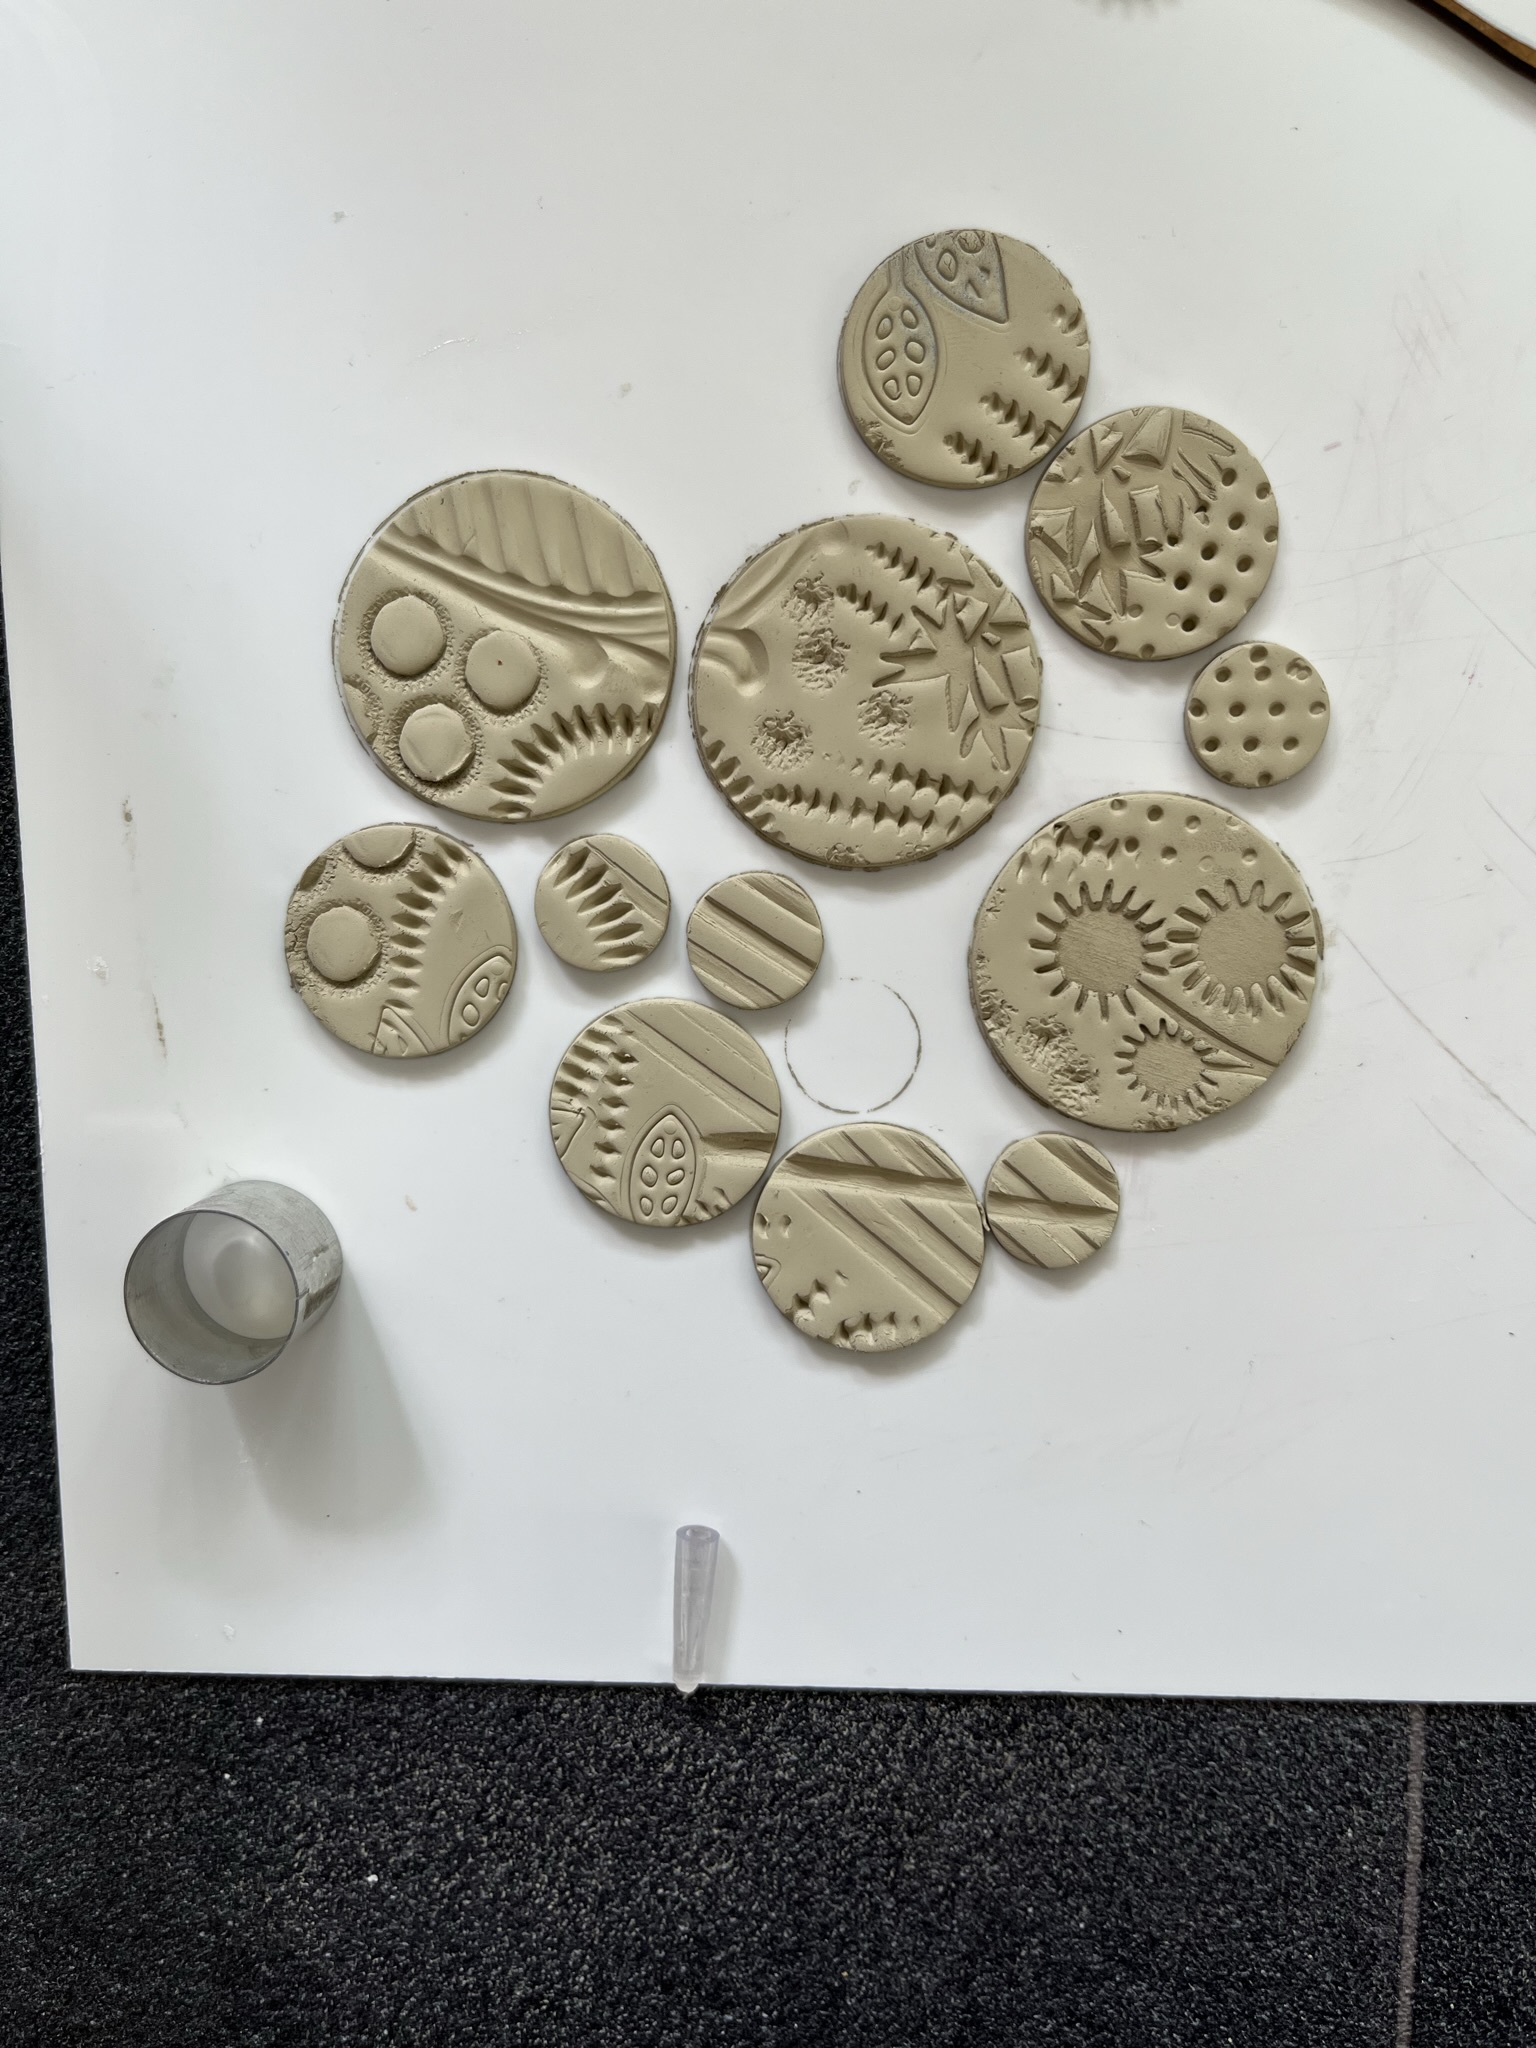
Step 3
Press found objects into the rolled slab of silver clay to make patterns and textures.
Objects could include; MDF shapes, lolly pop sticks, children’s toys, utensils, nuts and seeds, fabrics etc.
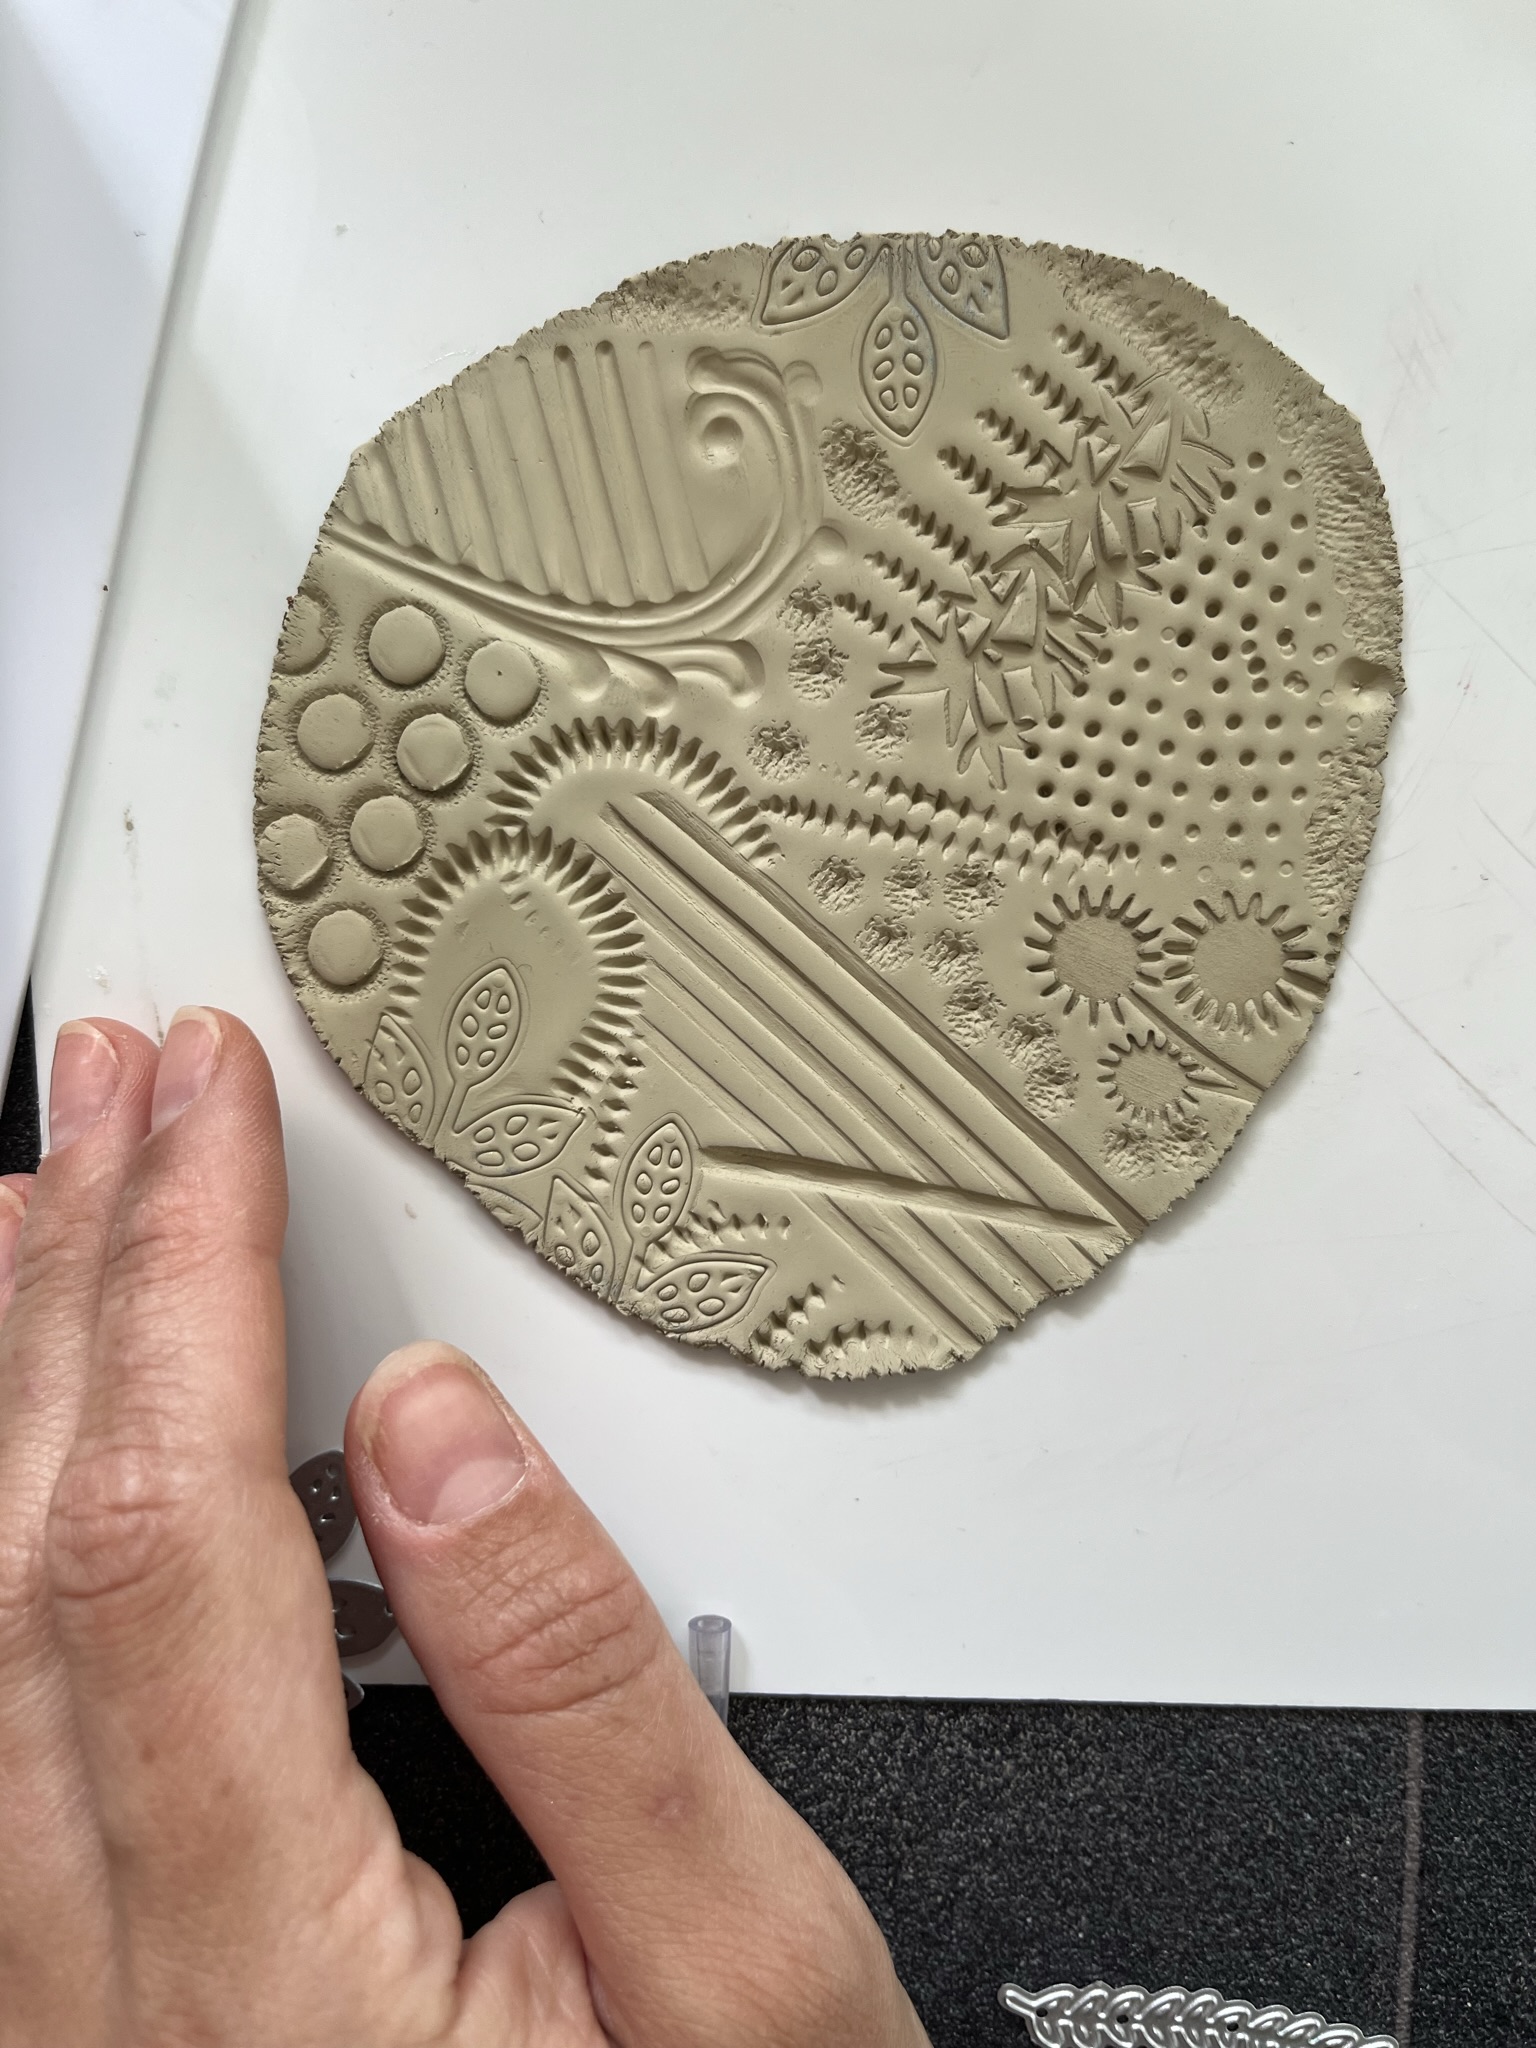
Step 4
Build up the textures and patterns until the whole slab of silver clay is covered.
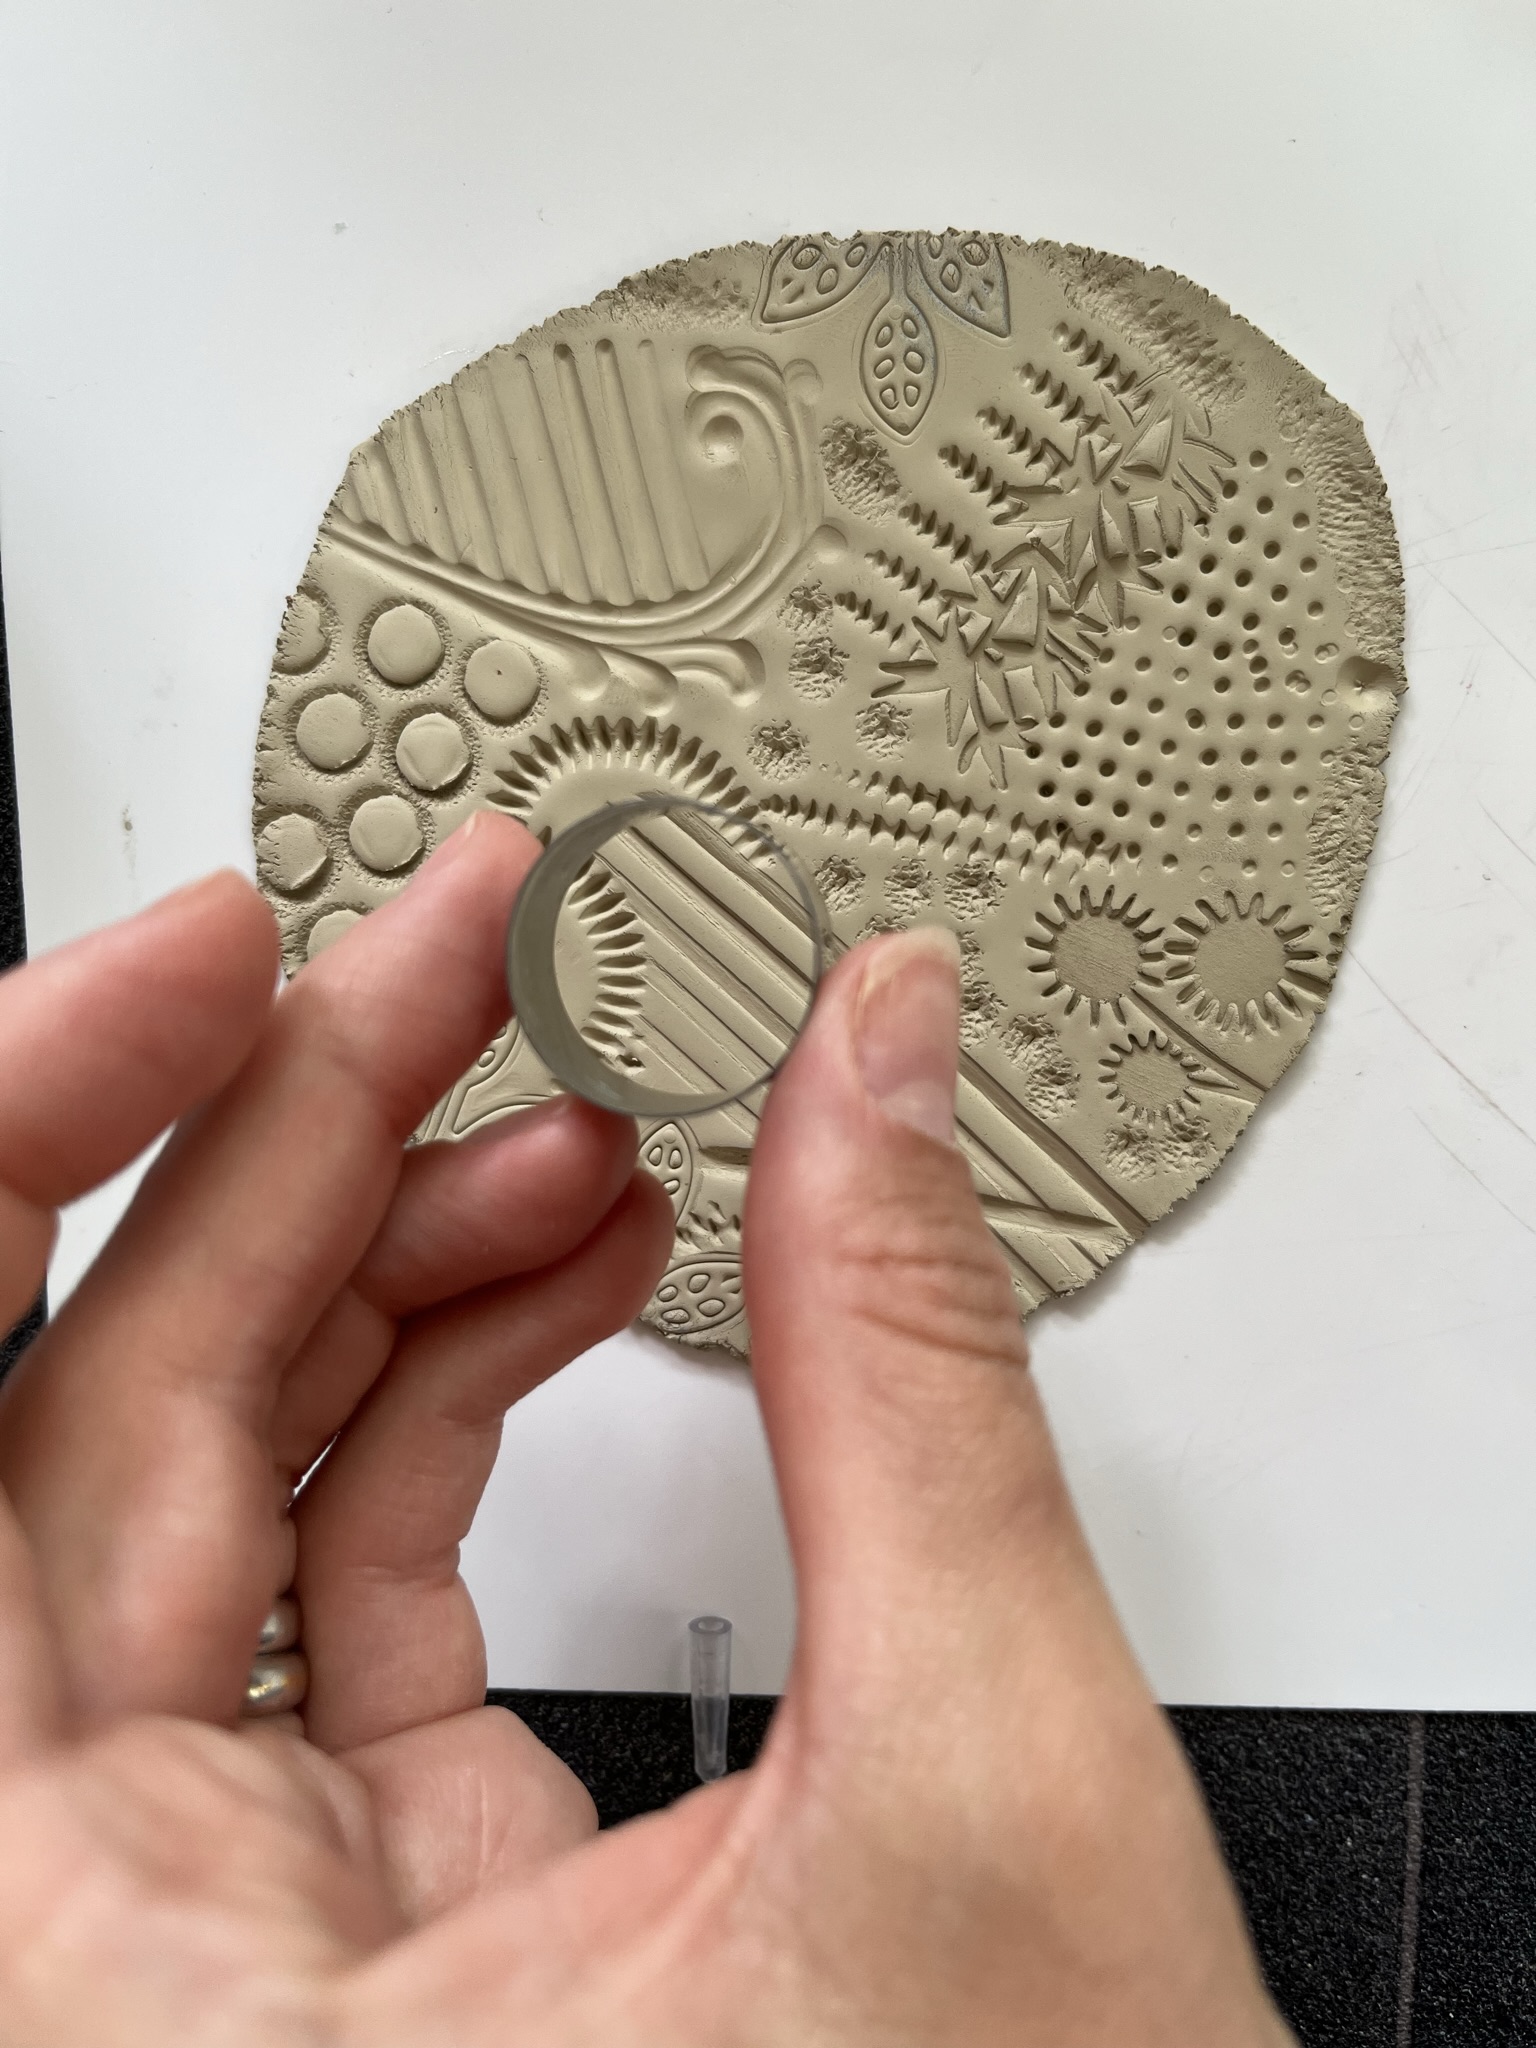
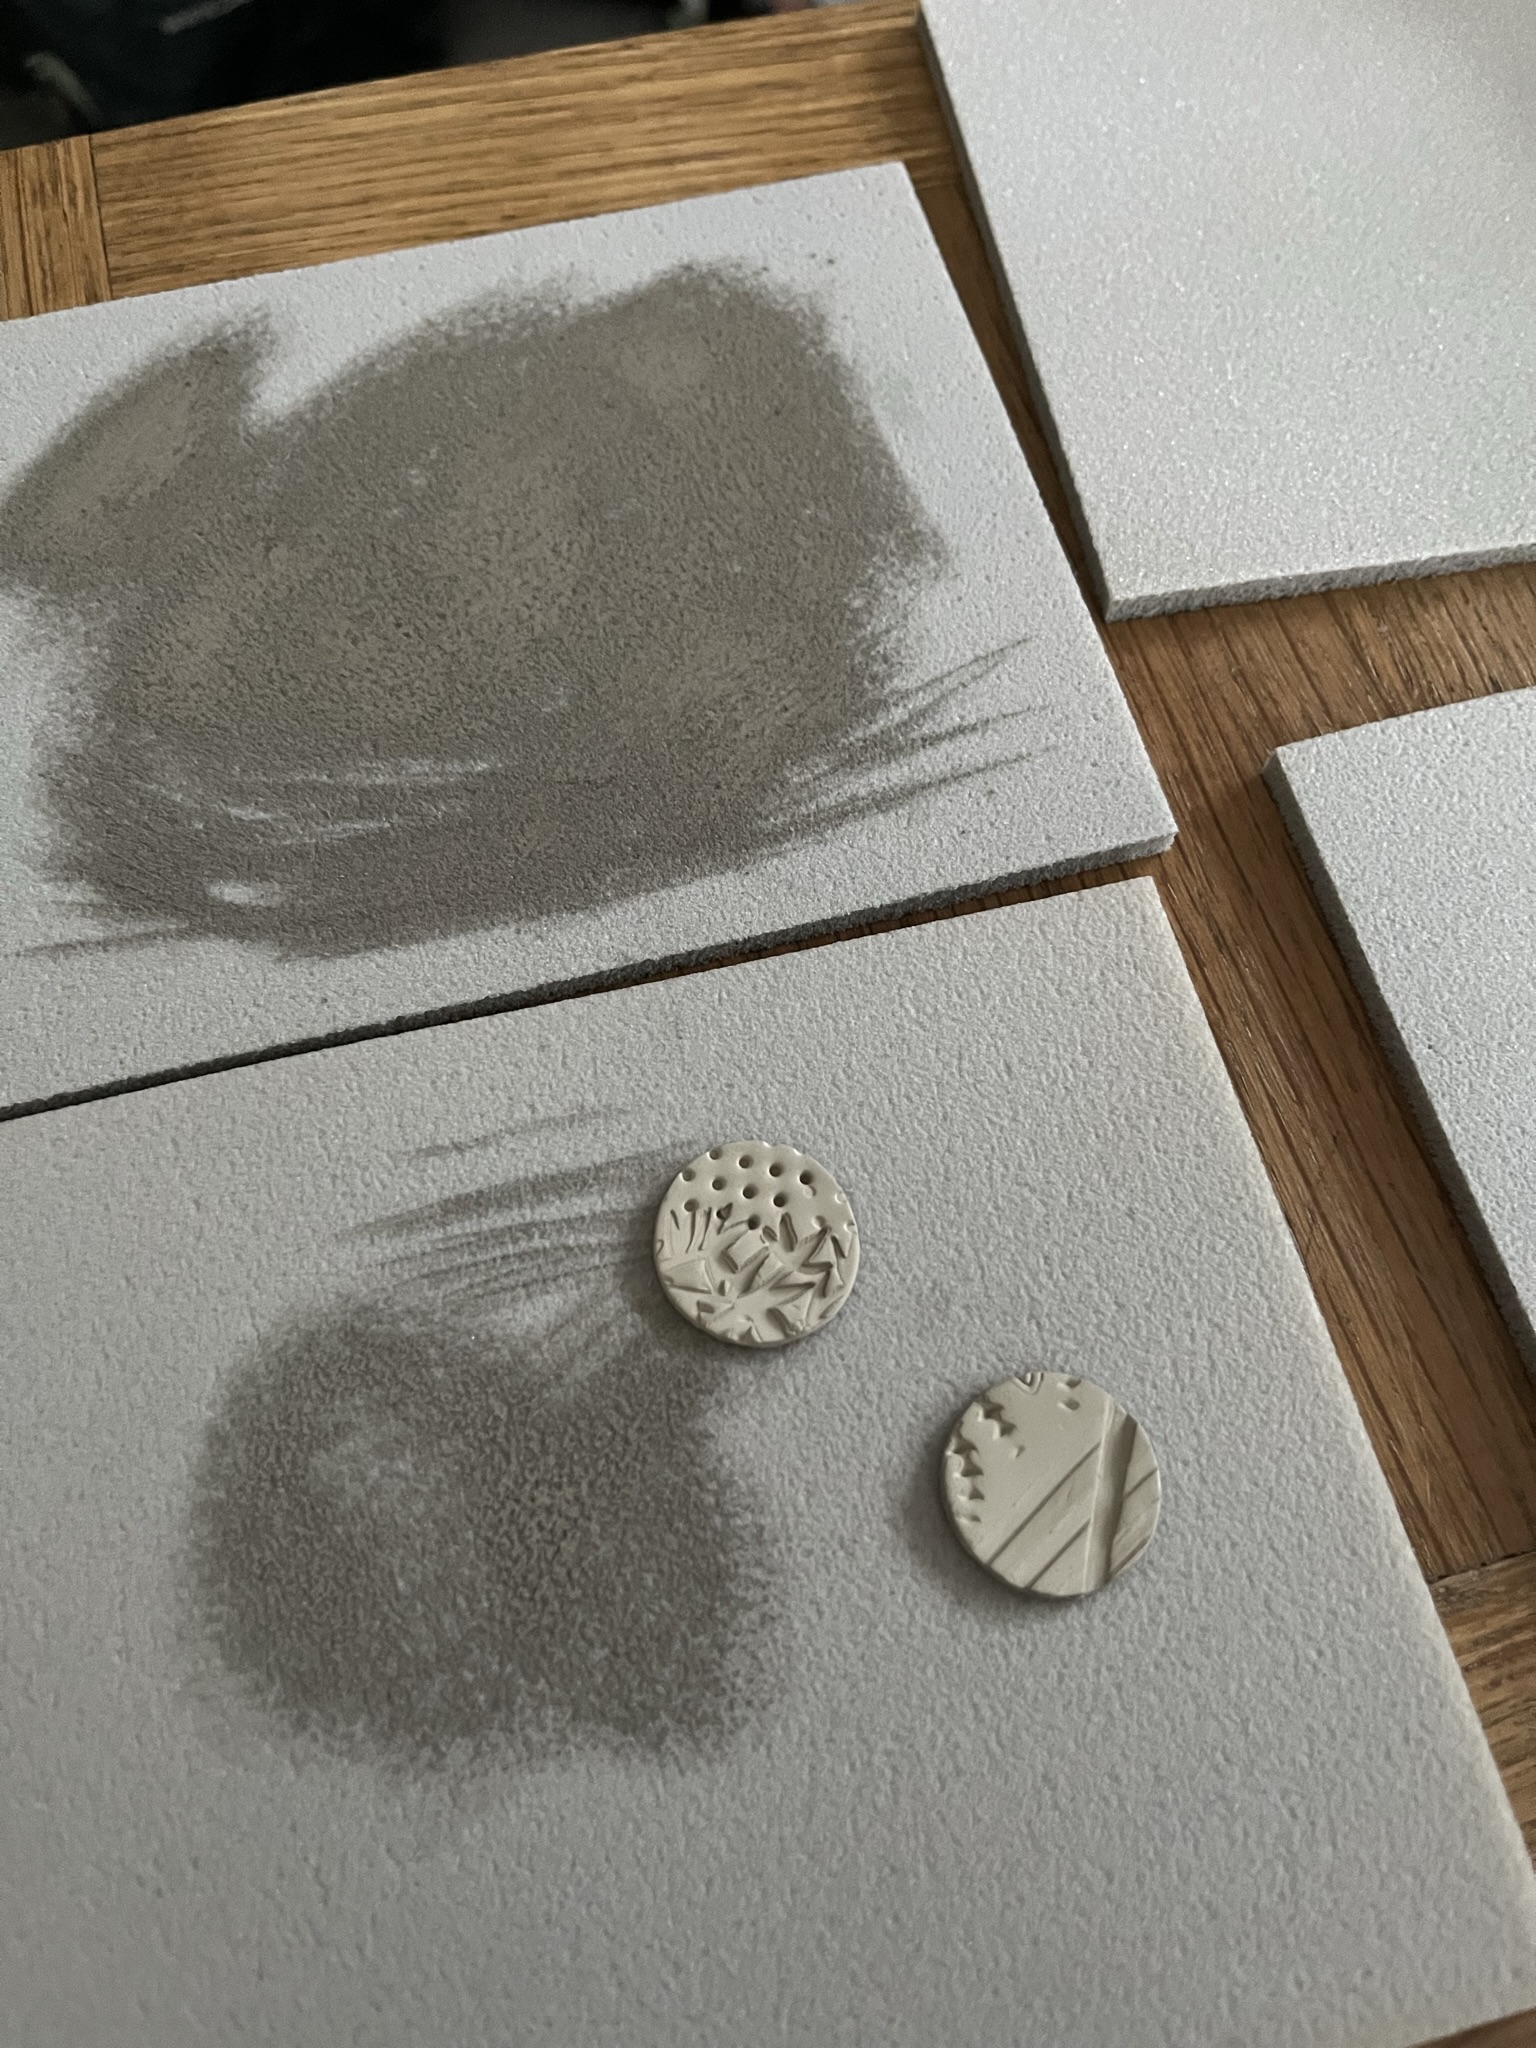
Step 5
Use a clay cutter to cut out areas of the silver clay slab until all the clay is cut out.
Any leftover clay can be rolled out, textured and cut out again.
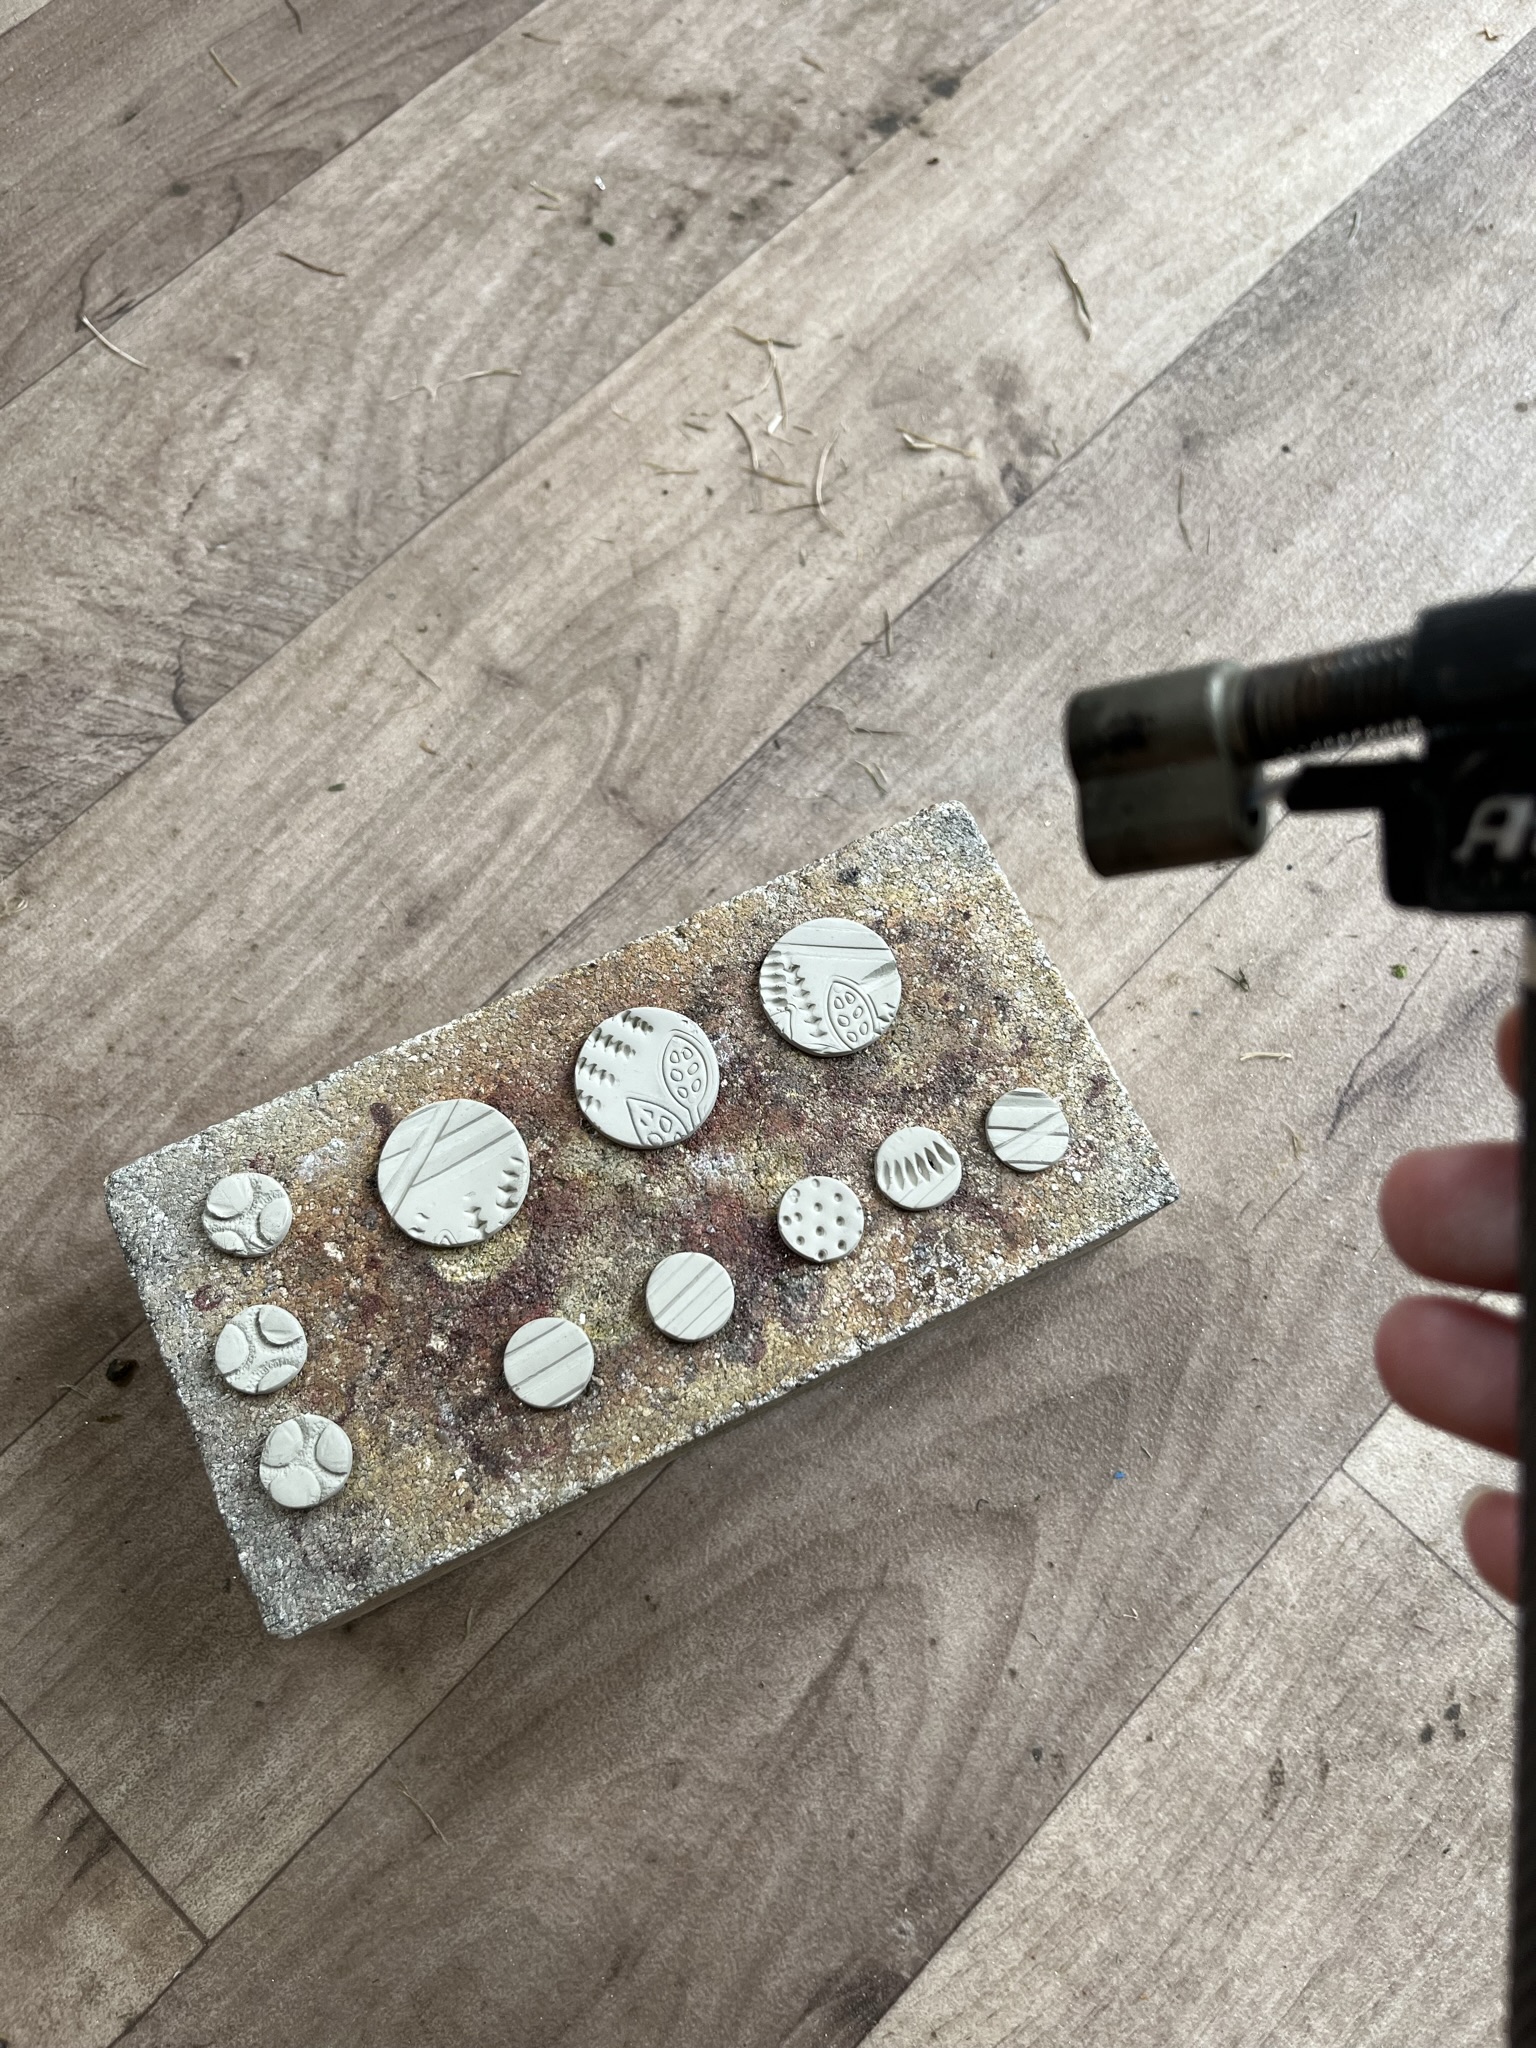
Step 6
Leave the cut out clay pieces until completely dry (ideally overnight in an airy warm environment)
Step 7
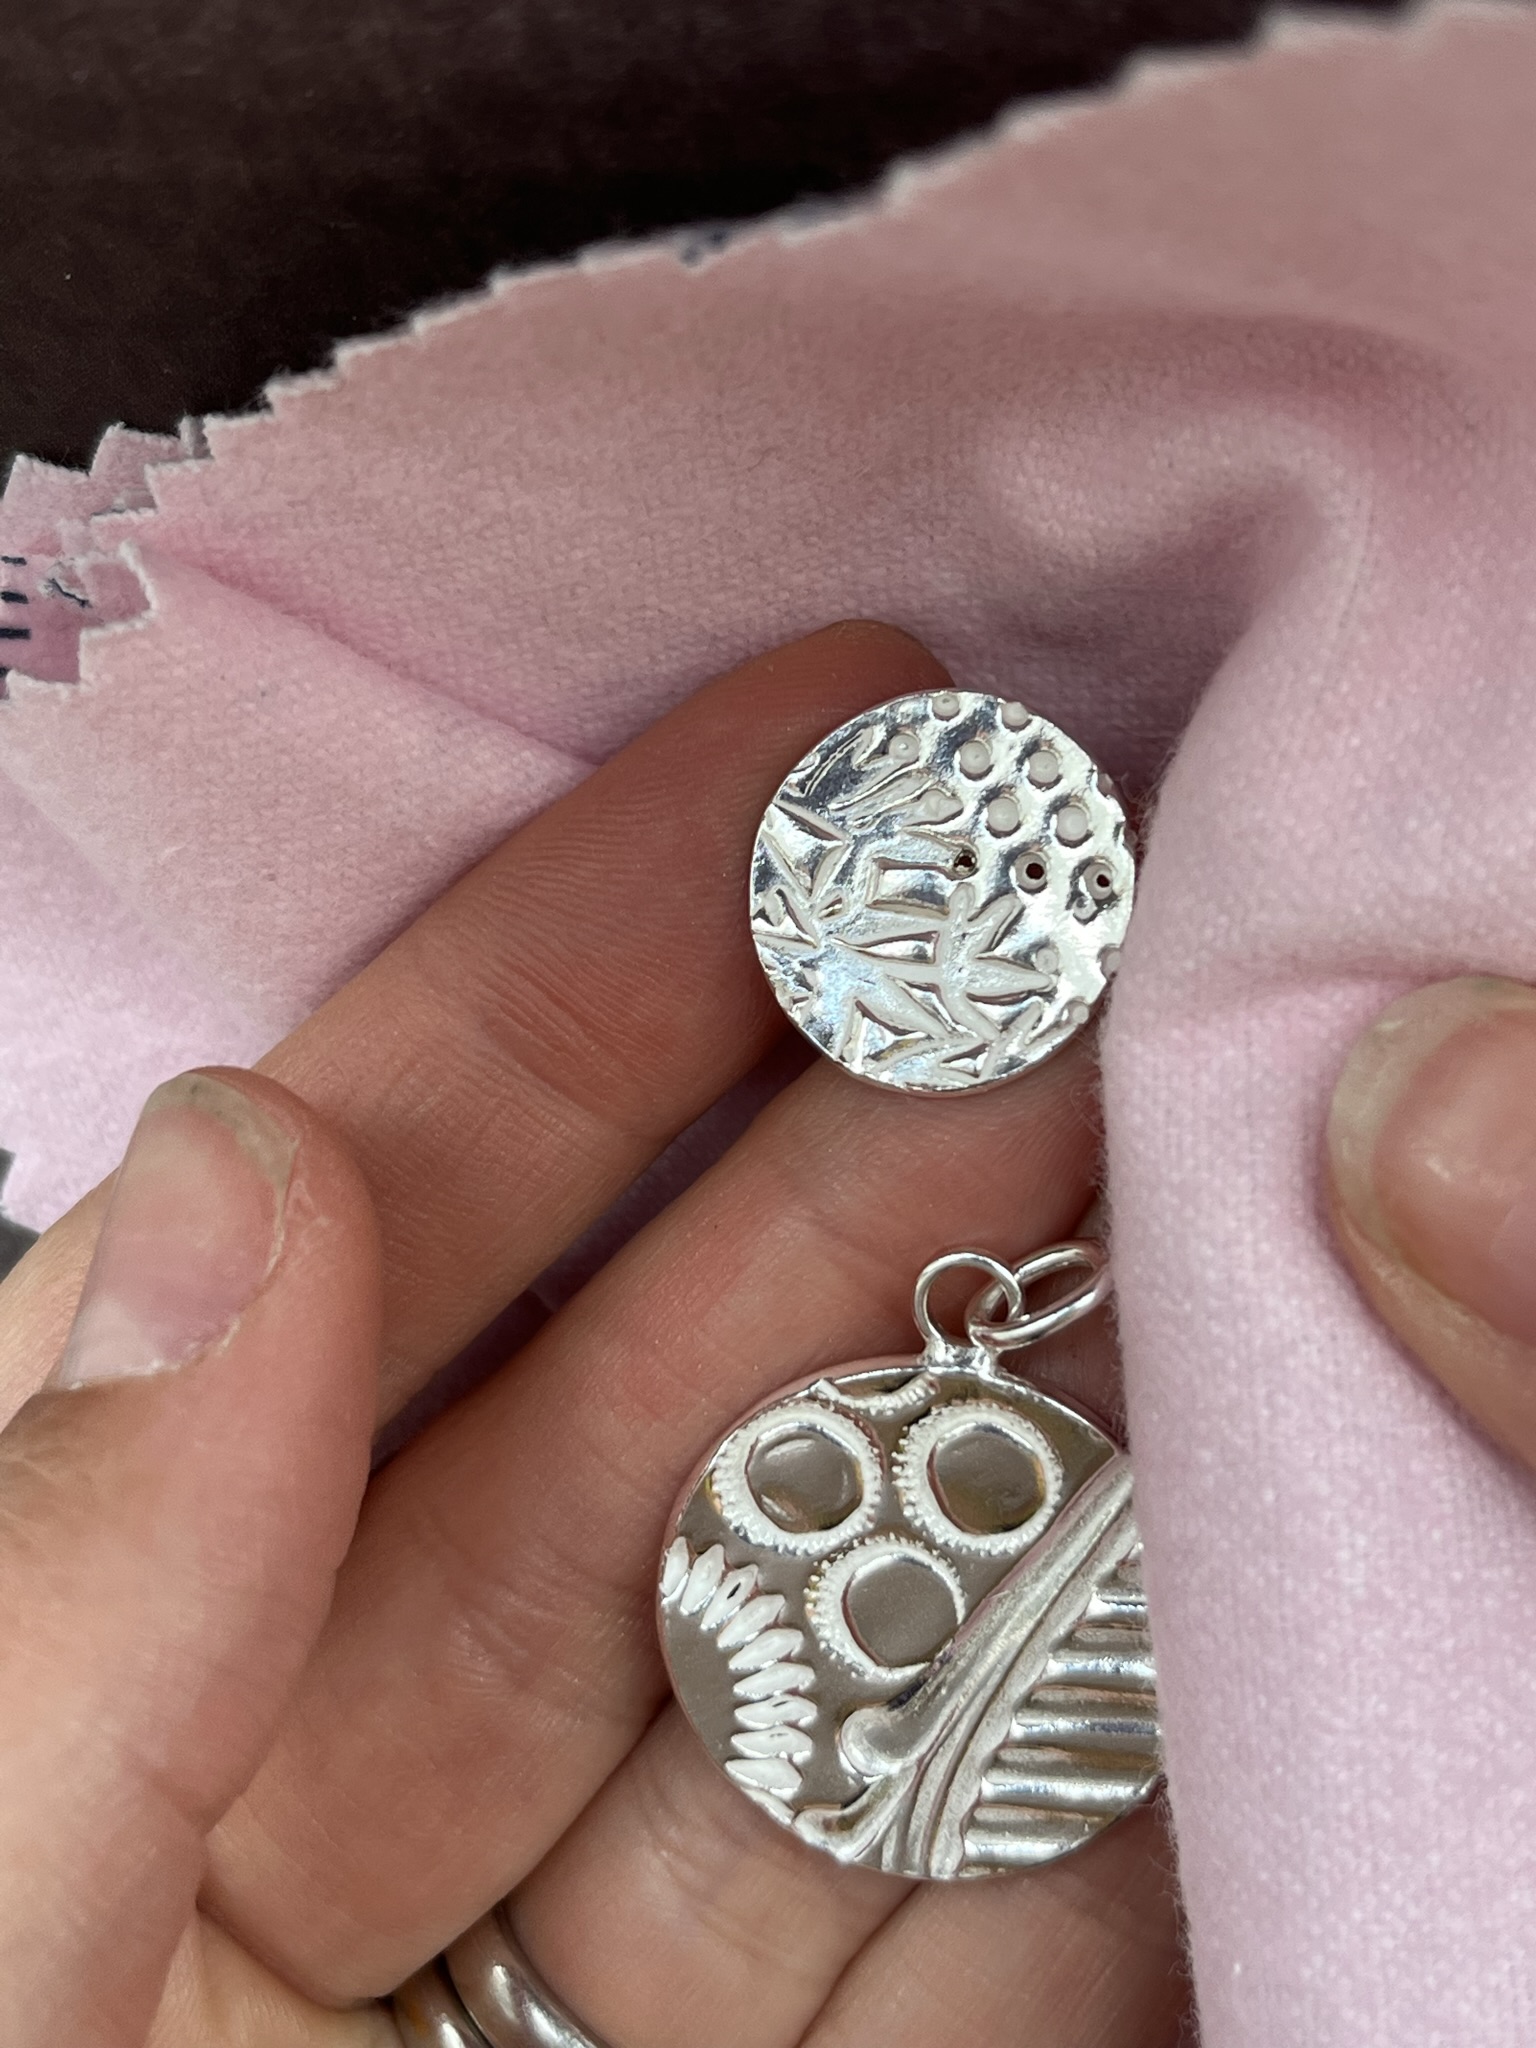
When dry use abrasive pads to smooth the edges and backs of the silver clay pieces.
Step 8
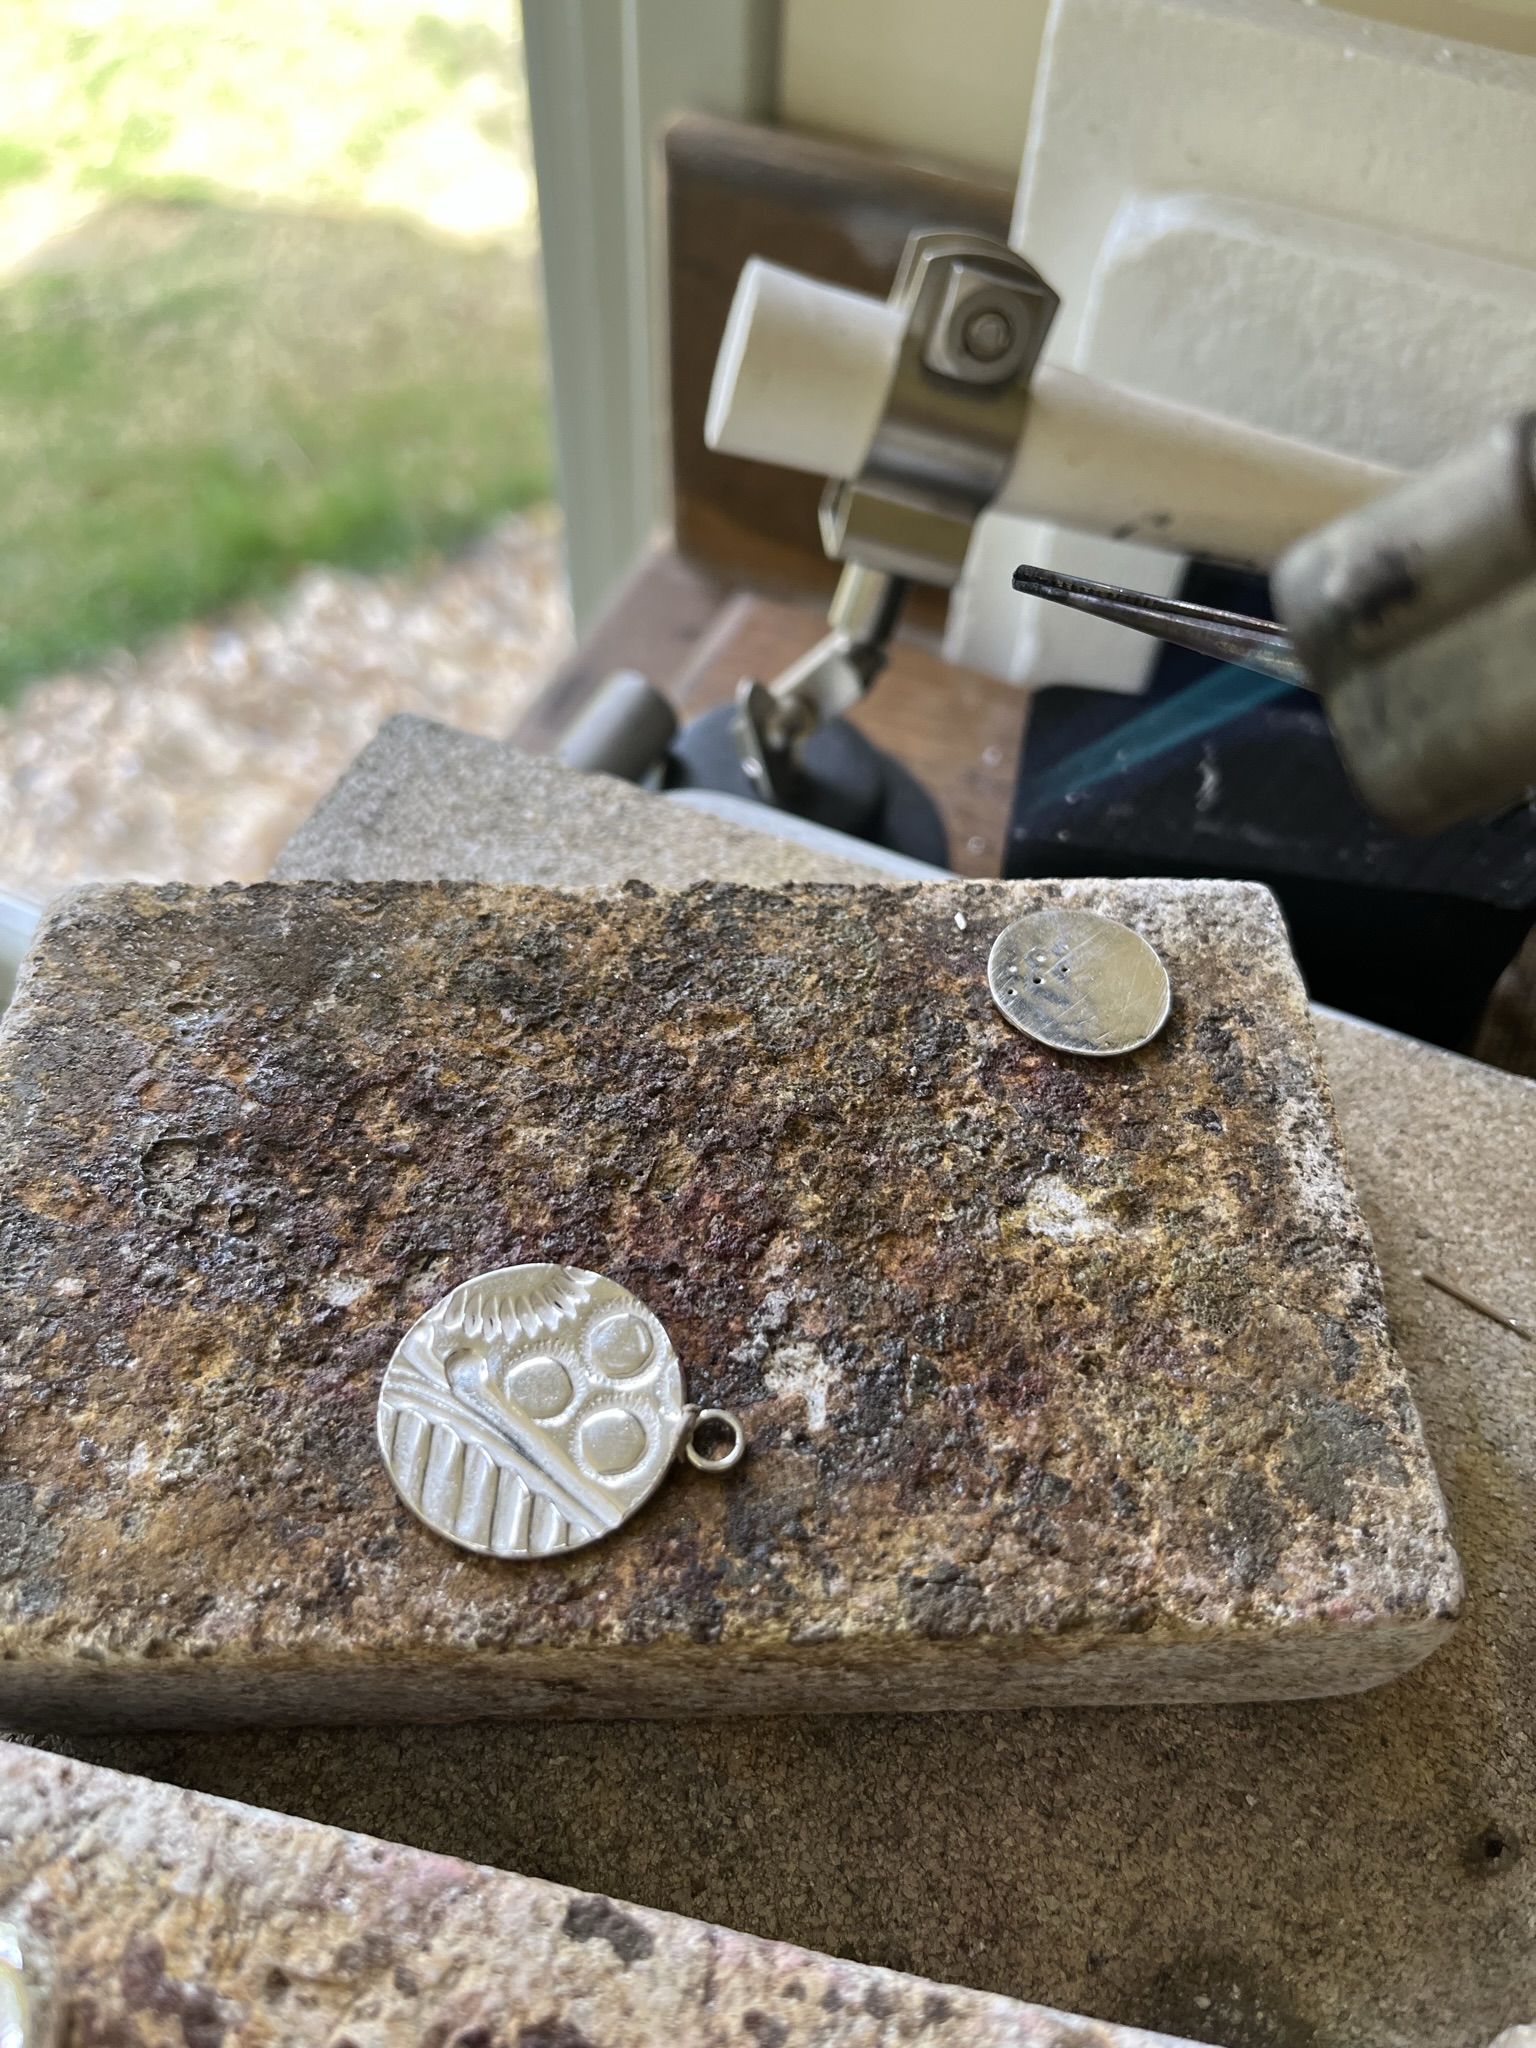
Place the dry silver clay pieces on a soldering block and use a hand blow torch to fire the silver clay pieces.
Follow the instructions for the specific brand of silverclay when firing.
As a general rule firing silver clay with blowtorch should involve burning off the organic binder and heating the clay for 3 minutes to ensure that the silver particles sinter together. When all the pieces of silver clay are fired leave to cool.
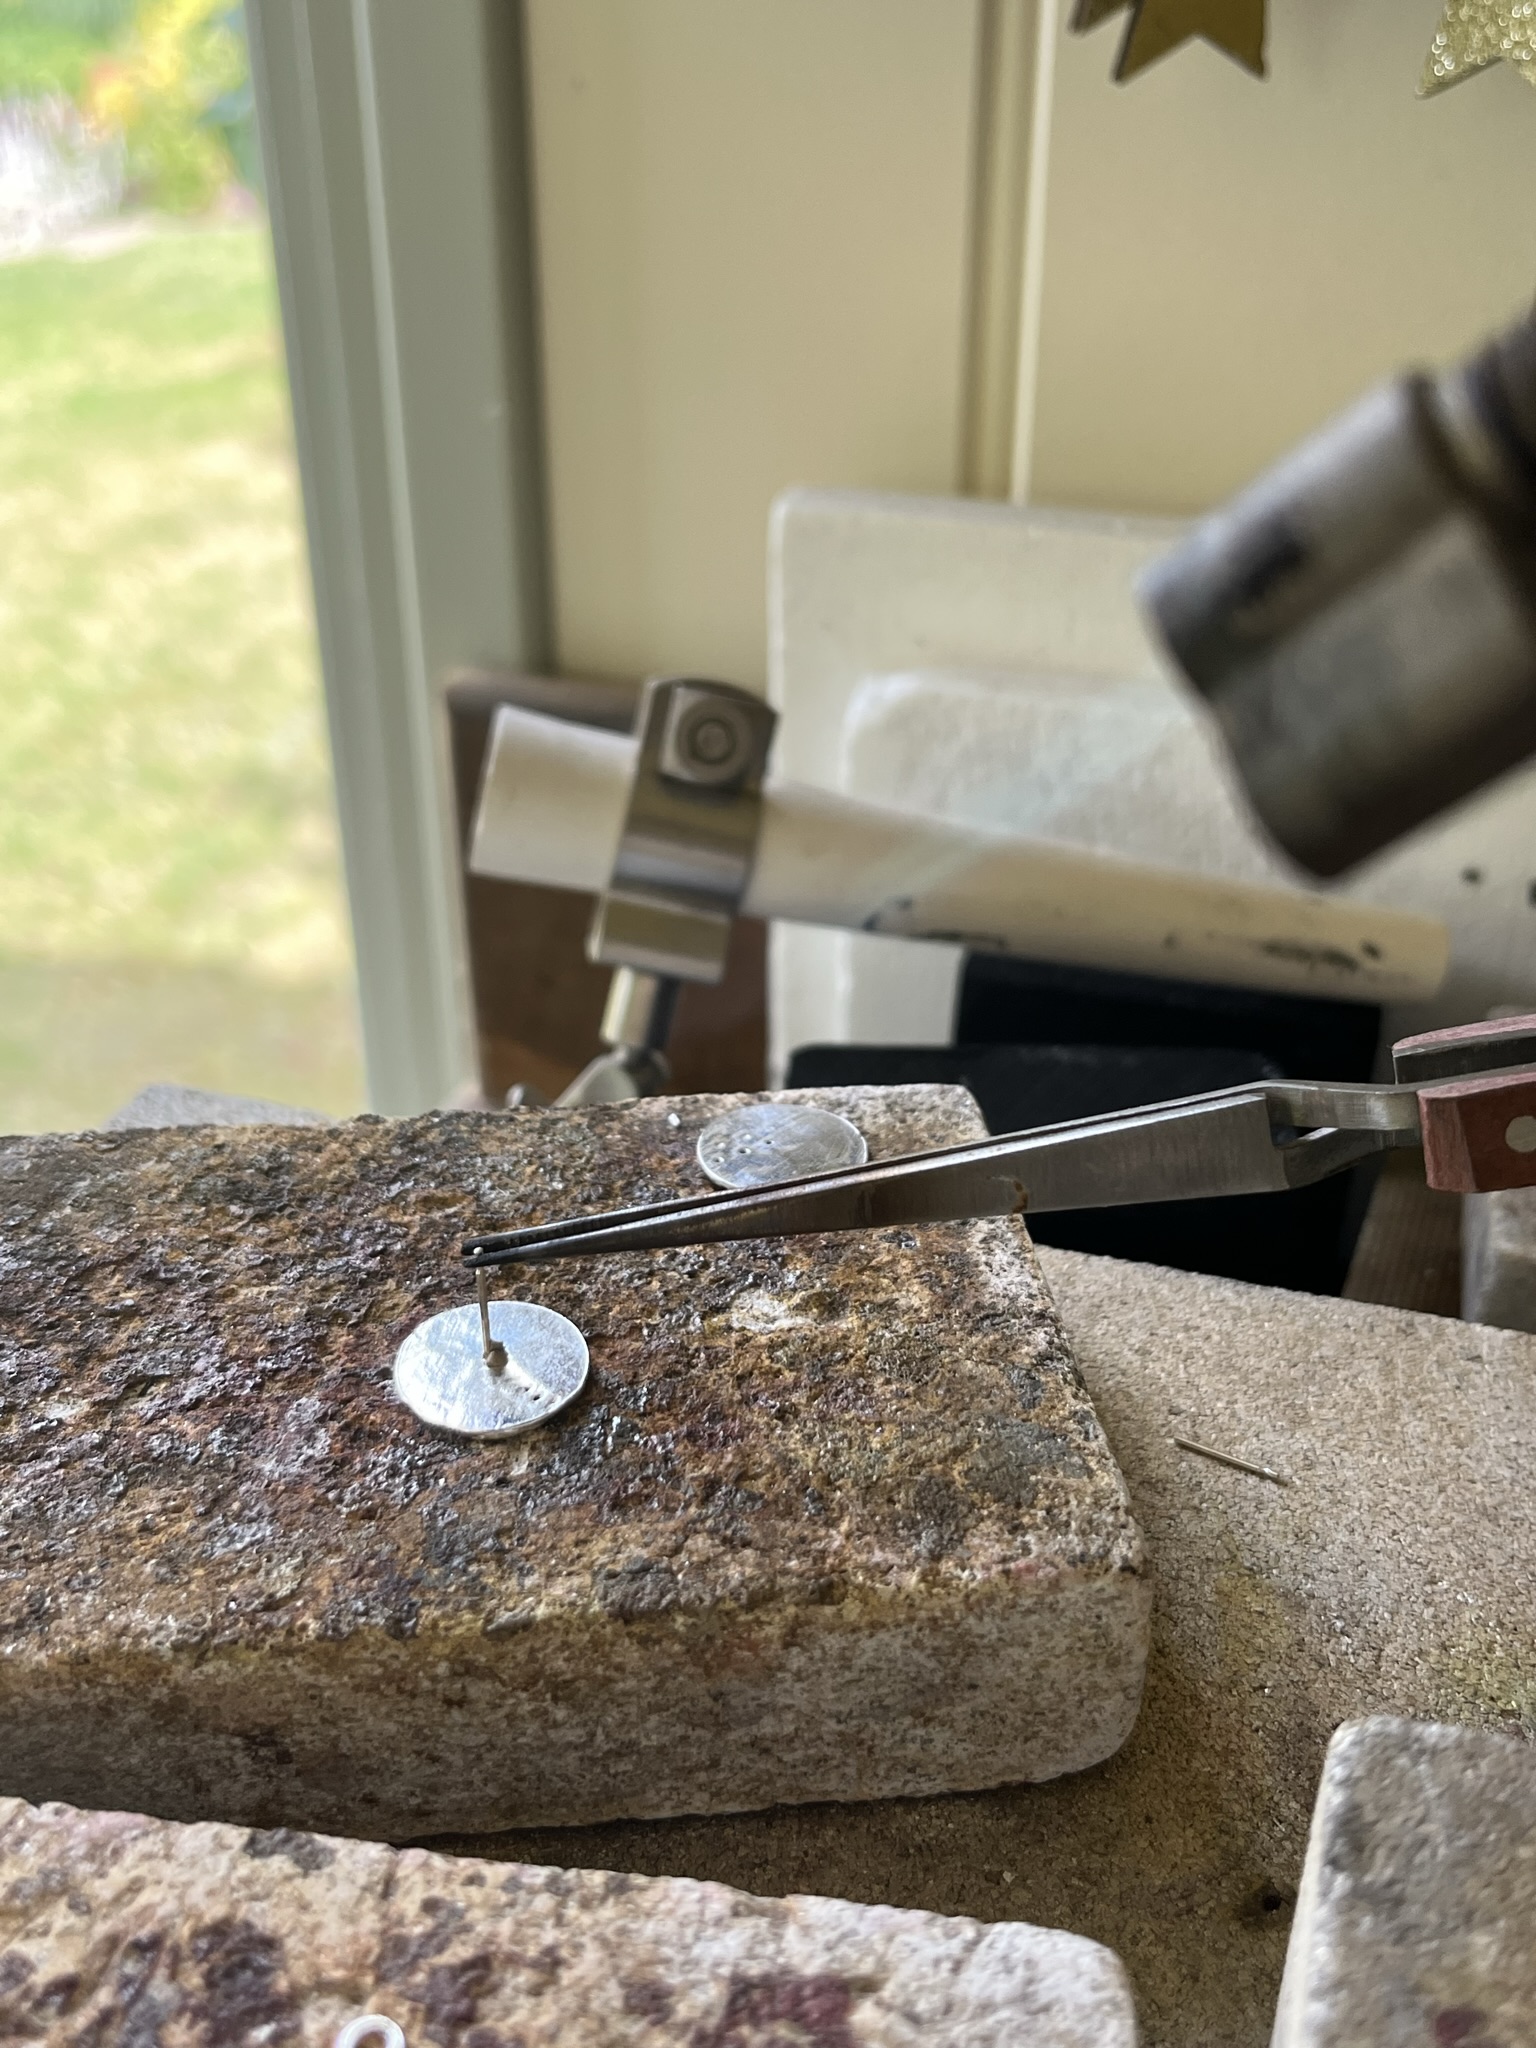
Step 9
To solder on earring posts use reverse action tweezers in a third hand to hold the earring post in place on the reverse of the silver clay on a soldering block. Add silver solder paste to the post and the silver clay piece ensuring that both pieces are touching.
Heat the silver clay piece until the solder melts and flows. Leave the earring to cool a little before quenching in water and adding to warm safety pickle for 5 minutes or until clean.
Step 10
To solder a jump ring onto the silver clay to make pendants or drop earrings use third action tweezers to hold the jump ring in place or place flat on a soldering block.
Ensure the jump ring is closed.
Add silver solder paste to the jump ring join and the silver clay piece and ensure that both pieces are touching.
Heat the silver clay piece until the solder melts and flow. Leave the silver to cool a little before quenching in water and adding to warm safety pickle for 5 minutes or until clean.
Step 11
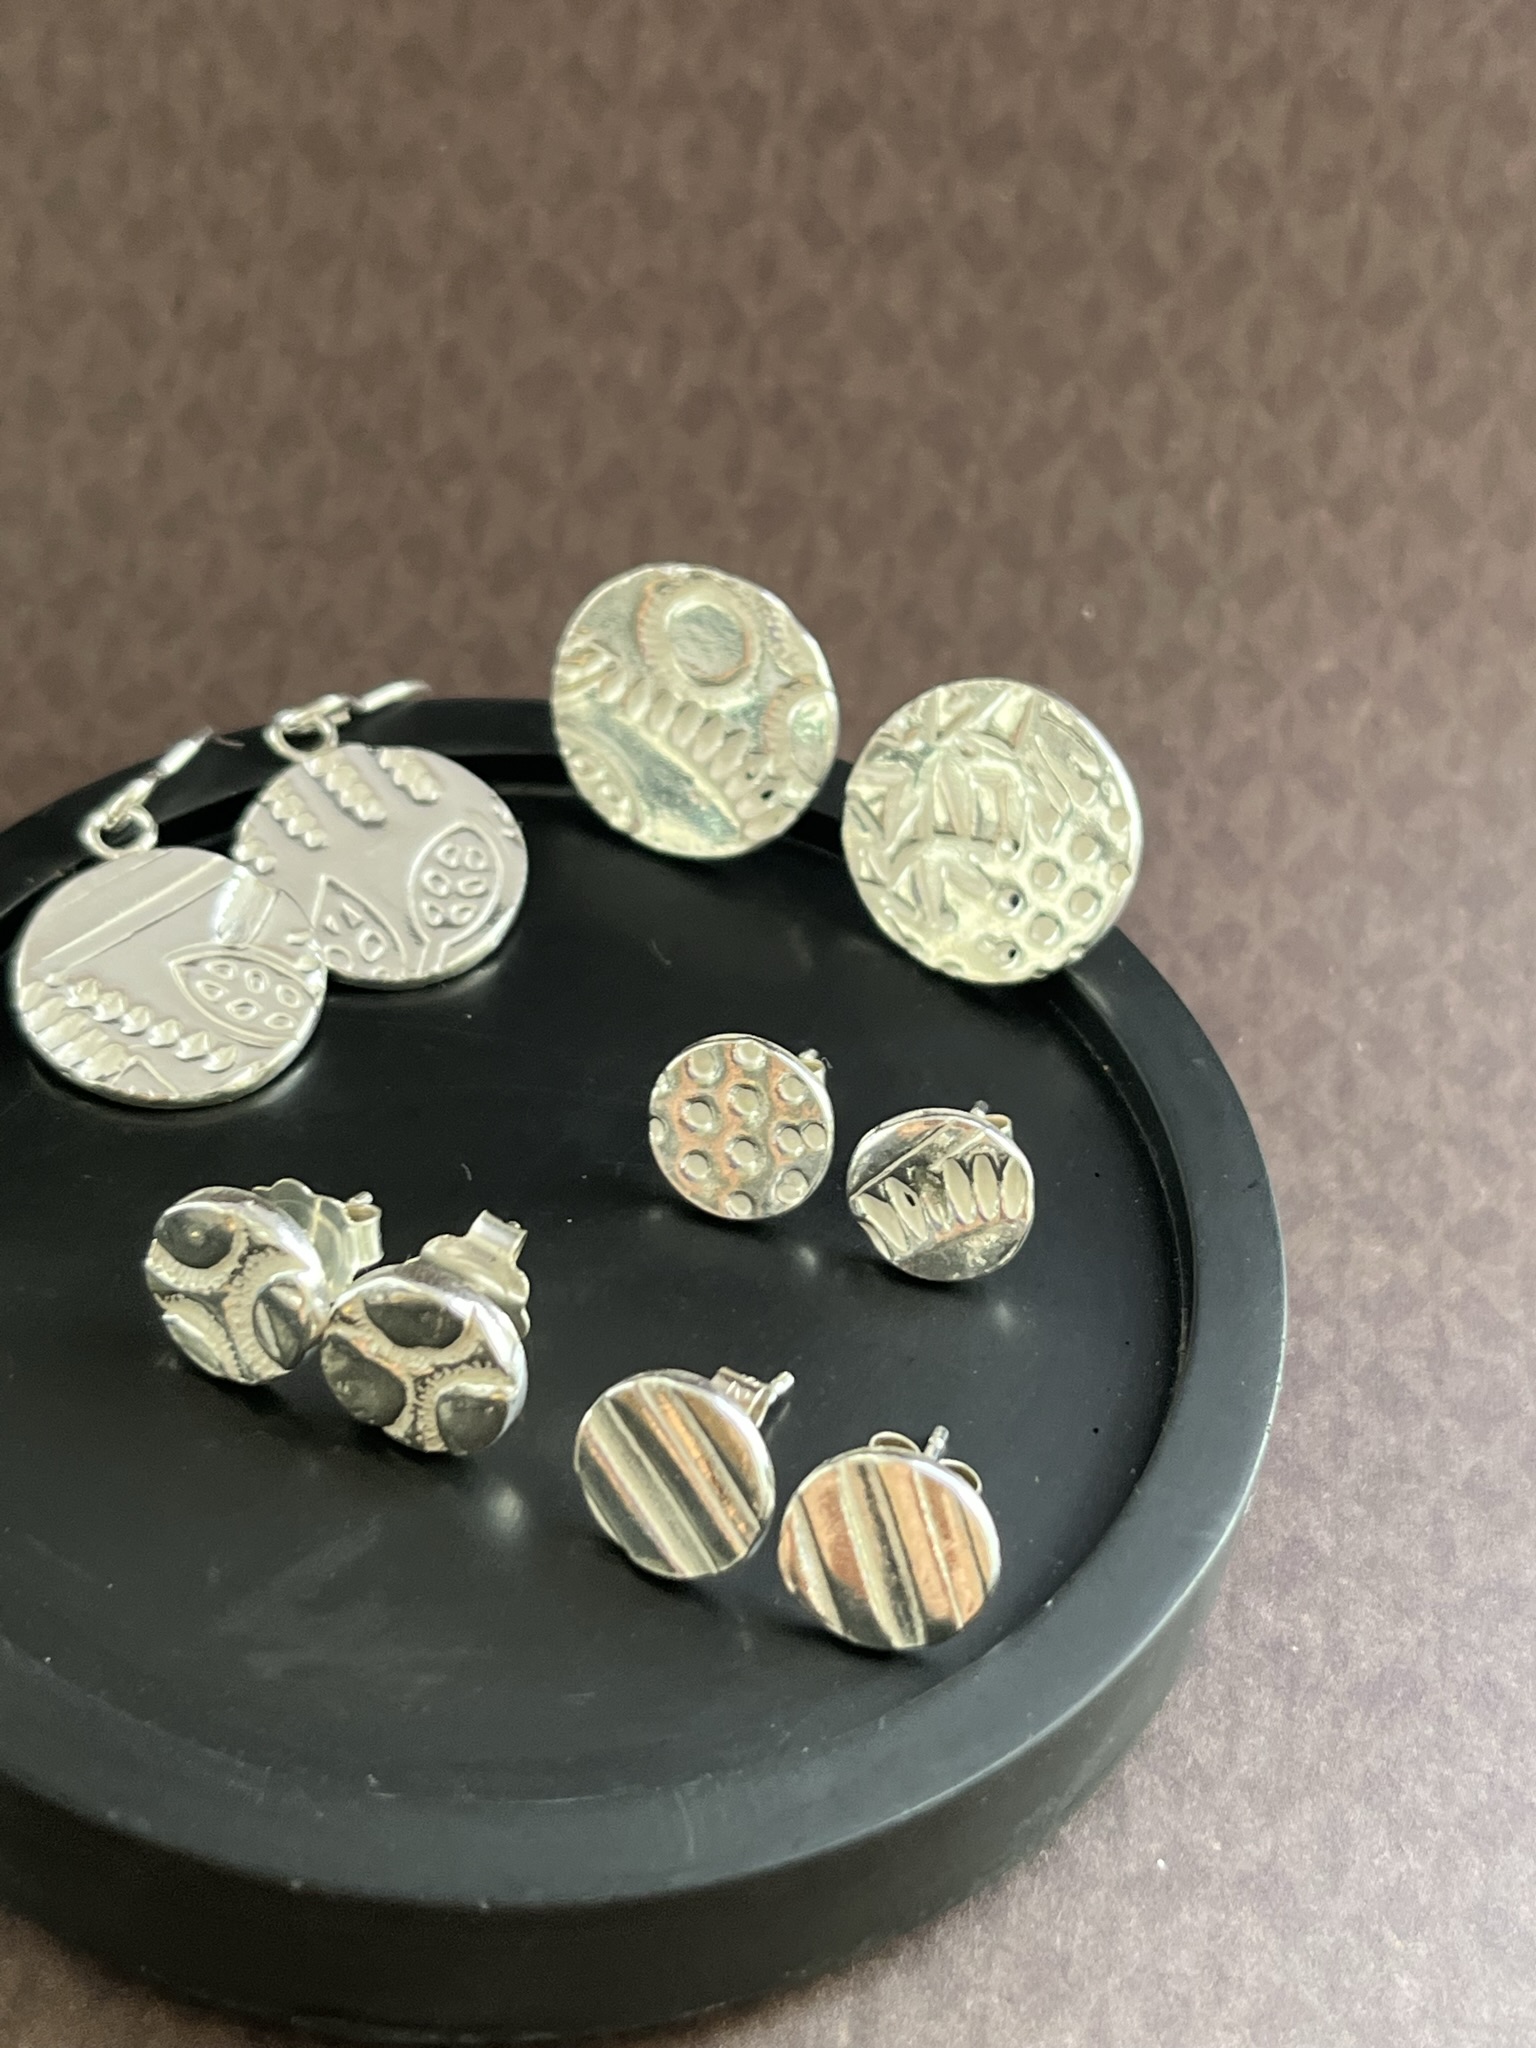
When clean and dry use a polishing cloth to add shine to the silver clay pieces or use a barrel tumbling machine with stainless steel shot, water and barrelbrite.
Step 12
Attach hook wires to make drop earrings by gripping the hoop of the hook wires with a pair of snipe nose, flat or chain nose pliers on one side and a pair of snipe nose, flat or chain nose pliers on the other side. Twist one pair of pliers forwards to open the loop.
Thread the silver clay jump ring through the silver hoop at the top of the flower. Close the hoop by gripping the hoop of the hook wires with a pair of snipe nose, flat or chain nose pliers on one side and a pair of snipe nose, flat or chain nose pliers on the other side. Twist one pair of pliers back to close the hoop flush.
Repeat this to make more earrings.
Step 13
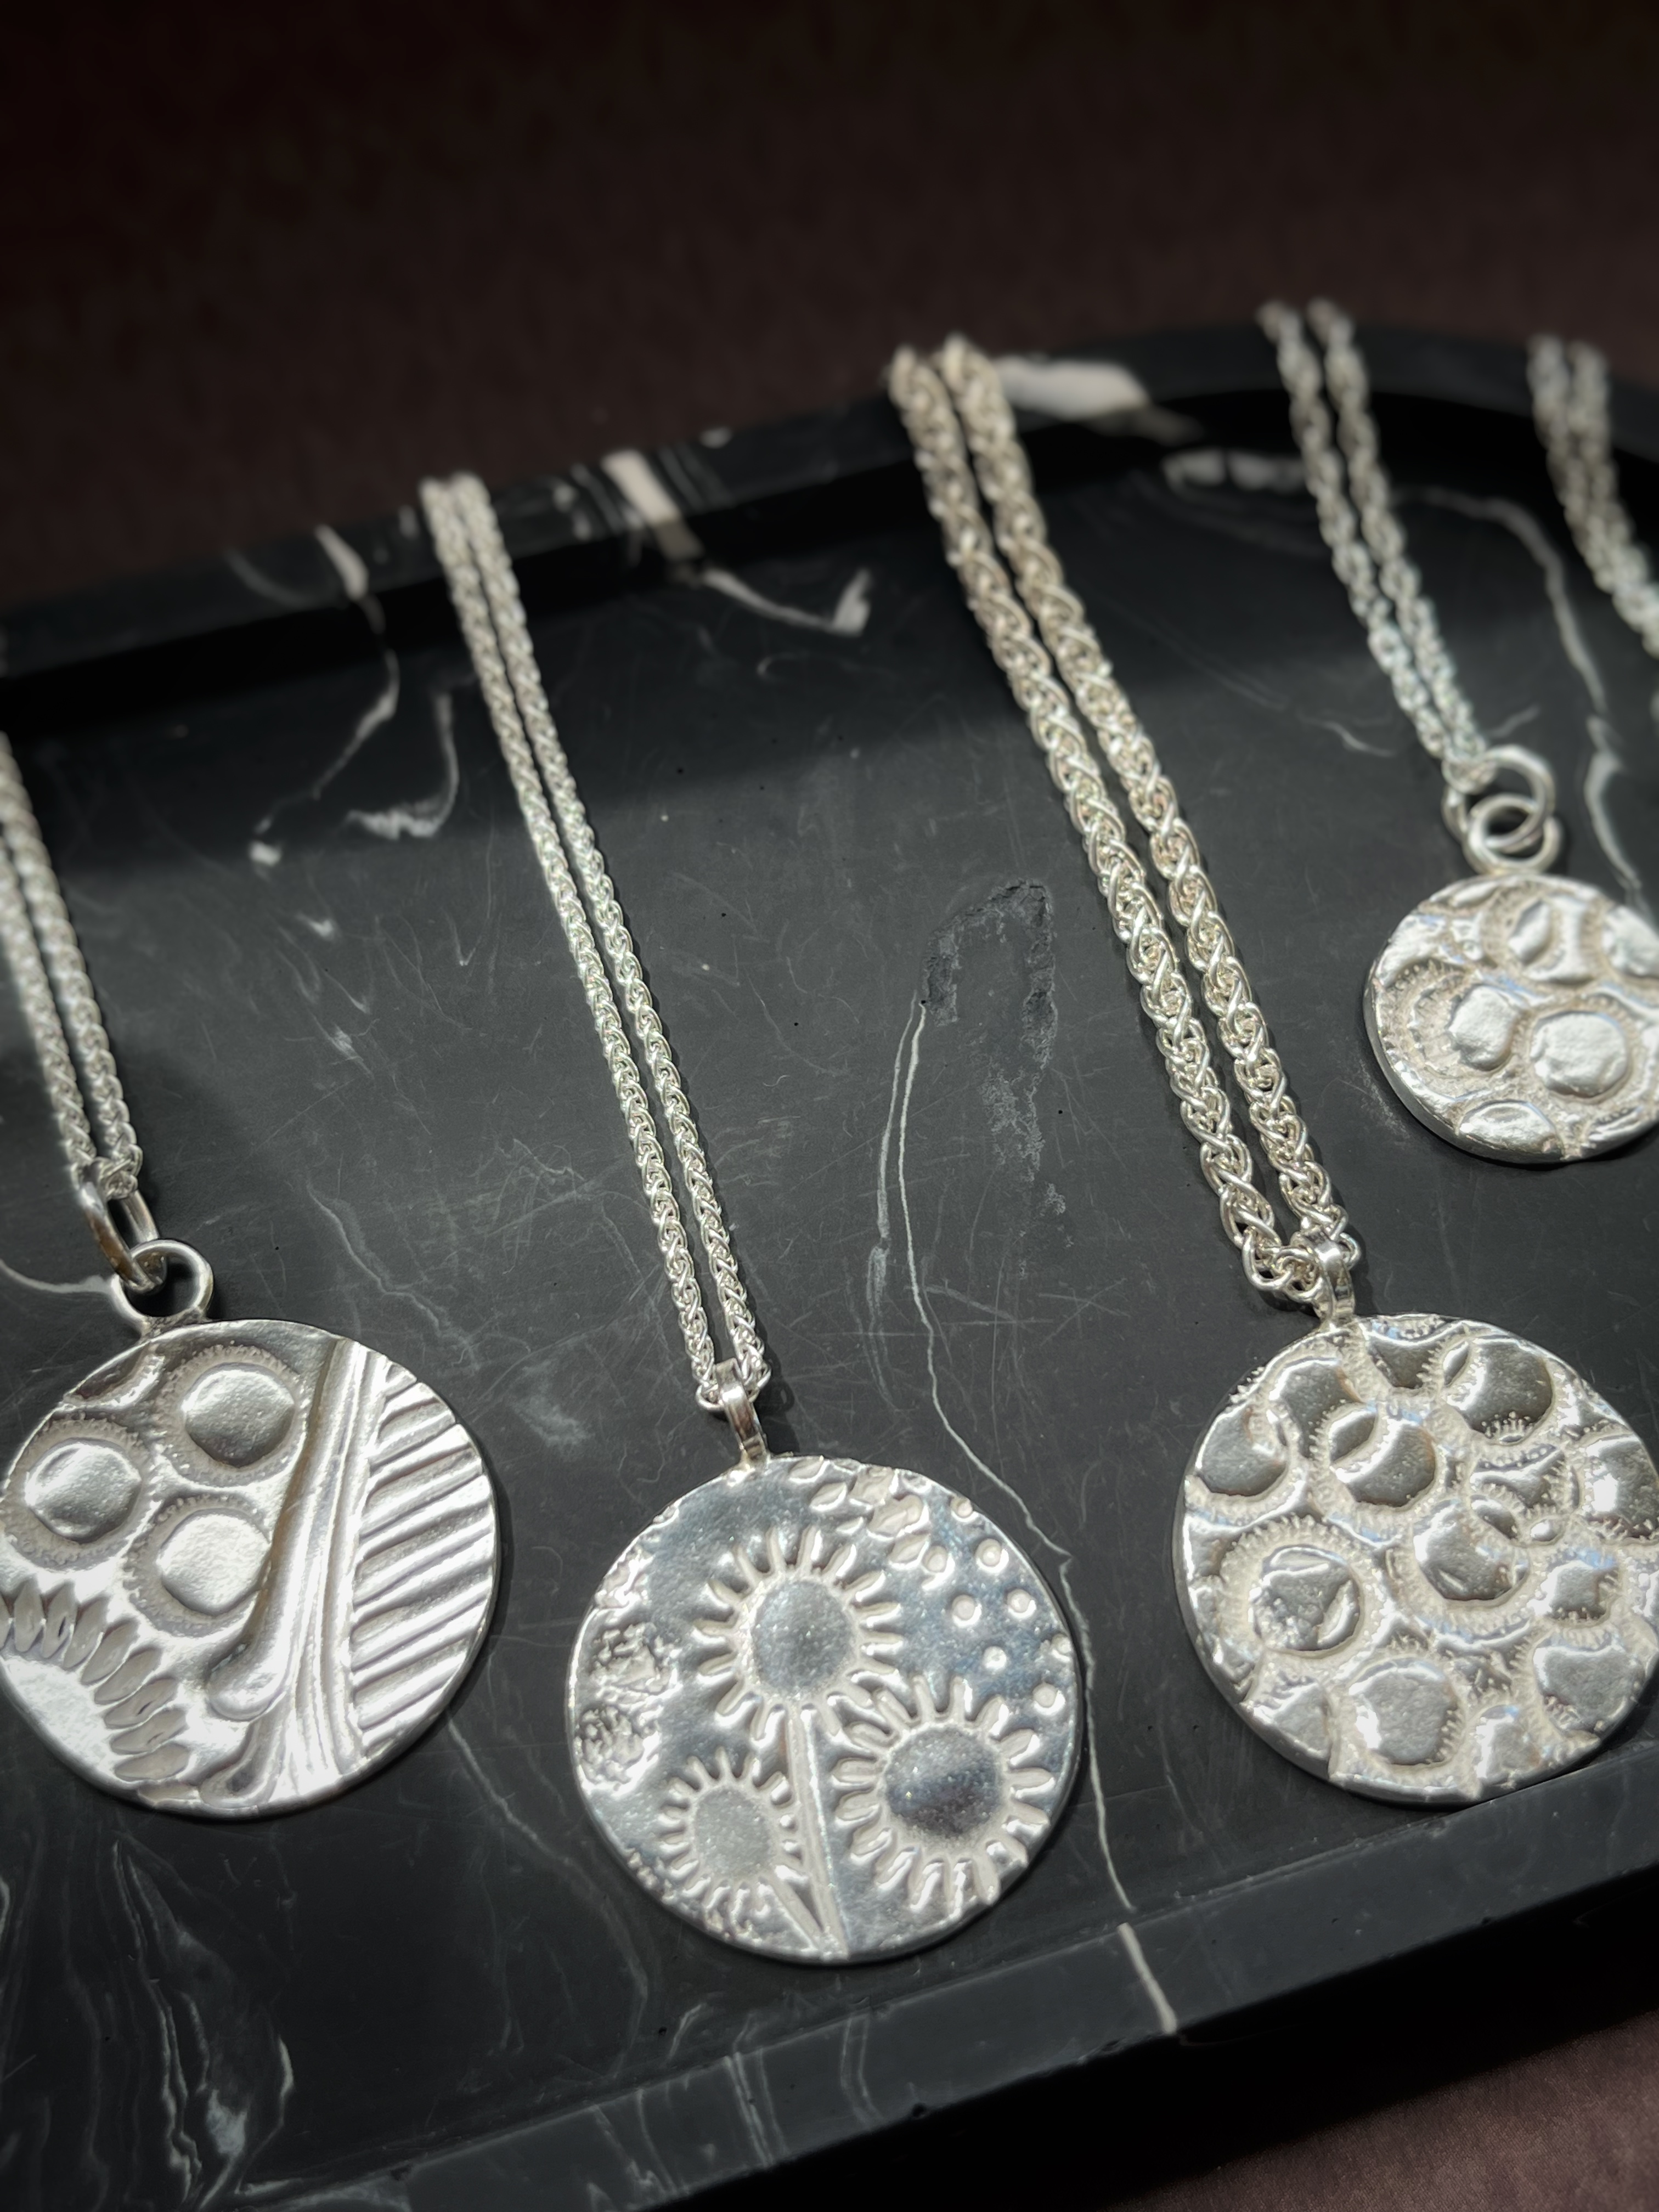
Thread a chain through the jump ring to create a pendant.

Sian Brown
Sian has been hand making her award winning jewellery in the West Midlands for over 12 years. Sian spent 10 years in Birmingham’s historic Jewellery Quarter before relocating to a quiet Worcestershire village.

:max_bytes(150000):strip_icc():focal(999x0:1001x2)/rita-moreno-2024-oscars-031024-54cb2c55c28543c6893ec395fd29d6de.jpg "Rita Moreno, 92, Debuts Major Hair Change at 2024 Oscars")
.webp "Lovely Metal Frame Macrame Earrings Tutorials by NoTailCatJewelry / The Beading Gem")


