Table of Contents
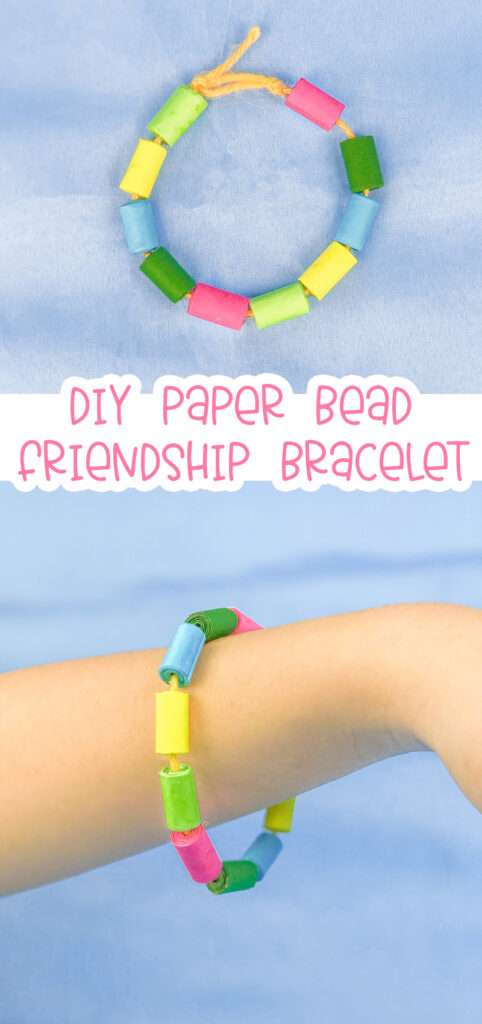
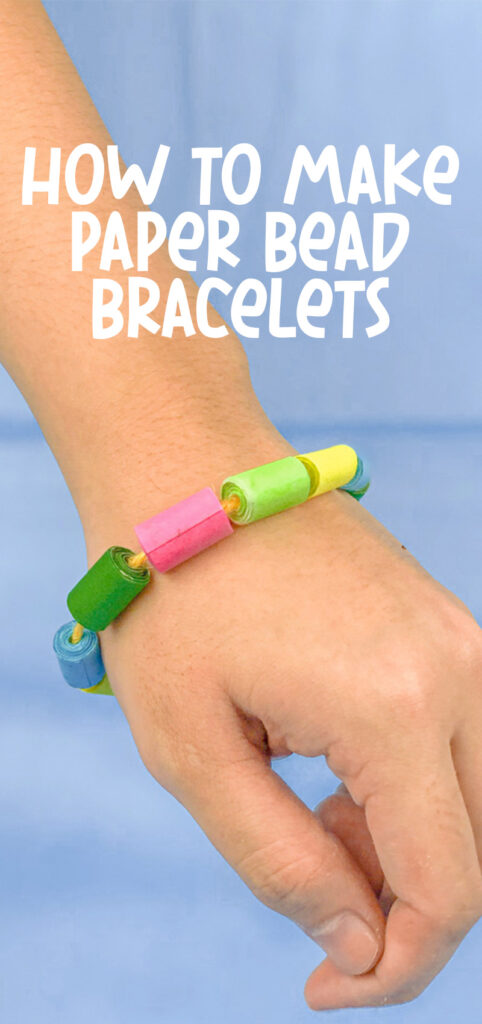
Craft these fun and easy Paper Bead Bracelets- this possibilities are endless! When you’re done, check out these DIY Friendship Bracelet Tutorials and Patterns. This post contains affiliate links.
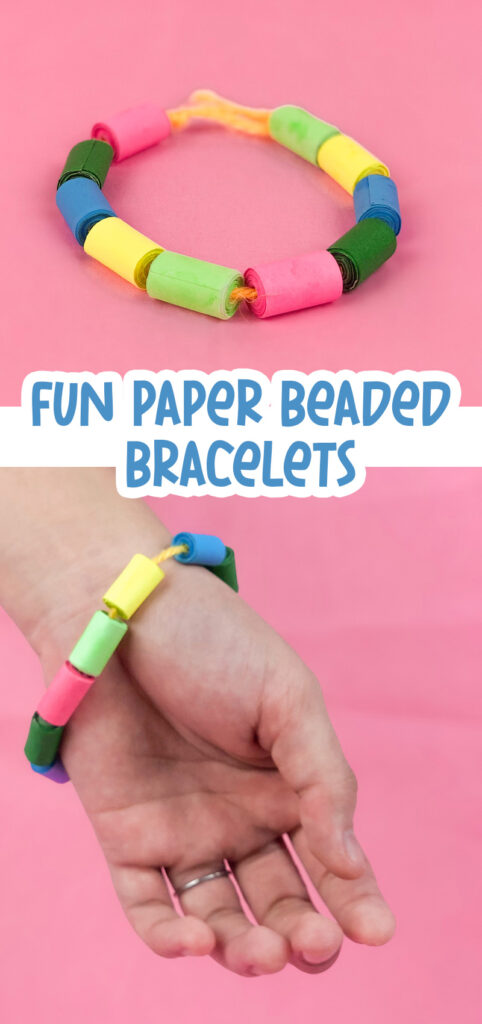
Paper bead bracelets bring me back to my childhood, they’re such a classic. Anyone can make them, the supplies are easily available, and there’s no limit to the variety you can produce: You can use smaller papers for smaller beads, larger pieces for chunky beads, bright fun colors or muted elegant tones.
Of course, this is a “just for fun” type of project! These make fun little friendship bracelets and are a great boredom buster for kids and tweens!
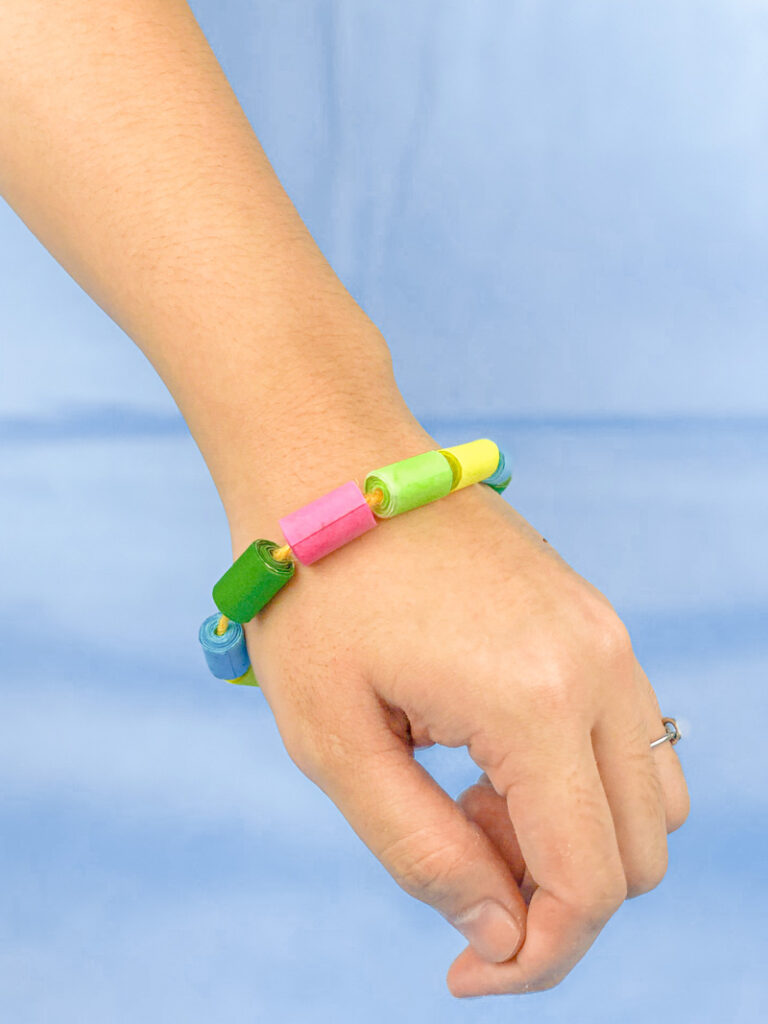
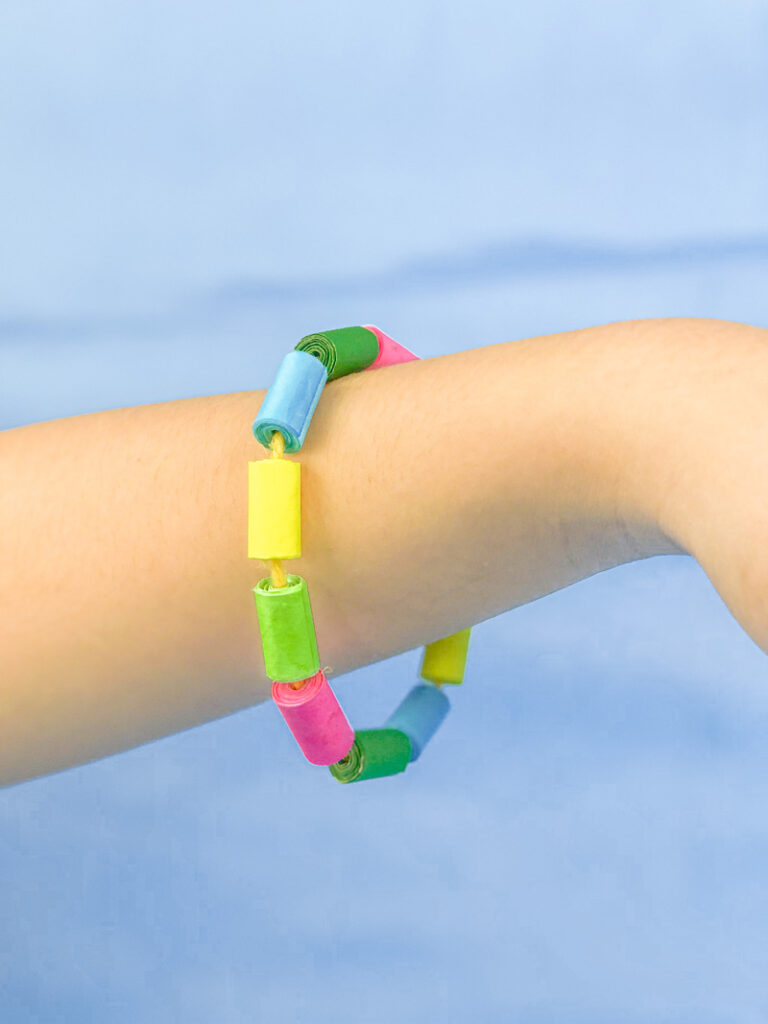
Did you also make paper beads as a kid? Truth is, anything can be a bead if you roll it right, as we shared when we made rolled leather beads! I love finding unique ways to make jewelry crafts, and this is one of my favorites!
You can alternate the paper beads with other types of beads for yet another look. You can use pretty much any type of paper and any type of string – this is one of the most versatile projects ever.
For our young crafters, this project is especially helpful for developing fine motor skills. OK, we say this a lot, but most of the time we’re exercising the same few motor skills – cutting, pencil/marker grasp, some pinching of small items.
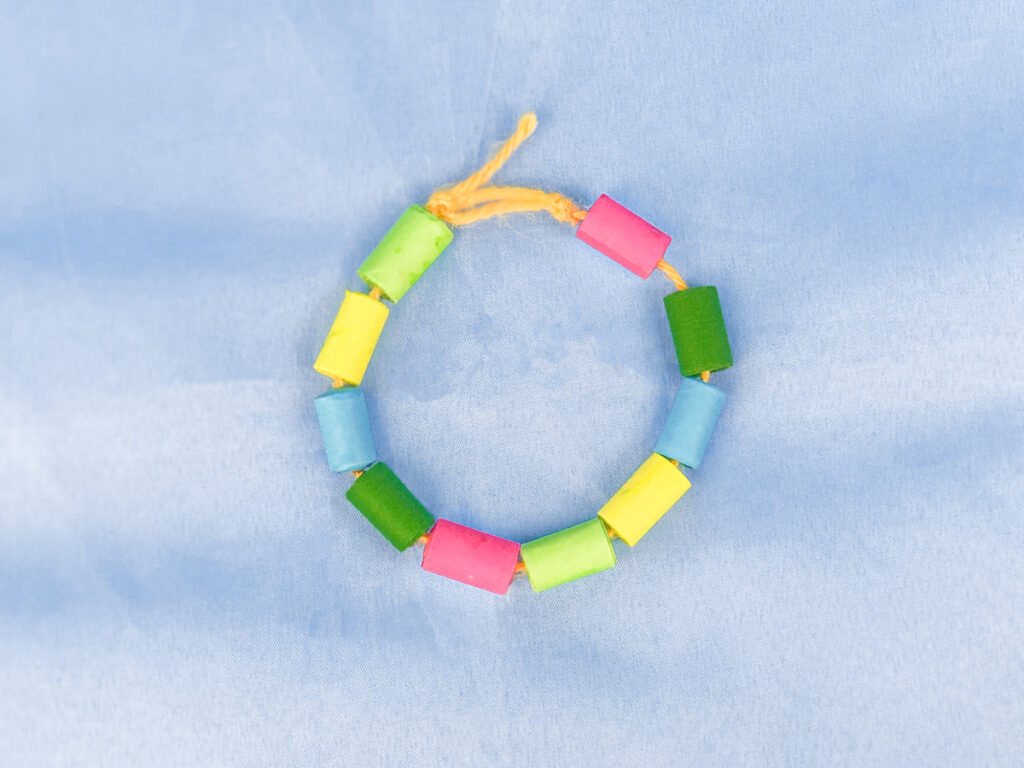
But the truth is that variety is key to well-rounded development – we do want to keep practicing the core skills, but we also want to explore new ways of using our fingers in coordinated ways. Learning to roll paper is amazing for that and can really build your little one’s fine motor coordination.
Early learners can use larger pieces of paper and may roll them more loosely, and more advanced crafters can hone their skills using finer papers and rolling them with more control.
So this is a craft that has advantages and is fun for younger kids through tweens.
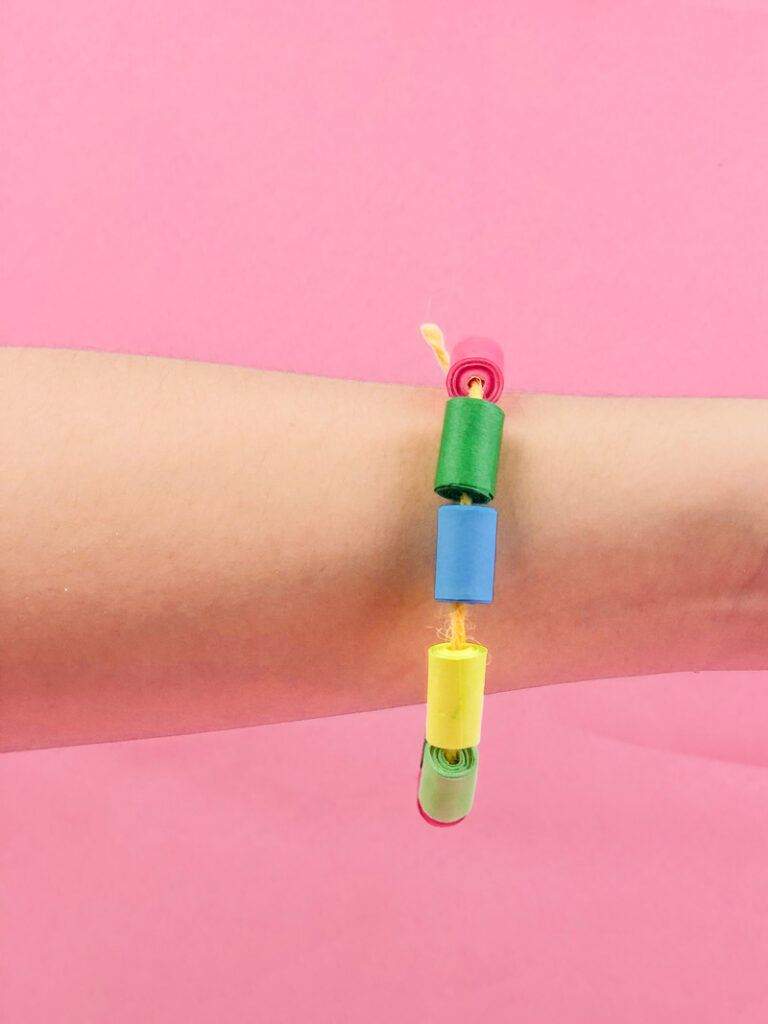
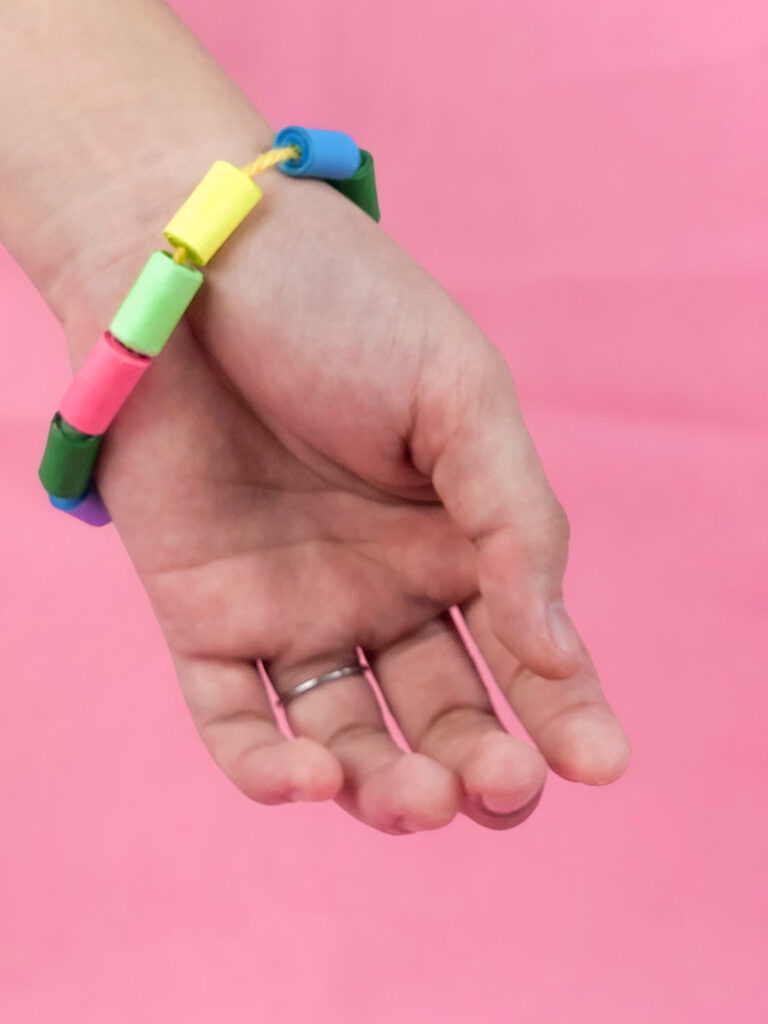
We’re suggesting bracelets here, but of course if you find yourself enjoying the activity too much to stop, you can easily make necklaces or multi-layered bracelets and necklaces simply by using longer strands of yarn and making more beads to go on them.
These paper bead bracelets are the basic type – not advanced, finished beads. If you want to make those, I highly recommend this book for gorgeous, professional paper beads.
What you’ll need
What you need to make paper bead bracelets
1. Choose papers in a few colors. Cut them into strips about 1/2 inch wide. Length is more flexible and will determine the size of your bead.
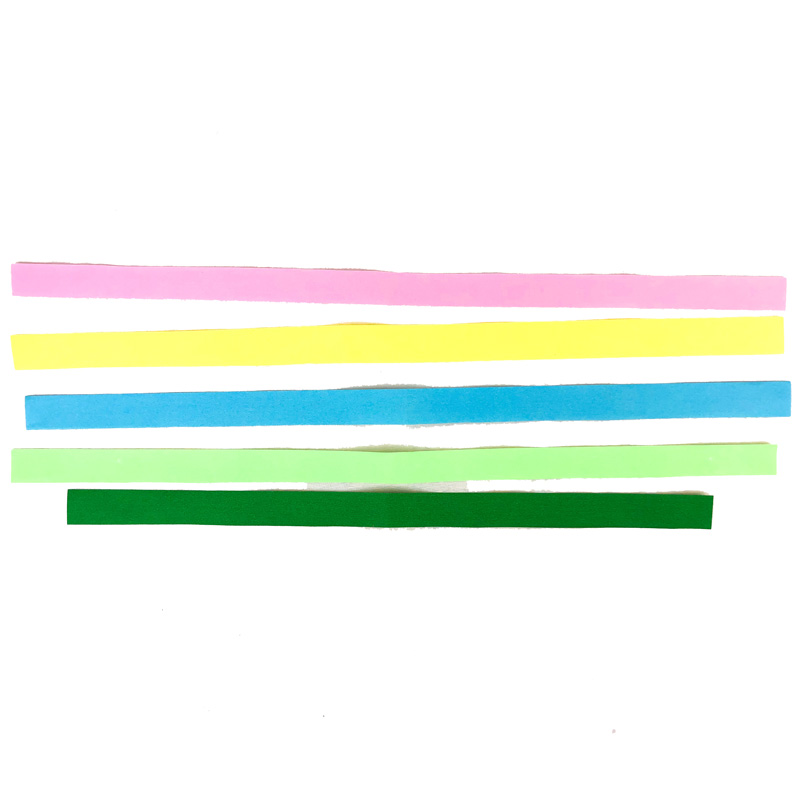
2. Roll the paper around itself to create a thick roll. If you have a hard time getting started, you can take a paintbrush or something else with a round handle and begin wrapping the paper around that.
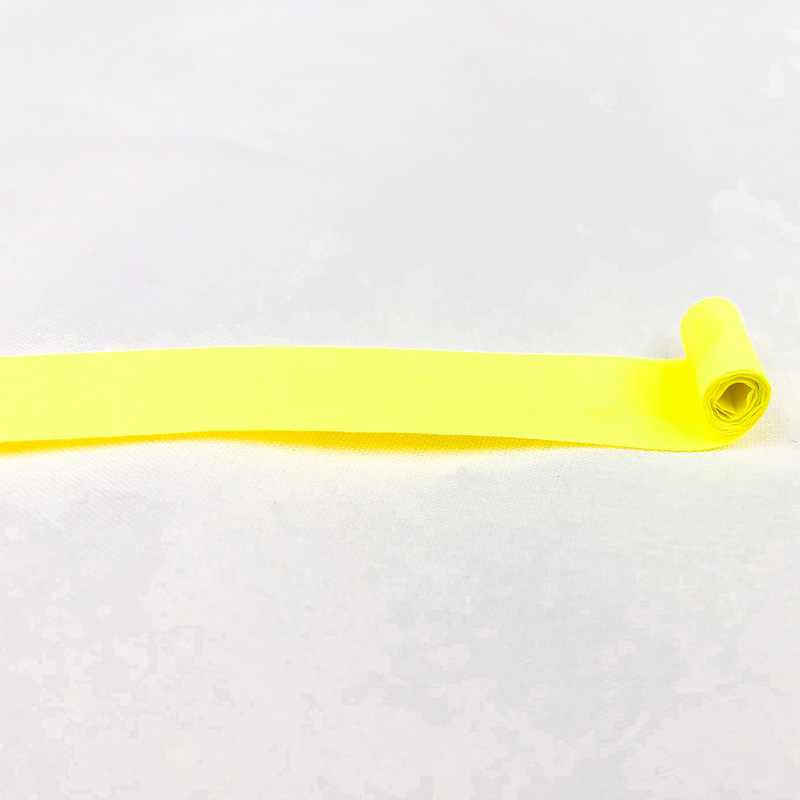
When you reach the end of the paper, apply a dot of glue and gently press to hold the roll in place.
Or, if you feel your bead is large enough before you reach the end of the paper, you can glue it there and cut off the extra paper.
3. Repeat the process for each color. We recommend making at least 2 of each color to create a repeating pattern.
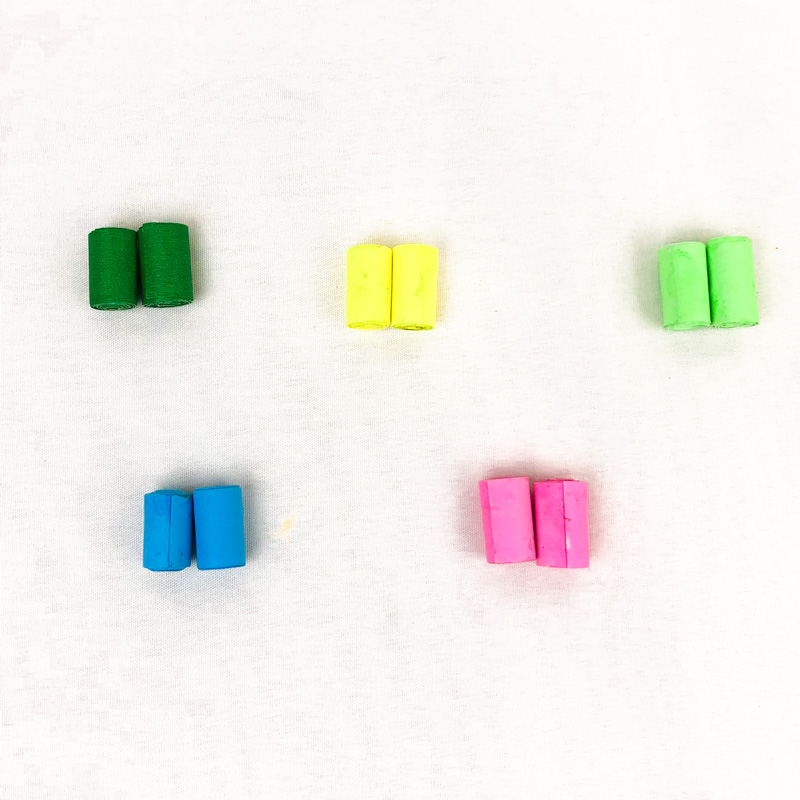
4. Measure and cut a strand of yarn around 2 inches longer than you want the bracelet to be.

5. Tie a loop on one end of the yarn.
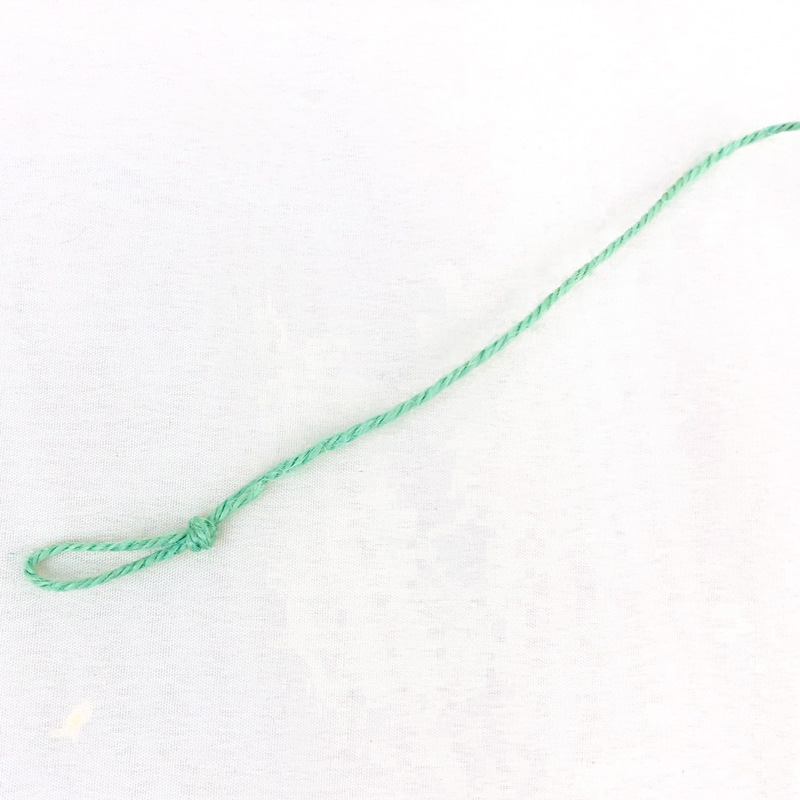
6. Thread the beads onto the yarn

7. Put the loose end of the yarn through the starting loop and tie it firmly with a double or triple knot.
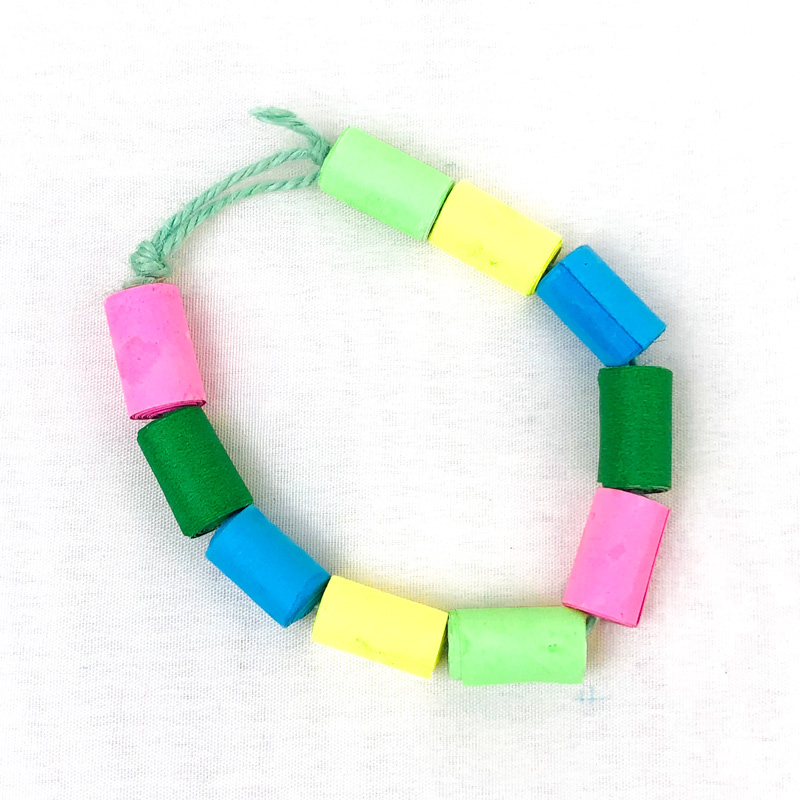
Yarn has some stretch to it, so it should glide over your wrist smoothly! The beads allow you to roll it on. Just make sure to make it big enough to roll on and off.
You an also use elastic cording if you prefer.
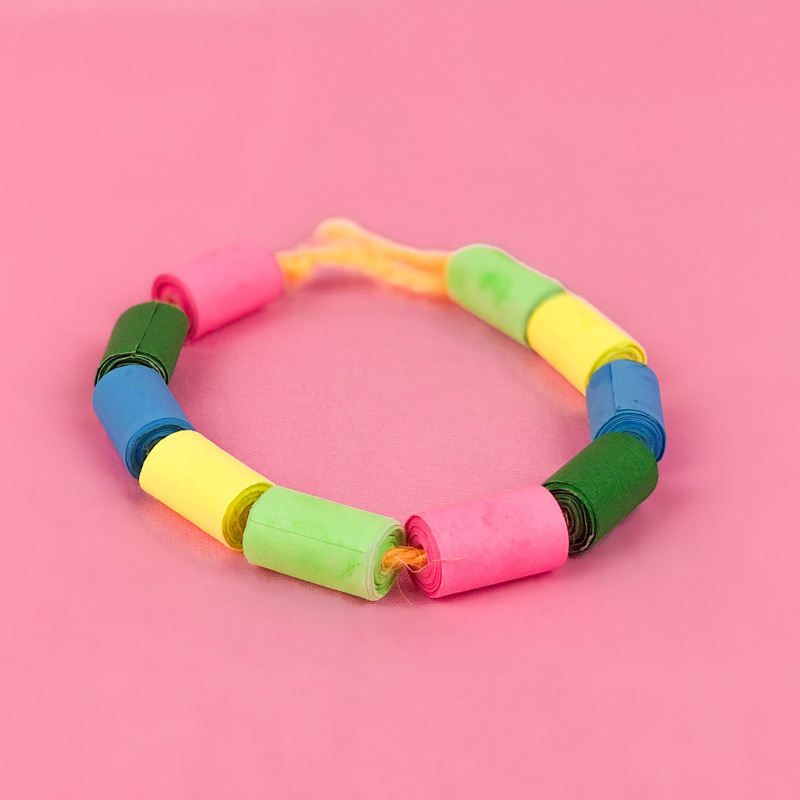
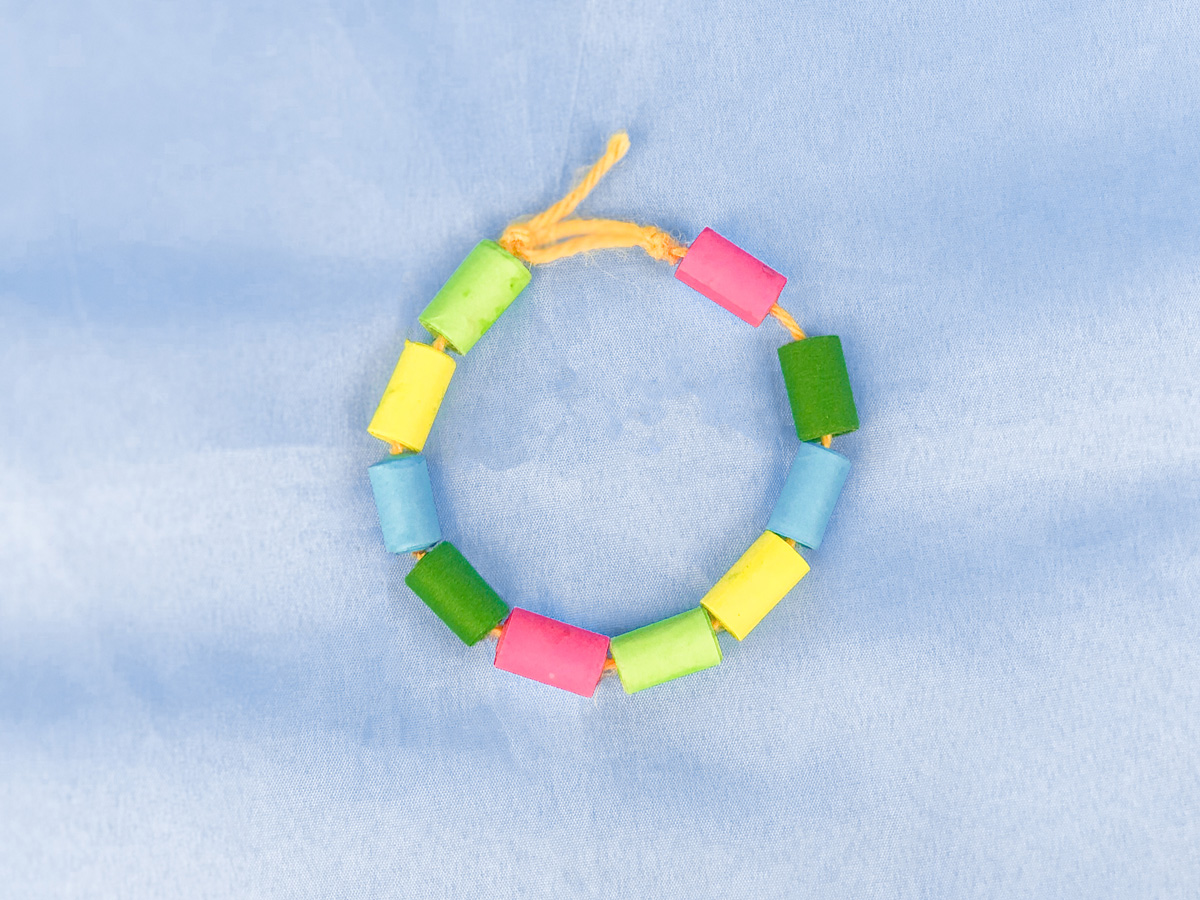
Admit it – that was so relaxing and enjoyable that you’re about to go and make a whole stack of paper bead bracelets!


:max_bytes(150000):strip_icc():focal(999x0:1001x2)/rita-moreno-2024-oscars-031024-54cb2c55c28543c6893ec395fd29d6de.jpg)

