

Have you experienced a all set to end 3D portion printed with Cooksongold? Need some guidelines to complete it off?
You’re in luck! Today’s 3D printing blog site collection will be sharing our information on how to complete your valuable metallic piece so it is a best significant excellent end.
Despruing your piece
The moment your piece has been printed and delivered to you. It will have a single or many smaller minimize pieces of metallic attached to it. This is identified as the sprue.
The sprue is extra by our 3D Specialists in CAD so that when the element is printed in wax and added to the wax tree for casting, the molten metal can feed into the piece.
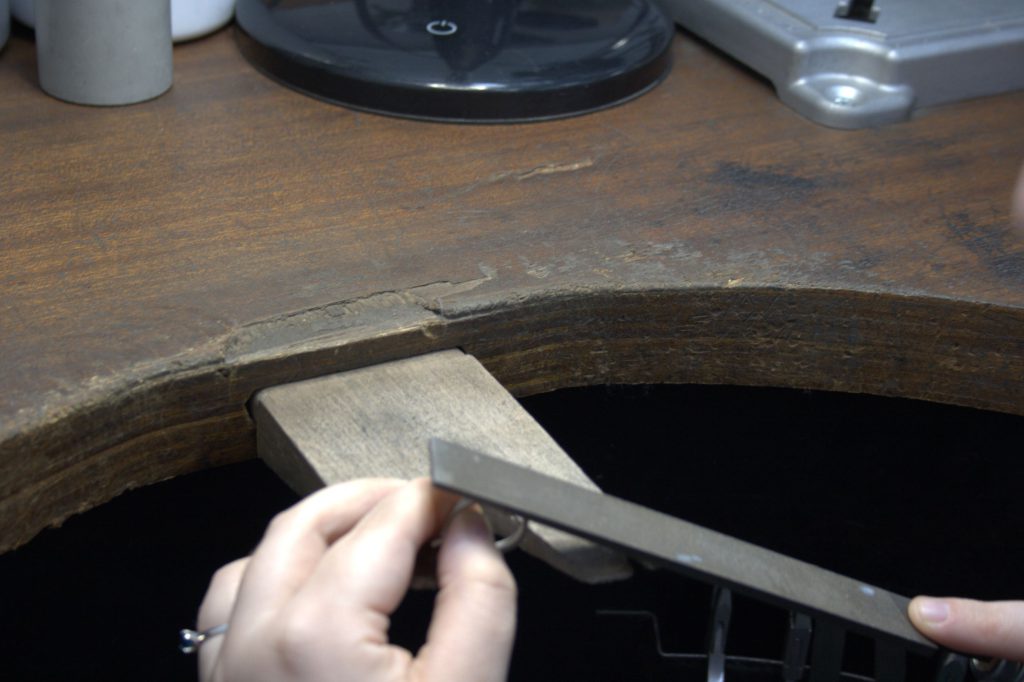
Eradicating the sprue is simple and will have to be accomplished prior to finishing your component. This can be accomplished by using a piercing noticed and meticulously sawing off your sprues. Then you can file down your sprue making use of a metallic or needle file.
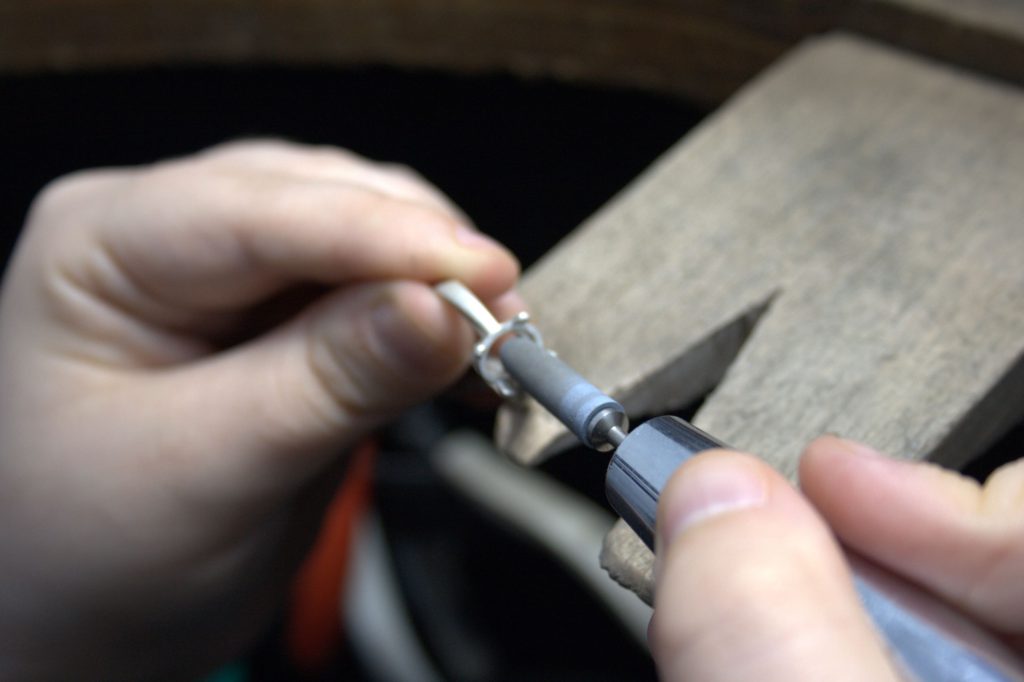
Buffing
Things that are forged will have a good grain texture to them and can also have fine establish lines that the printer has designed when printing every layer but these can be easily buffed away to clean it around employing emery paper/adhere.
Sandblasting (If you have a sandblaster if not skip to following action)
The best way to complete a piece that has been solid, is to sandblast it. This will build a frosted texture all around the piece, much like the look of the solid piece to get started with but will give it a much far more uniform glance and will also texture the flat spot that has been buffed back immediately after the sprue.
If you want a piece to have mixed polish regions, generally do the decrease top quality end very first, i.e sandblasting the exterior of the ring and superior sprucing the inside of of the ring. If there are smaller regions which are fiddly, it will be much easier to do the larger excellent and then masking individuals areas off with tape as to not disturb the end.
Sprucing: Emery paper
For most other styles of sprucing you will require to go via every single phase of emery paper or adhere, starting off from reduced to significant.
Maintain your piece firmly in opposition to the bench peg and function away from oneself, adhering to the condition of the item. Always abide by the form of your piece, as you might buff a flat spot onto a curved place if buffing flat. Go above every single place that you are wanting to be buffed, until the preceding finish degree has been buffed absent. Between each individual quality of paper/stick, you will want to buff in a way 90 degrees to your former buff, if feasible. This will assistance get rid of scratches prompted by the emery paper.
Numerous jewellers locate a system that they want to get the job done in, and potentially skip grades of buffing for a bigger quality but if this is new to you, we suggest likely via each and every quality from 400-1200 right up until you obtain what functions for you. If you are looking for a mirror polish, you could want to try out going up to 2000 in advance of polishing.
For the insides of rings or flat curved surfaces, there is also a software that can be utilised in a pendant motor. https://www.cooksongold.com/Jewelry-Instruments/Sander-Roll-Grade-400-Box-Of-10-On-2.35mm-Mandrel-Medium-Quality-prcode-999-122&query=sandpaper%20roll&channel=uk perform slowly and gradually with these as extended use can trigger a piece to get rather scorching. If you really don’t have a pendant motor or have these offered a curved emery stick functions just as properly, but can acquire for a longer time.
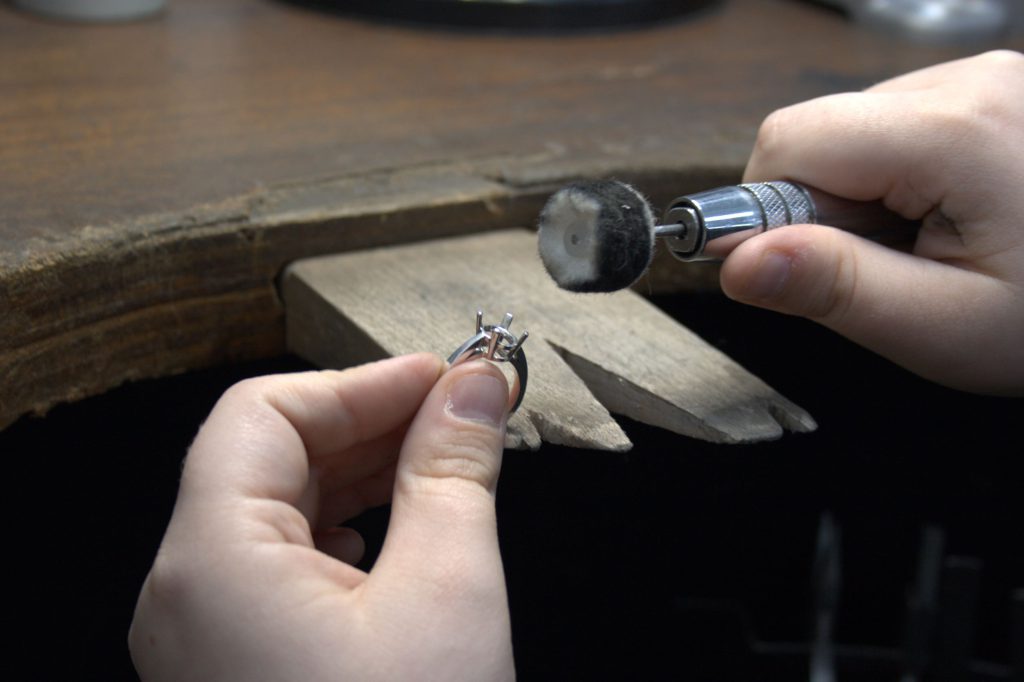
Sprucing Wheel
Once your piece is all set for sharpening, you can consider it to the polishing wheel. You will will need two sorts of polish and two wool wheels.
Label each individual wheel for the form of polish applied to it as you never want to contaminate both of them with the other folks polish. First of all get your wheel spinning and push the tough polish from the wheel, coating all all over the wheel, and then start out sharpening your piece.
When the piece is ready for the fantastic polish you will want to clean any rough polish on the part with heat soapy h2o and then dry. Swap your wheels in excess of and get ready the 2nd just one with the good polish and once again polish your piece. You can possibly clean your aspect yet again with warm soapy water or if you have access to an ultrasonic, this may possibly aid with getting rid of any residue.
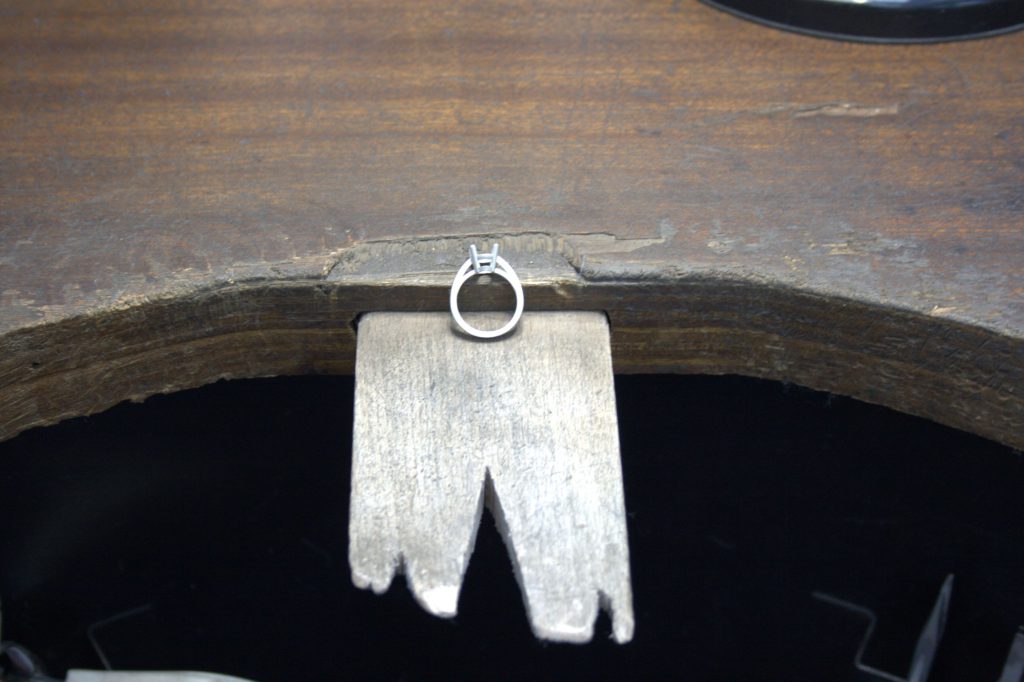
Dry the piece and it’s ready!

:max_bytes(150000):strip_icc():focal(999x0:1001x2)/rita-moreno-2024-oscars-031024-54cb2c55c28543c6893ec395fd29d6de.jpg "Rita Moreno, 92, Debuts Major Hair Change at 2024 Oscars")


