

Table of Contents
Find out how to make braided leather-based earrings – it is so effortless! Then examine out this record of Do it yourself leather-based earrings you can make. This write-up includes affiliate links.
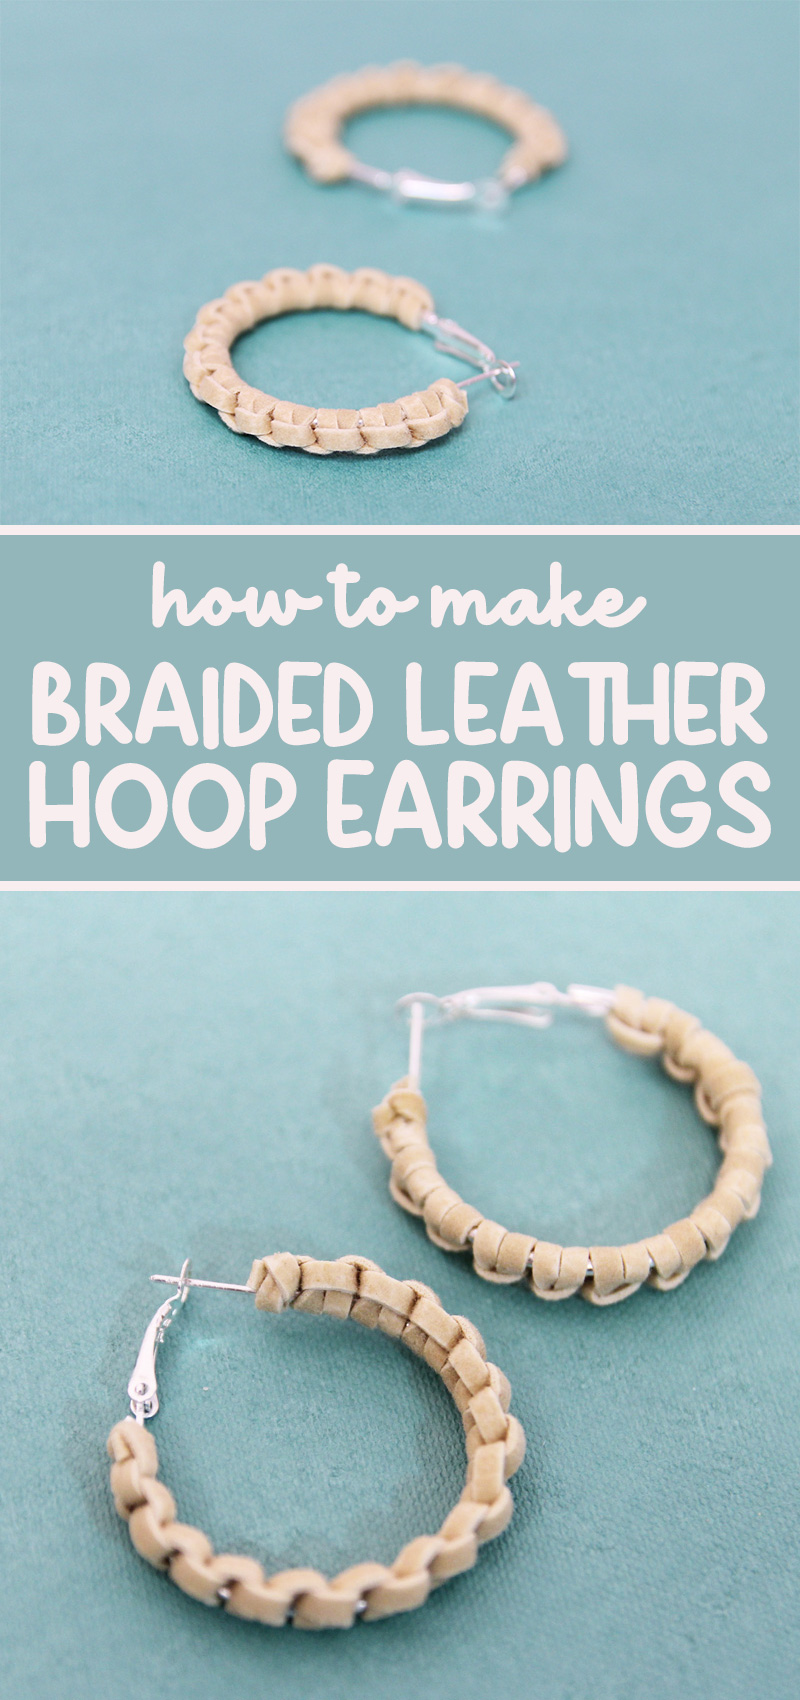
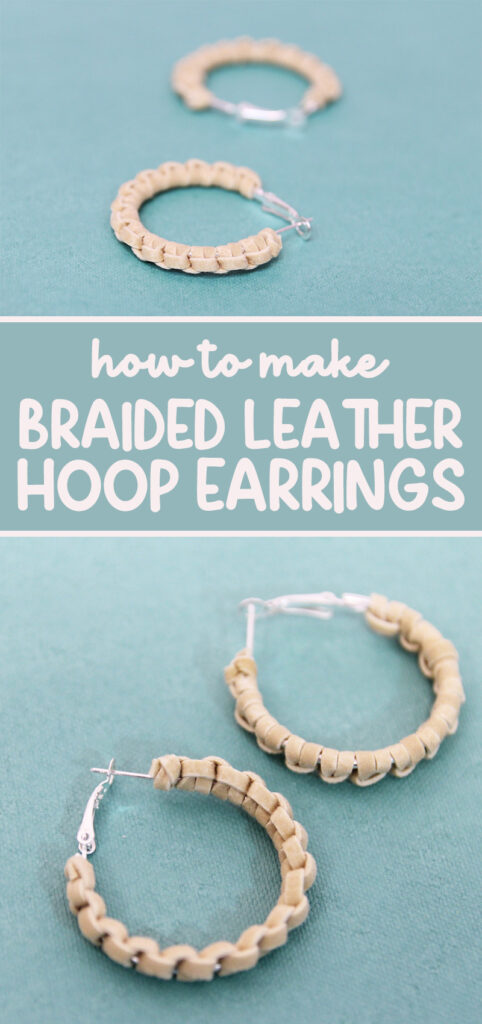
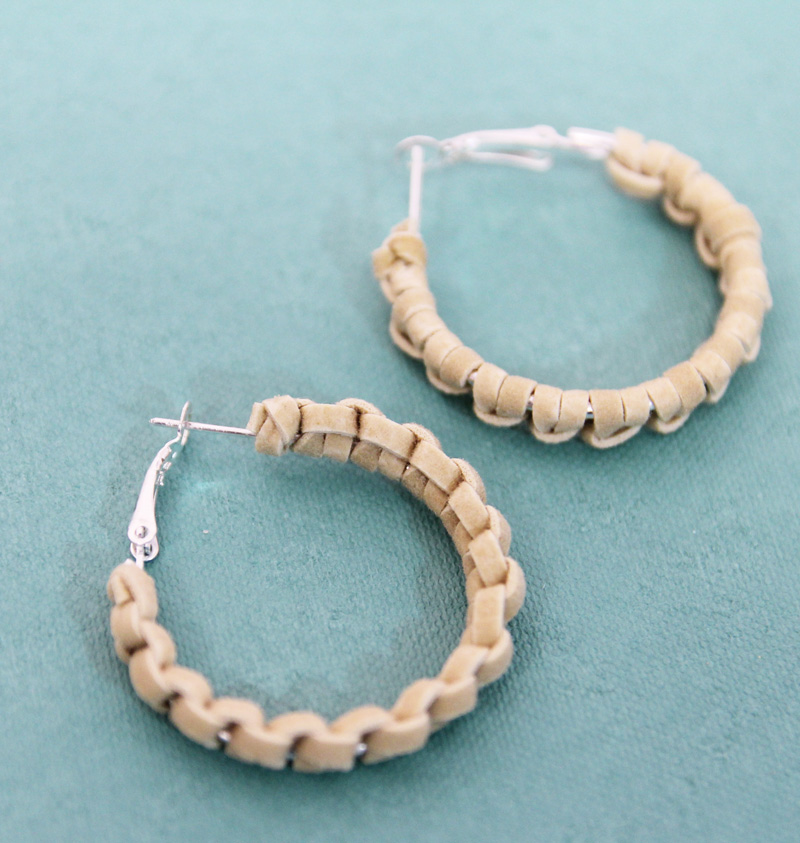
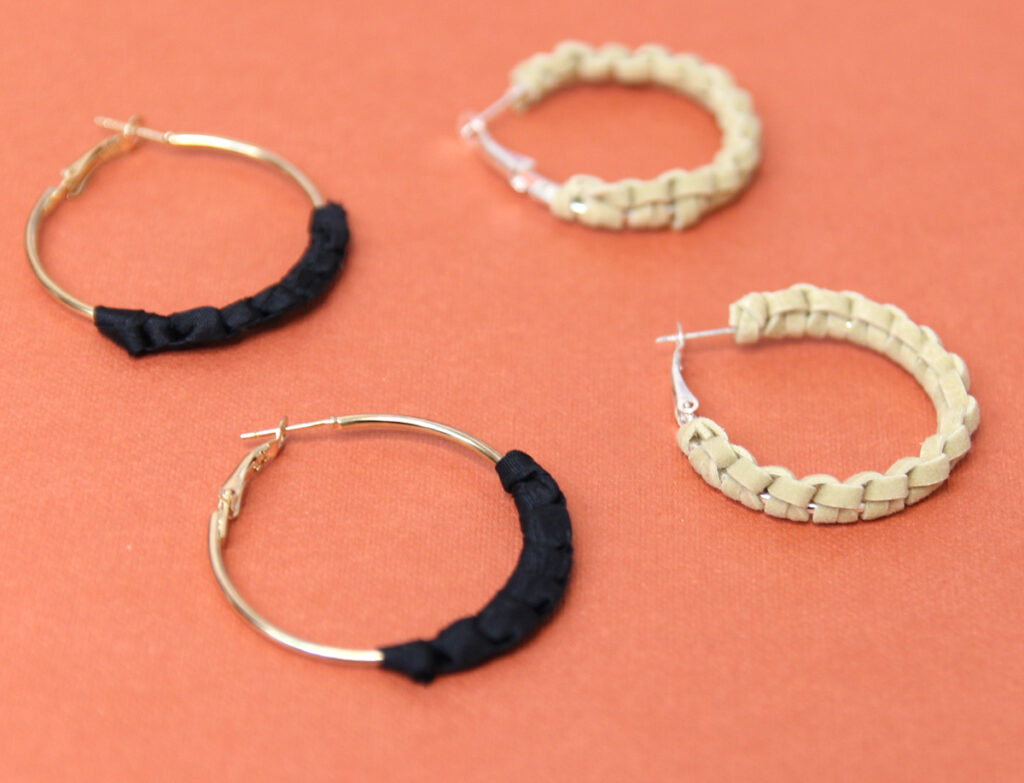
Braided leather hoops are a enjoyable craze in jewellery building – and they are genuinely, actually effortless. Spoiler: they are not really braided. They’re knotted.
Very first of all, you’ll want to test out this enjoyable approach for cobra knotting string wrapped hoop earrings that I shared a when back. This is a spinoff of that that generates what appears like a pleasurable minimal “braid” on the aspect.
You can switch this “braid” in any course you’d like. It can be positioned on the inside of of the hoop, the exterior, or on a person aspect – the right or the remaining. It all relies upon on the look you’re heading for!
Which string is very best to use to make braided leather earrings?
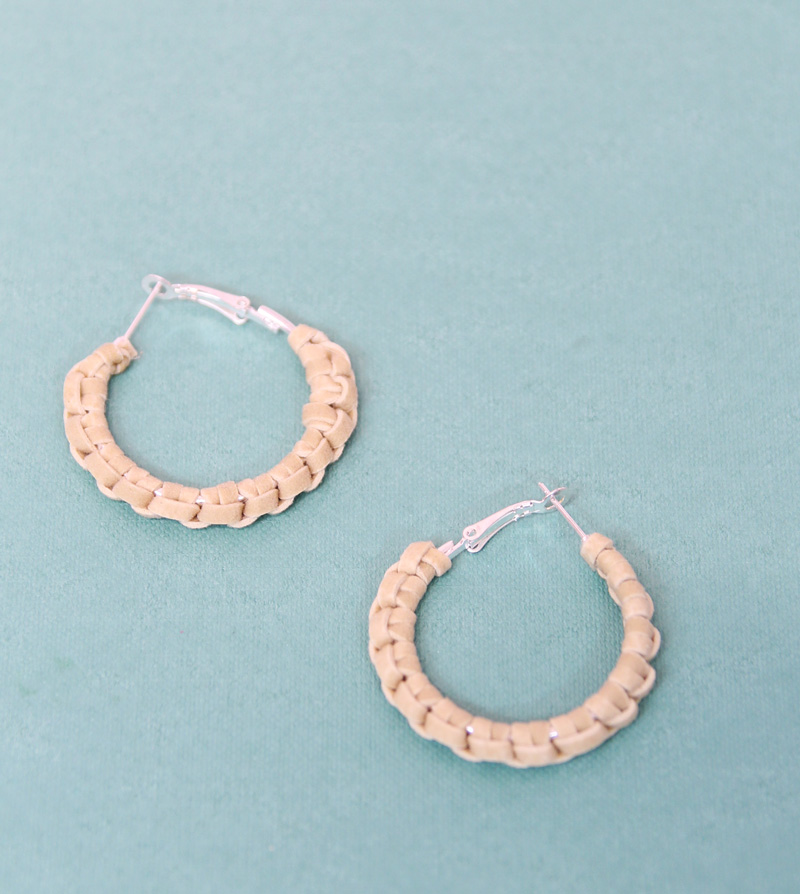
I tend to retain a nicely-stocked craft space and only once in a while acquire points specific for posts. When building these braided leather earrings with the cheap fake leather-based lacing that I had handy, I recognized how a lot better it would have arrive out had I used thick, smooth legitimate leather-based lacing.
It absolutely functions with the coarser things but would just be improved with the true things.
I believed I had a pack useful and turned things upside down to discover it. I did not want to delay this blog site write-up. I just had to “leave very good ample alone” and show you how to do it with the other stuff.
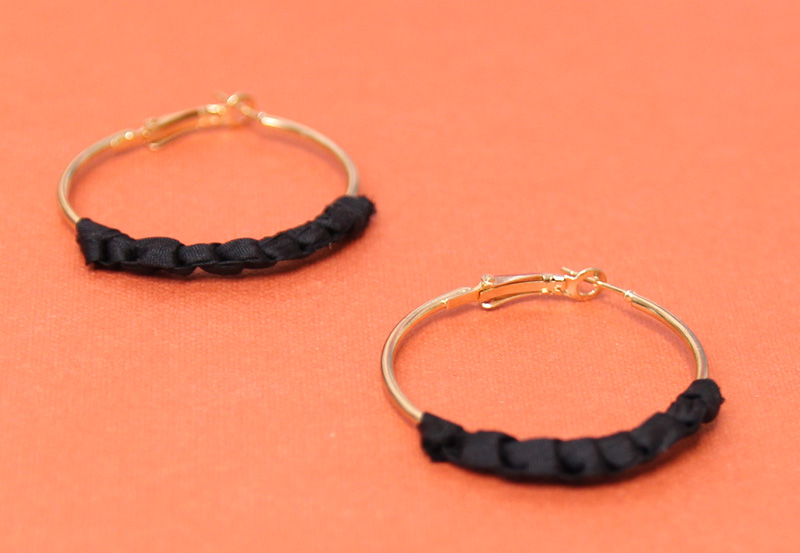
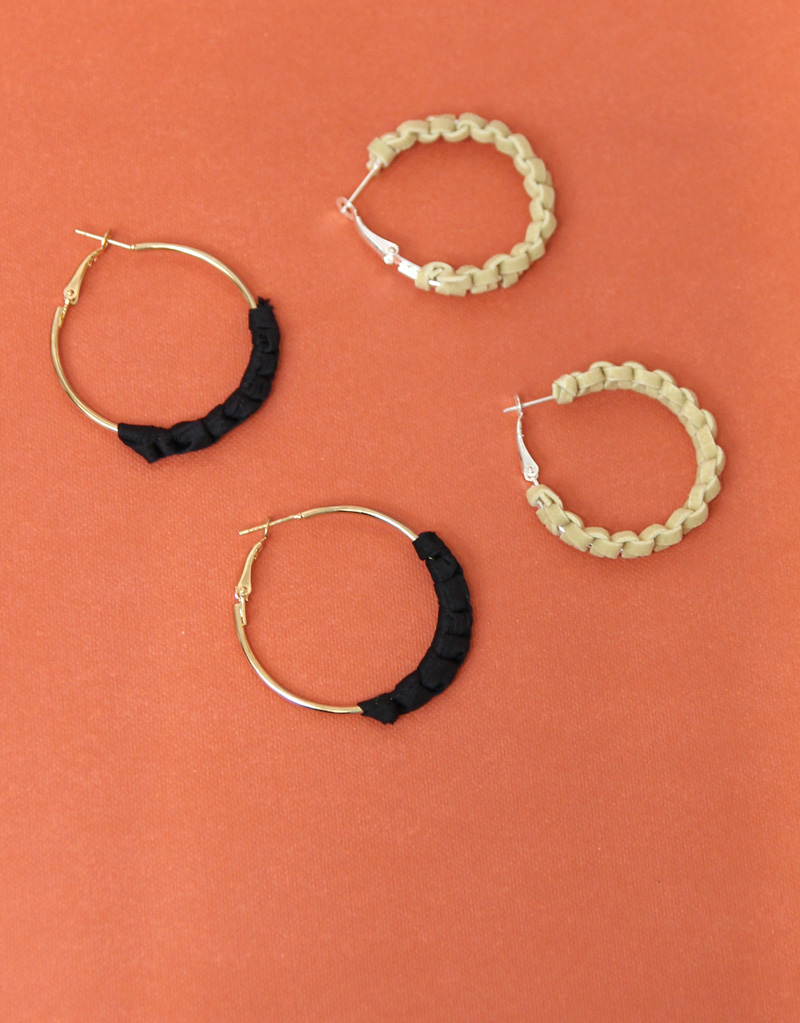
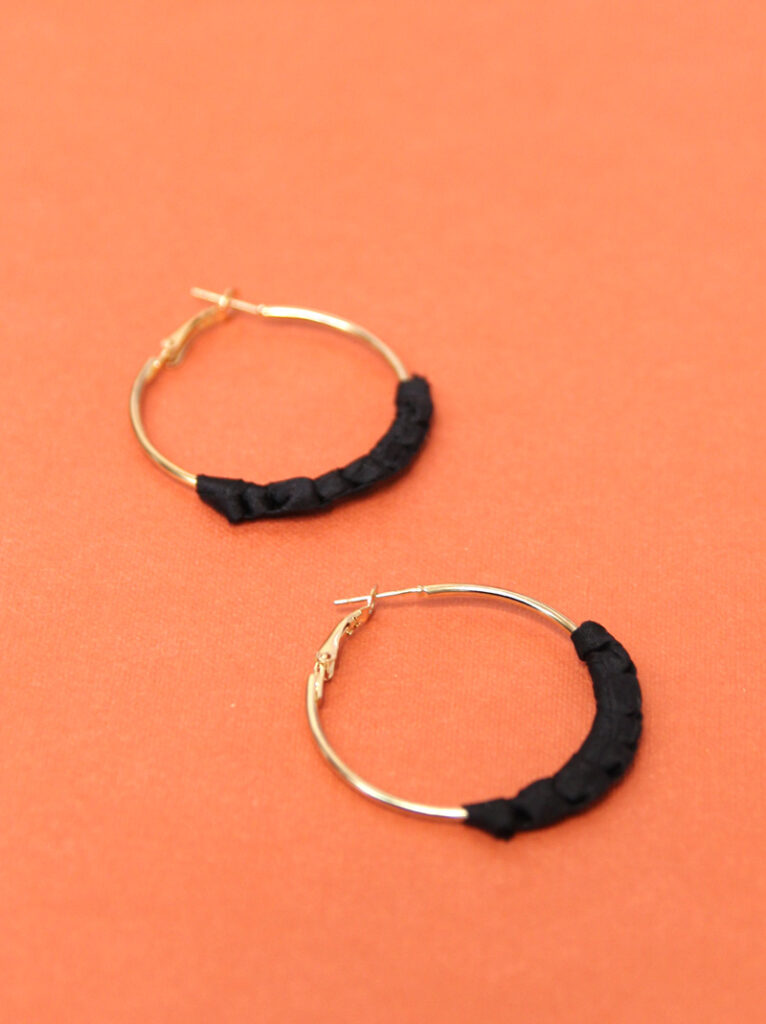
Then, I observed some silk tube cording that was magnificent! It got me a equivalent result to leather-based but it is so considerably extra upscale! I made a decision to preserve it understated and only braid the center portion and adore how it labored out.
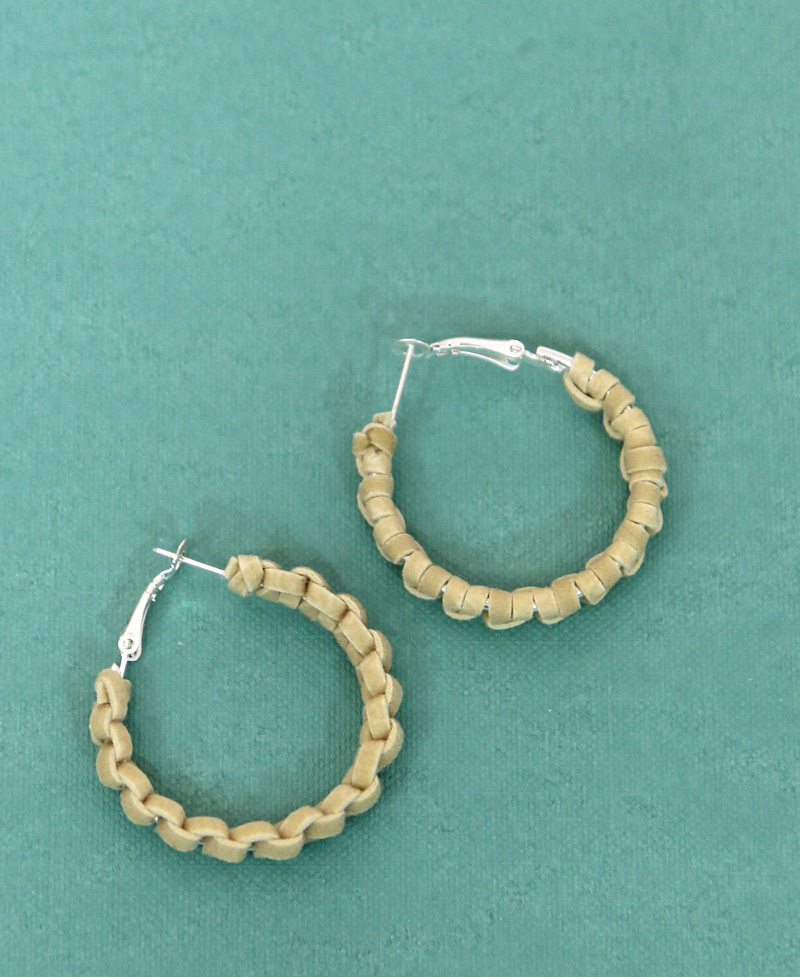
So you can see that you can learn how to make braided leather-based earrings to be sporty and informal, or elegant and upscale. It just relies upon on the string you use!
I also did give it a go with hemp twine, but that was very underwhelming, so I struck that from this tutorial.
What you need to have to make braided leather earrings
How to make braided leather-based earrings
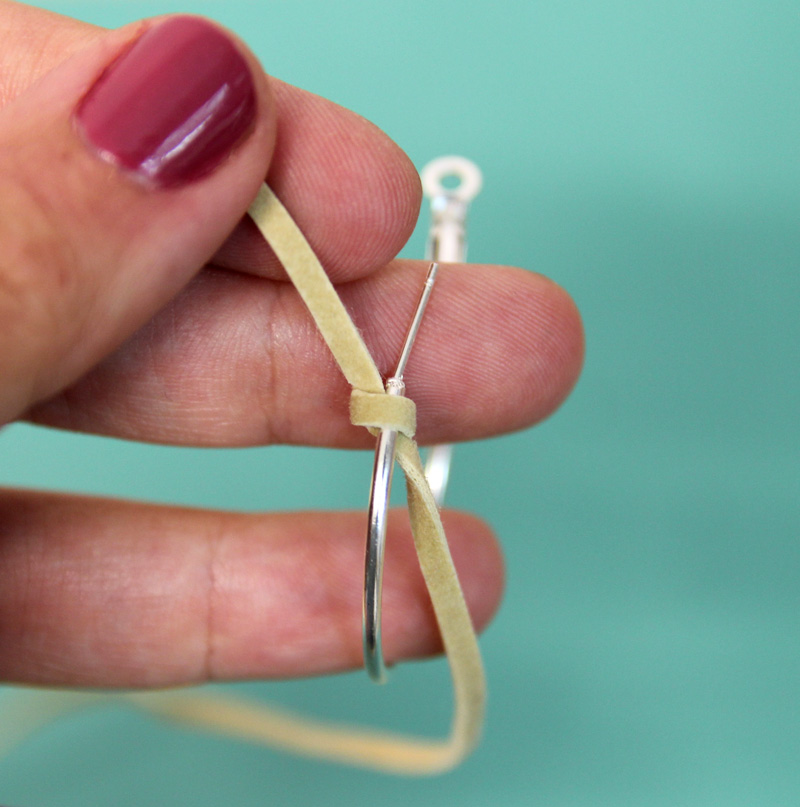
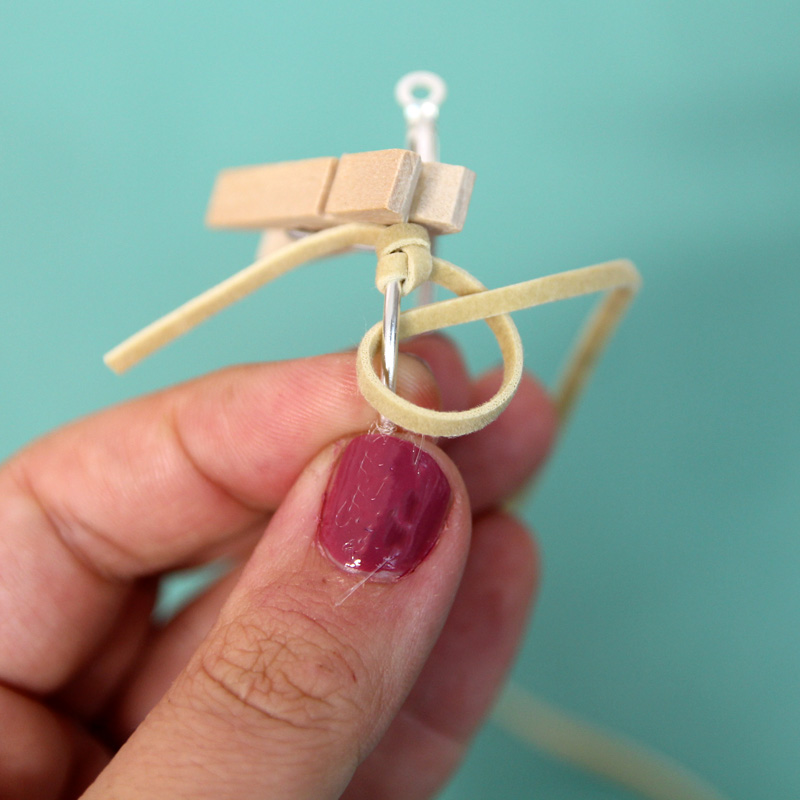
1. Create a knot and slide your hoop through at the earring level. Tighten the knot.
You can make guaranteed that the leather cord doesn’t slide suitable off by placing a rubber loom band or hair tie around it as a stopper. (You’ll see a clothespin applied in some of the course of action photographs – it didn’t do the job as properly as the loom band trick.)
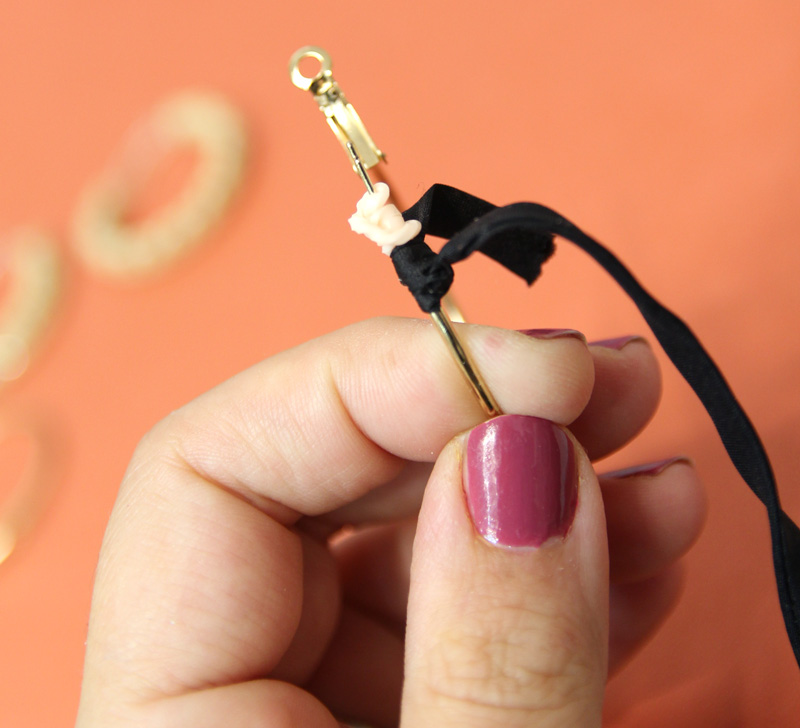
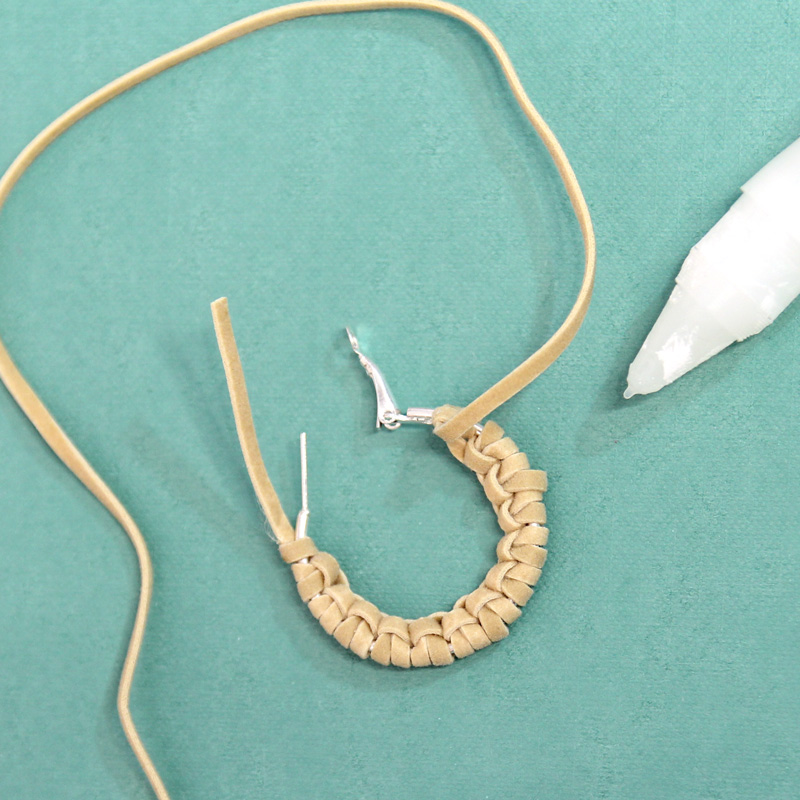
2. Take your very long string and forward knot it all-around the hoop.
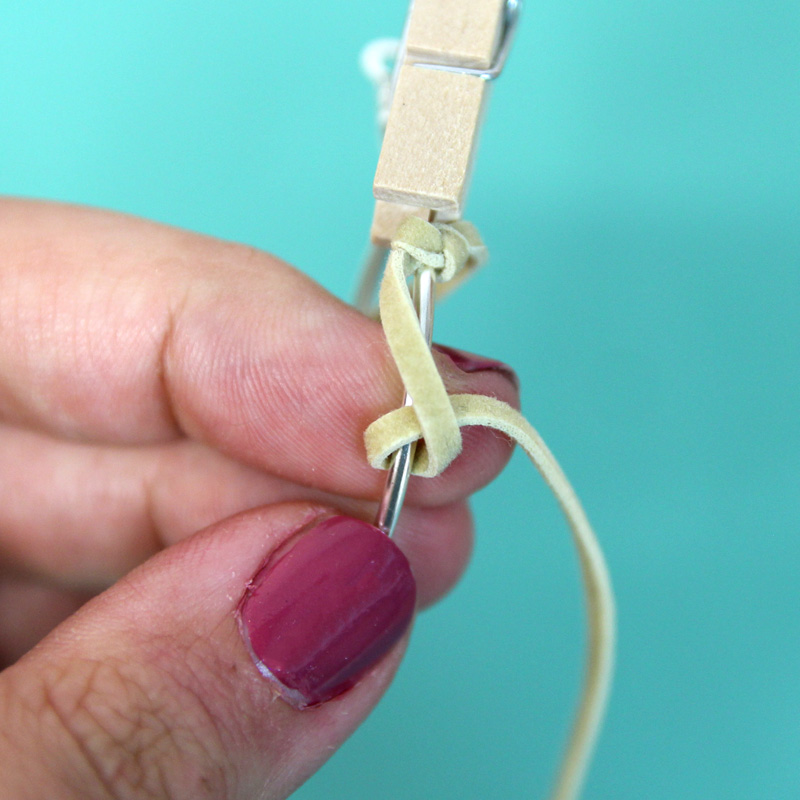
3. Now backward knot it.
4. Keep alternating in between forward and backward knots. You are going to see your braid commencing to form, when you also wrap your hoop. Try to continue to keep the lacing as flat as you can for a neat, polished end result.
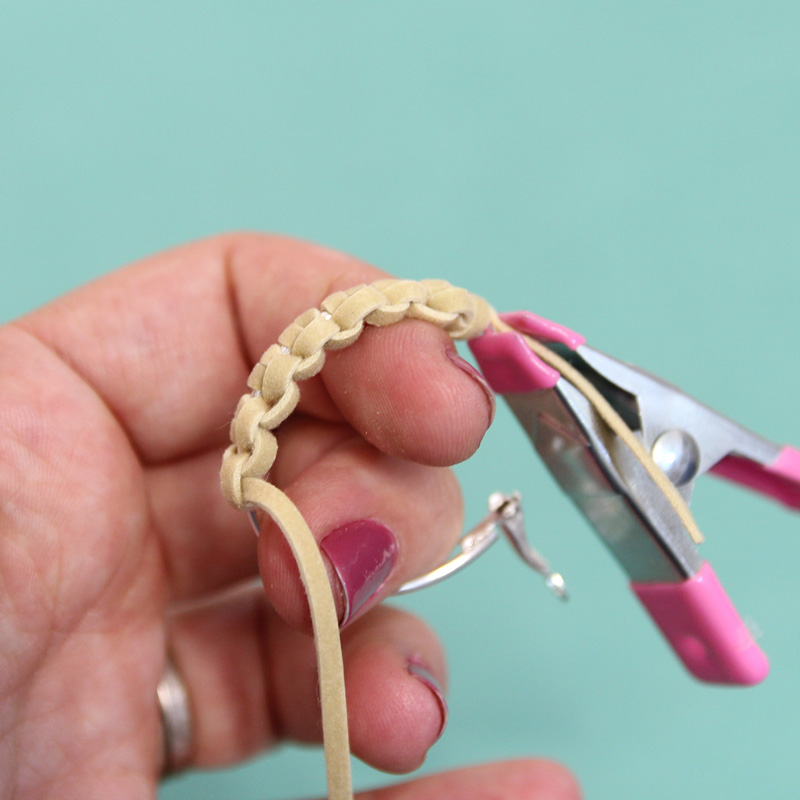

5. When you get to the back clasp, glue your past knot that you did. Pull it as tight as you can just before trimming. Glue your starting up knot as properly. Trim near to the knot.
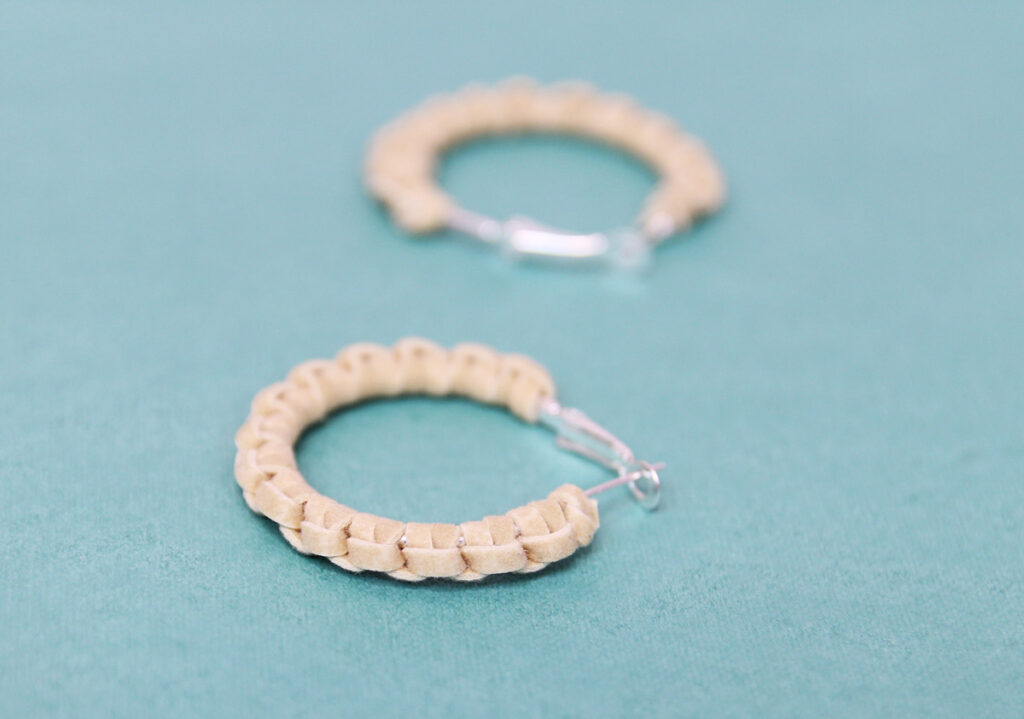
You have nailed how to make braided leather earrings! Which colour will you be producing yours in? Remark down below!

:max_bytes(150000):strip_icc():focal(999x0:1001x2)/rita-moreno-2024-oscars-031024-54cb2c55c28543c6893ec395fd29d6de.jpg "Rita Moreno, 92, Debuts Major Hair Change at 2024 Oscars")


