Table of Contents
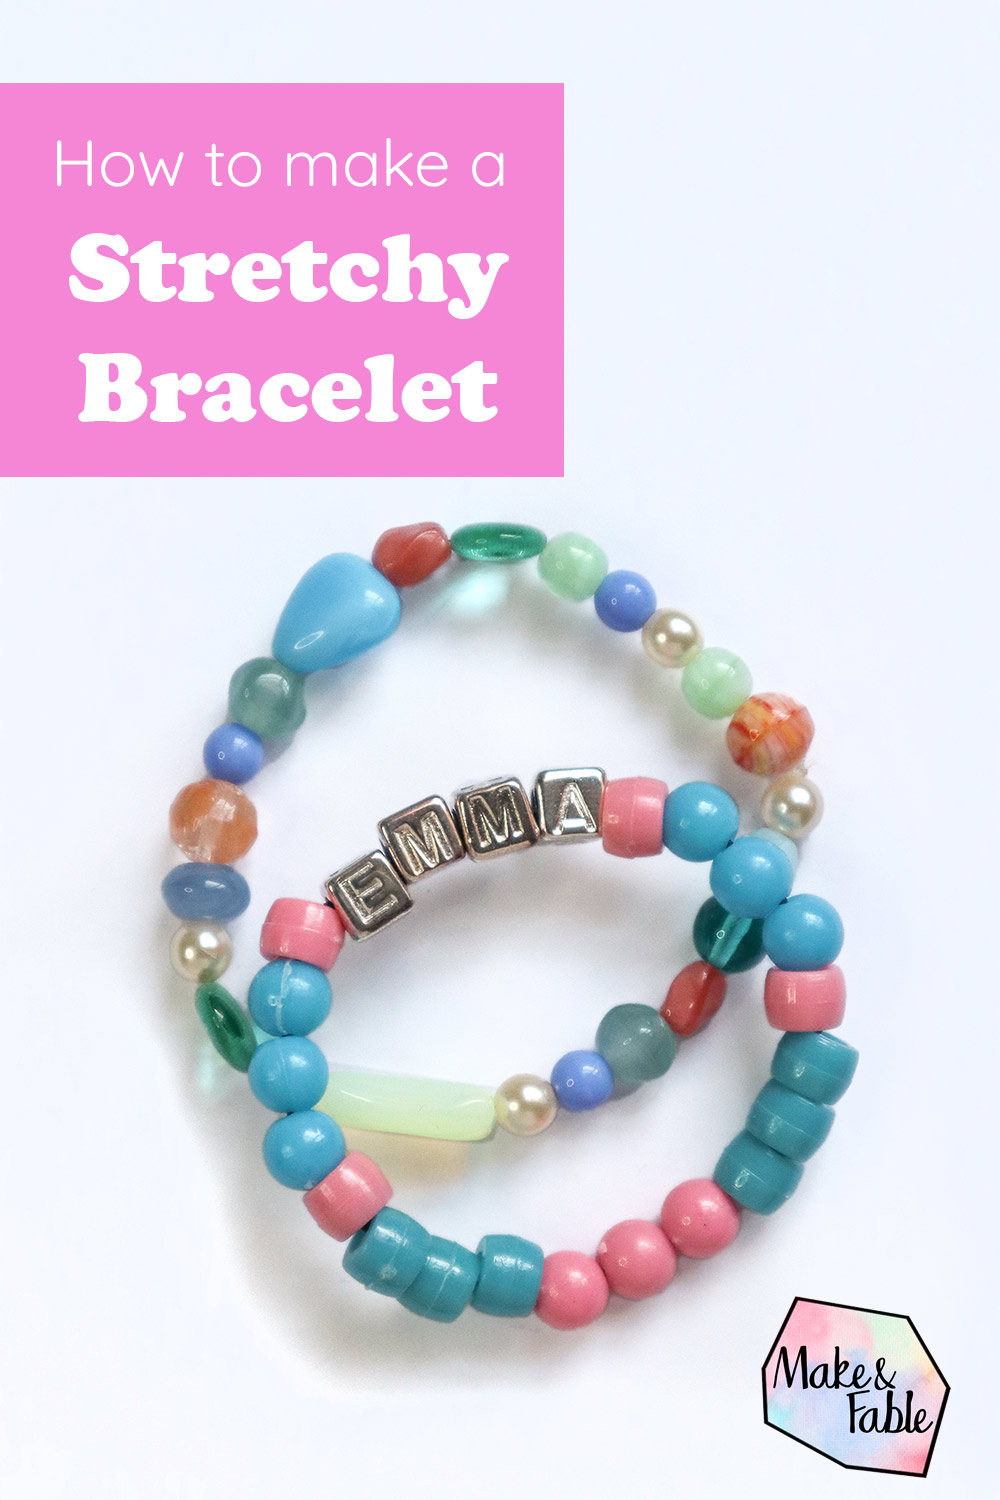
Making a stretchy bracelet with elastic is one of the easiest ways to start making jewellery. You don’t need any tools, just some beads and elastic.
People often look down on elastic bracelets, thinking they are just for kids. But they are so much easier to get on and off, and depending on the beads you use, no one will notice it doesn’t have a clasp.

Types of Jewellery Elastic
There are three main types of elastic you can get for making stretchy bracelets: round fabric elastic, Stretch Magic & Elasticity, and Opelon. Always try and use the thickest diameter of elastic as the beads will allow.
Round fabric elastic, sometimes referred to as hat elastic, has multiple strands of elastic with a fabric covering. It is usually 1mm or 2mm thick, so mainly used for beads with larger holes, like plastic, wood and ceramic.
Opelon and Elonga are both types of Lycra elastic. They are made up of lots of very thin elastic threads that form a flattish ribbon. They are very stretchy, but tend to fray quickly, and I avoid using them for that reason.
Stretch Magic and Elasticity are my preferred jewellery elastic. They are made from a single, rubbery strand, rather than lots of thin stretchy threads put together. This makes them strong, sturdy and easy to thread beads on. These usually come in 0.5mm, 7mm/8mm and 1mm thick and in clear and black.

What Size To Make a Stretchy Bracelet?
If the bracelet is for yourself, you can just start threading beads and keep going until it fits! Or, if you want to lay out a design first, you can find a piece of cord or string and wrap it around your wrist to get your size; its needs to be snug, but not tight. You can then measure this against a ruler or measuring tape, or just cut the string at the right length and lay out your beads alongside it.
You can also get beading trays with measurements and grooves to lay out your beads and test out your designs. It’s best to add an extra bead or two to allow for the extra space the beads take up.
If you are making the bracelet for someone else, and can measure their wrist, you can use the same techniques. If you can’t get their exact measurement, the great thing about elastic is that it allows a little extra wiggle room when it comes to sizing! I’ve also created the following guide to give you a rough idea of what size a bracelet needs to be.
Do I Need To Use A Needle?
Its most peoples natural instinct to want to use some form of needle to help thread beads onto elastic. But in most cases, using a needle makes the job harder! This is because you have to get the eye of the needle and the folded end of elastic through the bead hole. The issues is that it can be tricky to find a needle with an eye large enough to get the elastic through, but small enough to fit through the bead. The only way around this is to use a much thinner elastic, so the bracelet won’t be as strong.

Stretch Magic and Elasticity are sturdy and smooth enough that threading beads on isn’t a problem. If you are having trouble seeing the ends of clear elastic, try some marker pen on the tip. The tip of fabric elastic can fluff up, but dipping the end in some superglue and once dry, cutting it at an angle solves the issue.

Can I Add A Clasp To A Stretchy Bracelet?
This question come up a lot in workshops! And the short answer is no, not really. Elastic isn’t designed to have any metal findings, like clasp or jump rings attached. The metal can easily wear through the elastic and cause it to break. Elastic doesn’t need a clasp so it can be taken on and off, because it stretches! To make a bracelet with a clasp, use a non-elasticated thread designed to be used with metal findings. If that’s what you want to do, take a look at my How To Make A Simple Beaded Bracelet tutorial instead.
How To Make A Stretchy Bracelet
I’m going to be using a black fabric elastic in most the example photos, as it is easier to see. There are a few minor differences between using fabric elastic and Strecth Magic / Elasticity, which I will mention as I go along!
1.Cut a piece of elastic 20cm / 8 inches longer than the finished size needs to be. If unsure, just cut a piece about 40cm / 16 inches long. The extra to ensure you have enough elastic to tie the knot. If you are using Strech Magic or Elasticity, give the cut length a little stretch before you start adding on your beads (there is no need to do this with fabric elastic or Opelon).
2.To stop beads from sliding off as you thread more on, secure one end with a binder clip, or you can get little coils of wire called bead stoppers, designed just for this purpose!
3.Thread on your beads in whatever order you like. Remember that you can add a bit of superglue to the tip of fabric elastic or colour in the end of clear elastic if you are struggling to thread (see Do I Need A Needle? section above).

4.Check the size around your wrist or measure against a ruler or measuring tape. Add or remove beads as needed until it fits, or the beads cover the length needed.
5.To tie your bracelet, we are going to make a reef knot. You should have enough elastic left at either end to easily tie the knot. Scroll to the bottom of the page for a super easy guide to tying a reef knot!) First, remove the clip or bead stopper, and ensure you have equal amounts of thread left on each end. Place the left end over the right end, then wrap it around by going over, behind and up through. This is like how most people start to tie their shoelaces!


6.Pull the two ends apart until the knot tightens and the beads meet.

7.We are going to make a second knot, the opposite way around to the first. So this time take the right thread end over the left, and wrap it around by going over, behind as up through.


8.Pull this knot tight to secure. If using fabric elastic, the textured coating means the knot grips well and is easy to secure. If you are using Strech Magic or Elasticity, you need to pull knots REALLY TIGHT! If you can see the knot wants to open out and come undone, get a good grip on the ends, and pull tightly and hold for a couple of seconds. Once you can see the knot is holding, put a tiny dab of superglue or GS Hypo Cement on the knot.


9.Once the glue is dry, trim the ends off close to, but not right up against the knot. If you have used beads with larger holes, this knot will just disappear inside one. If the holes are smaller, don’t try to force the knot inside as you could break the bead. The reef knot is small enough not to be obvious, especially being clear. Please don’t worry about the knot being visible, because once the bracelet is worn, you have to look hard to find the knot!
I hope you have found this post on How To Make a Stretchy Bracelet useful, if you have any questions, please drop them in the comments. I’d love for you to join The Loop; my monthly email filled with news, exclusives and top tips – sign up here.


:max_bytes(150000):strip_icc():focal(999x0:1001x2)/rita-moreno-2024-oscars-031024-54cb2c55c28543c6893ec395fd29d6de.jpg)


