

Table of Contents
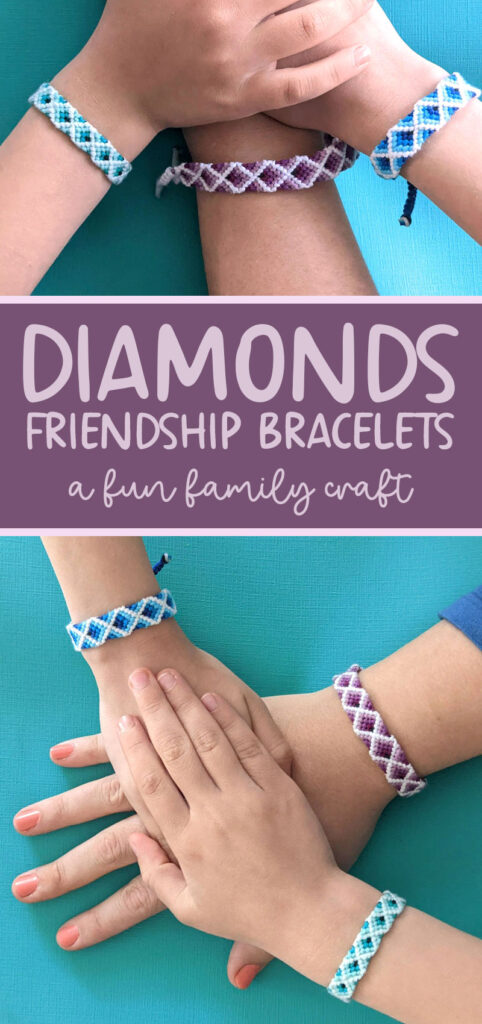
This diamond friendship bracelet pattern has an incredibly cool 3D effect and is so easy to make! If you love this, check out more friendship bracelet patterns for beginners. This post contains affiliate links.
My background in graphic design and art has caused me to think differently when it comes to crafts. And while I spent my tween and teen years immersed in friendship bracelet making, most of my designs were flat. The exception was this zig zag friendship bracelet pattern.
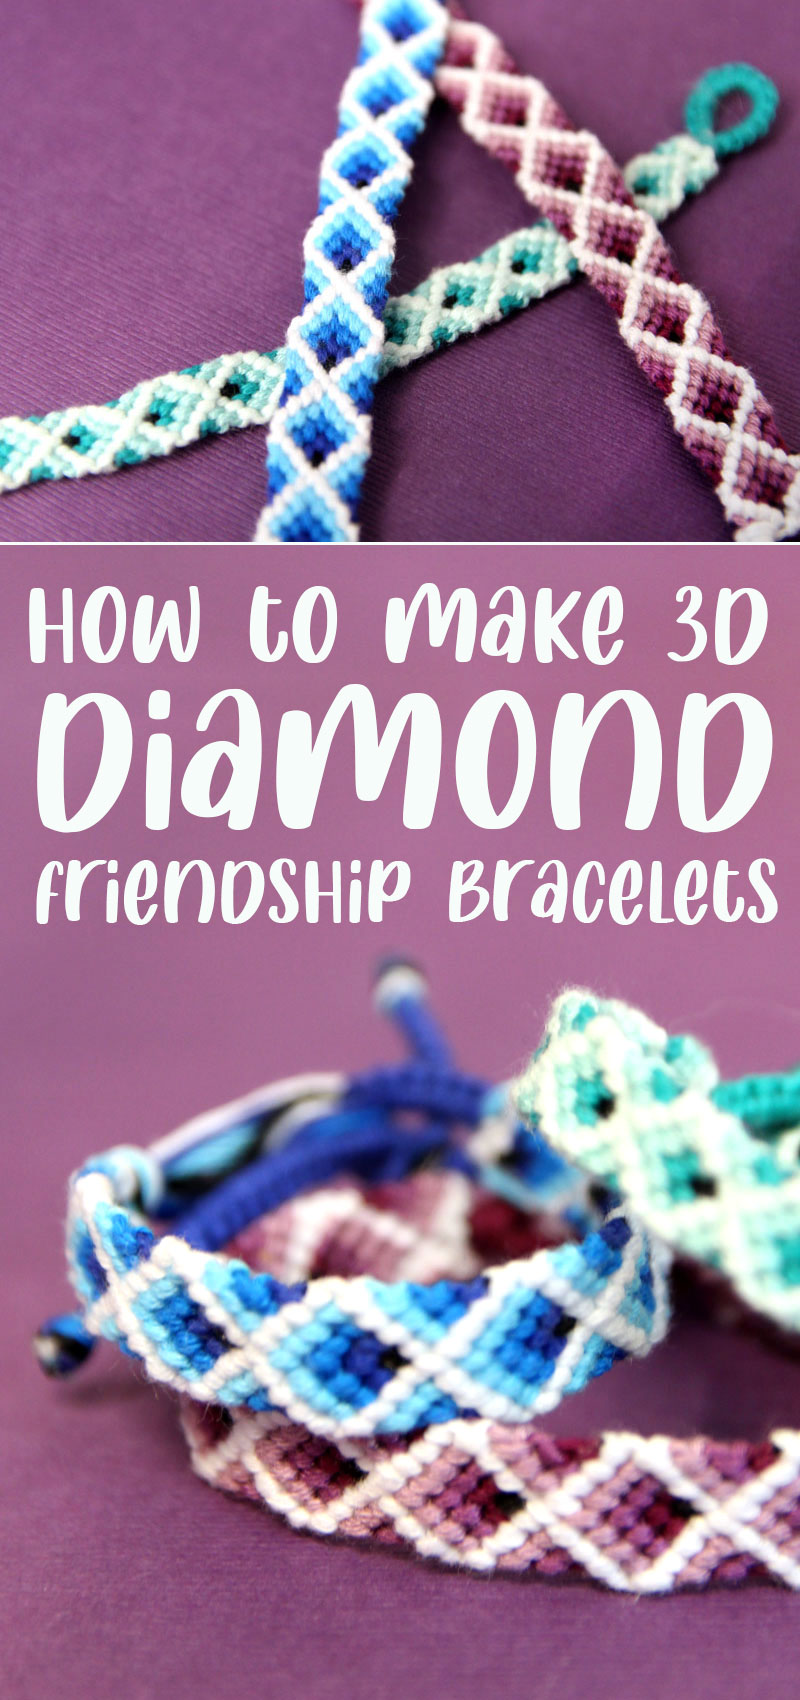
My goal there was to make it look like a curving ribbon, and curve it did! It was a success among many bracelet makers, so I knew I had to make a follow-up that also fuses art and design with the craft of friendship bracelet making. The diamond friendship bracelet pattern was begging to be 3D-fied.
Table of contents:
So, if you’ve enjoyed making my zig zag friendship bracelet pattern, you’ll love making this diamond friendship bracelet pattern!
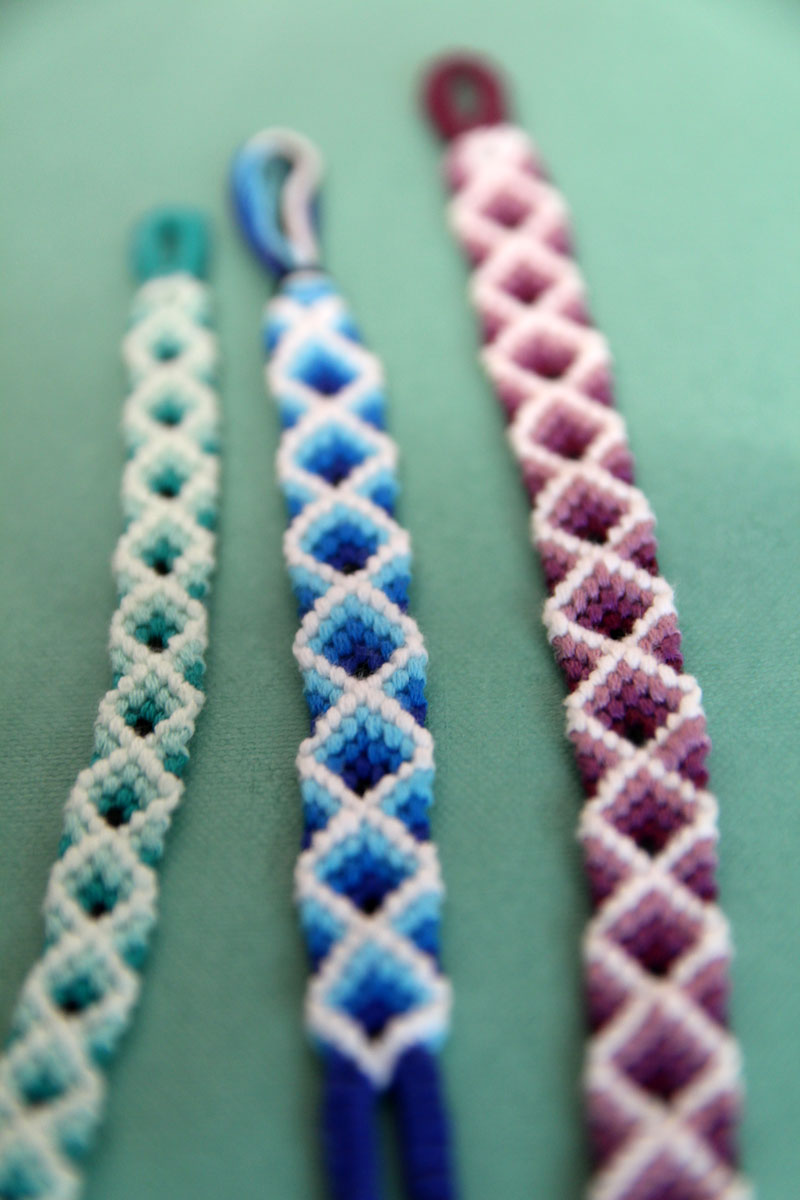
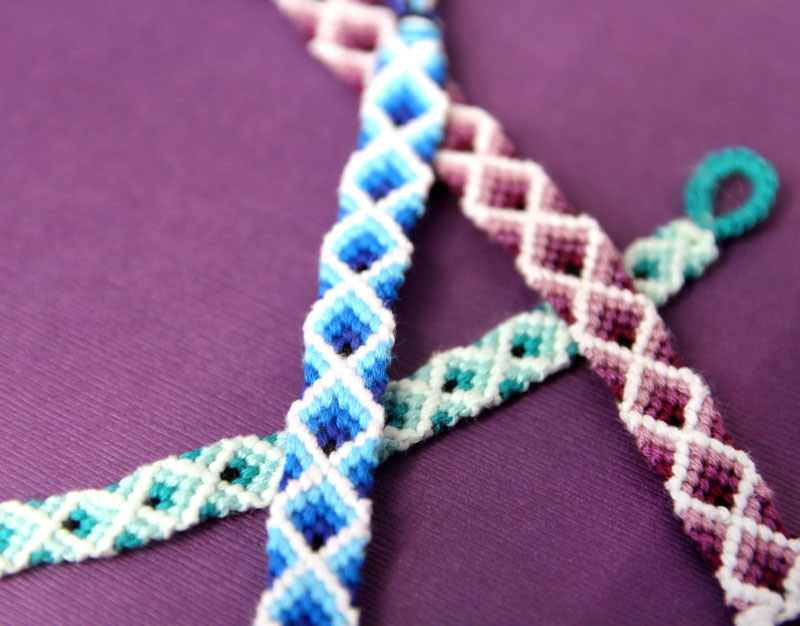
What the zig zag is to a candy stripe bracelet, this is to a Chevron bracelet. Instead of a straight-across ribon, you get a V shaped 3D box effect – or even a double ribbon that meets in the middle.
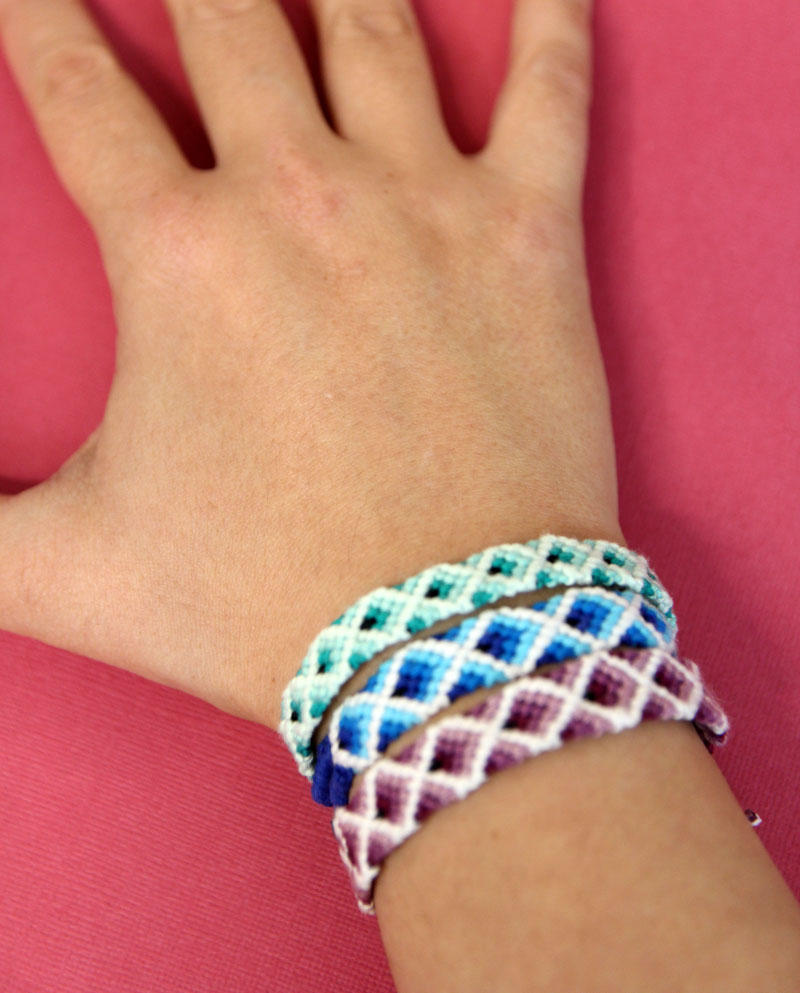
It’s an illusion and you can stare at it for hours enjoying the tricks it plays on the eye.
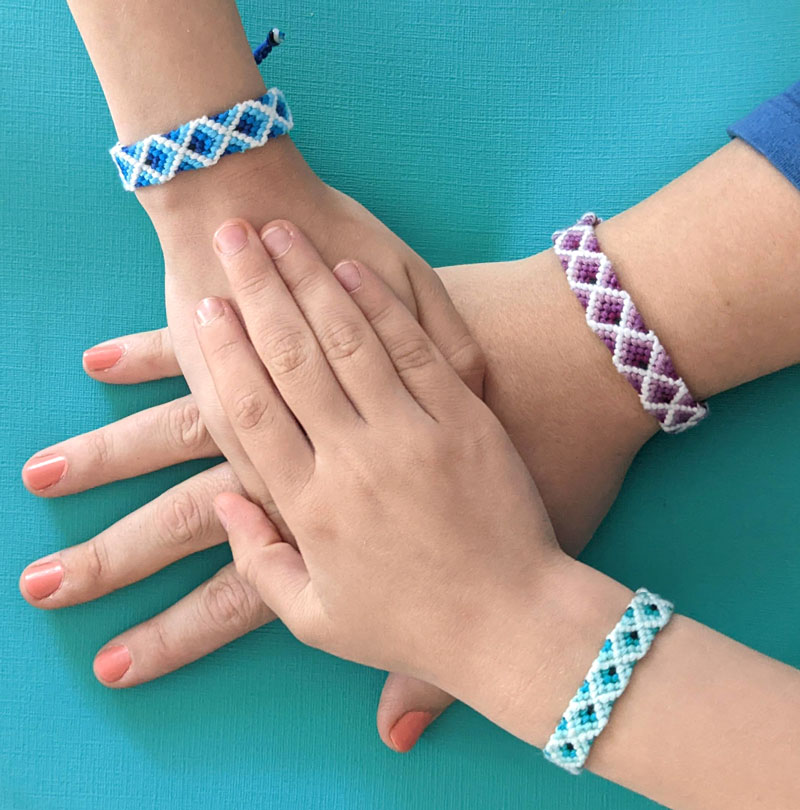
And while my boys are quite obsessed with it, it’s the kind of bracelet even I love to wear!
Tip: if you don’t yet know, learn how to make a friendship bracelet before you try this one!
Tips for making a diamond friendship bracelet pattern with a 3D effect
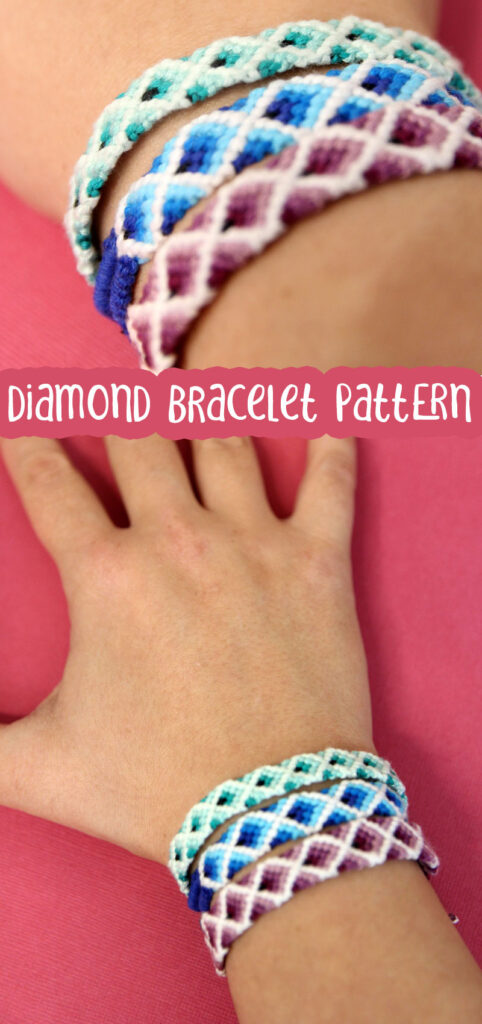
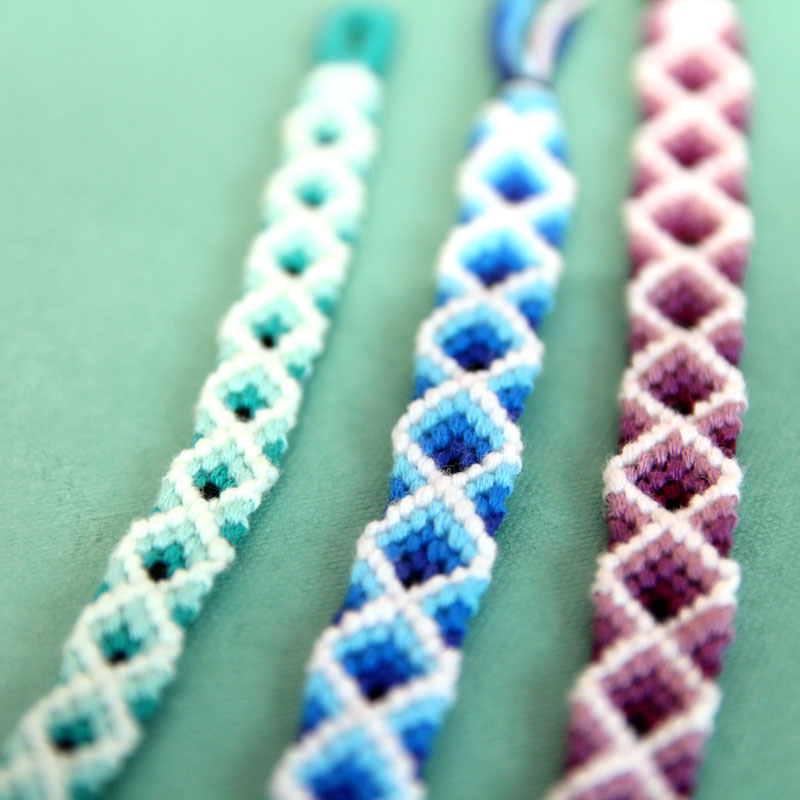
The trick to turning a classic diamond bracelet into a 3D one is by using color shading to make things appear to be closer and farther. To accomplish this on this bracelet, you use white as your lightest color, black as your darkest, and three shades in the middle.
So how many strings do you really need?
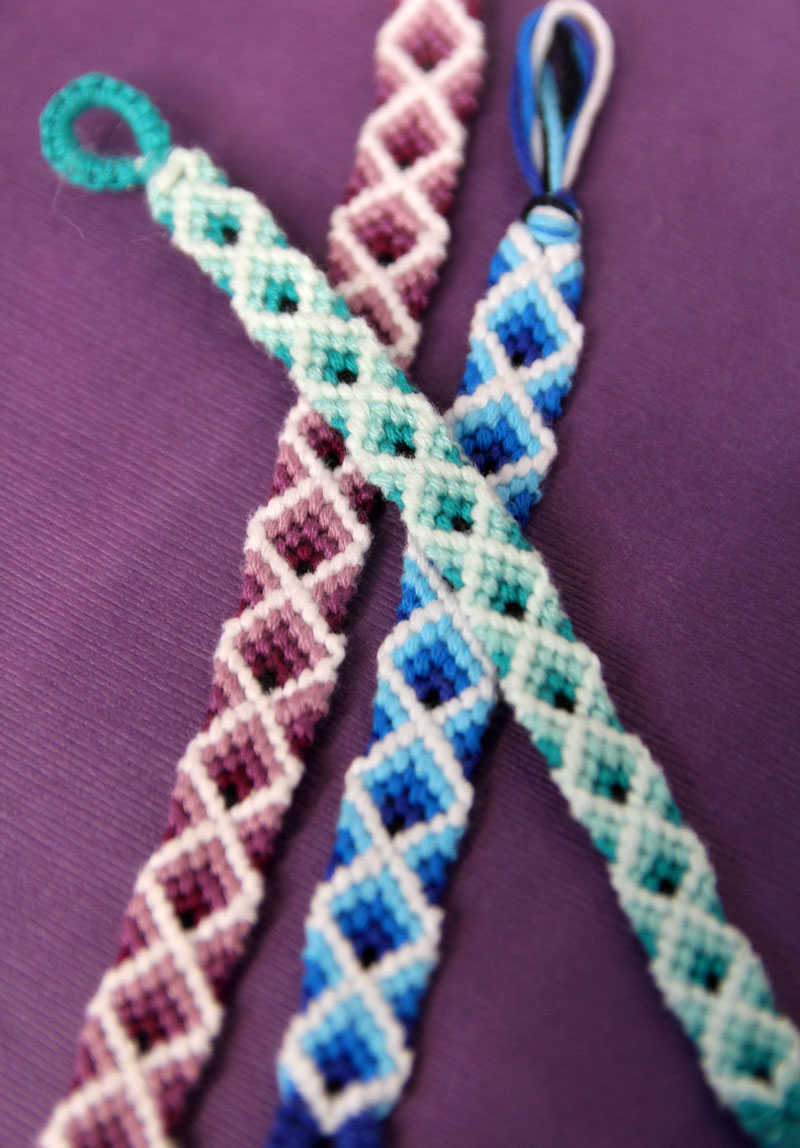
The 5 color – 10 string version
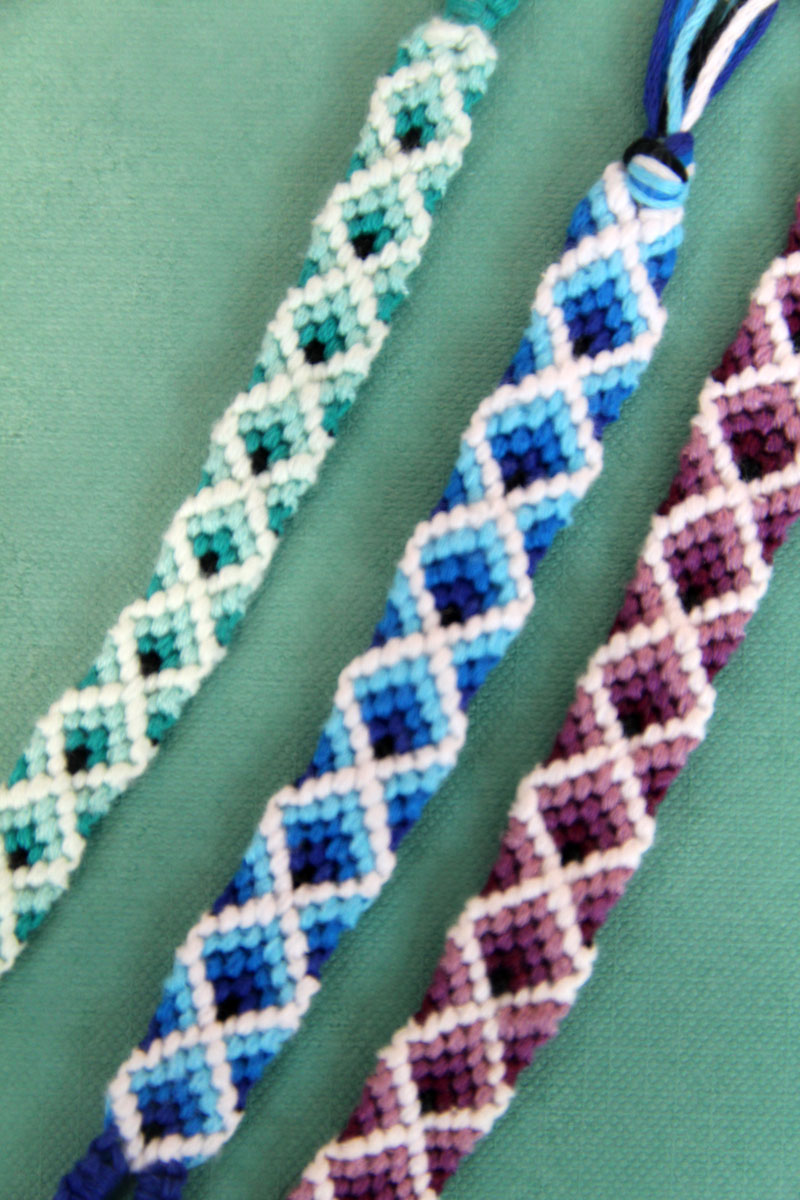
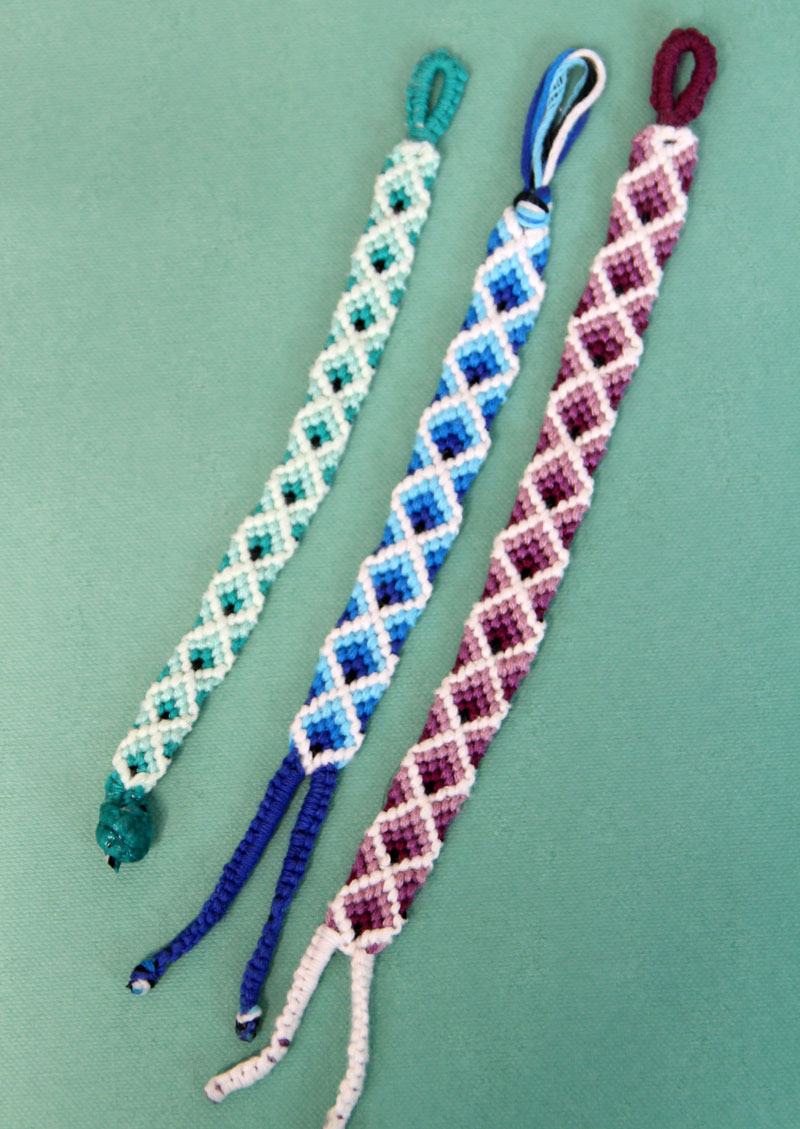
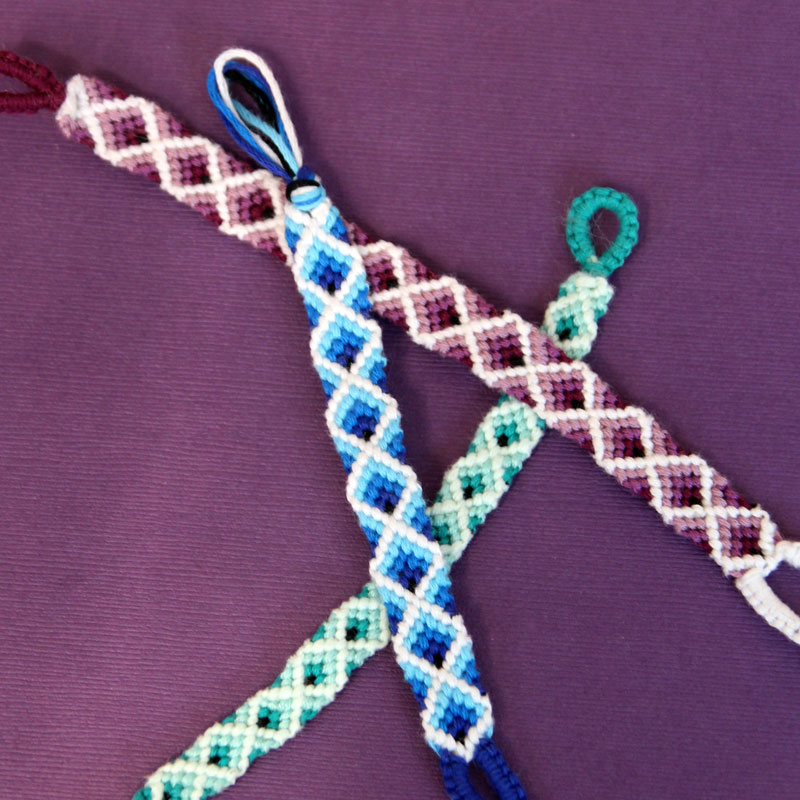
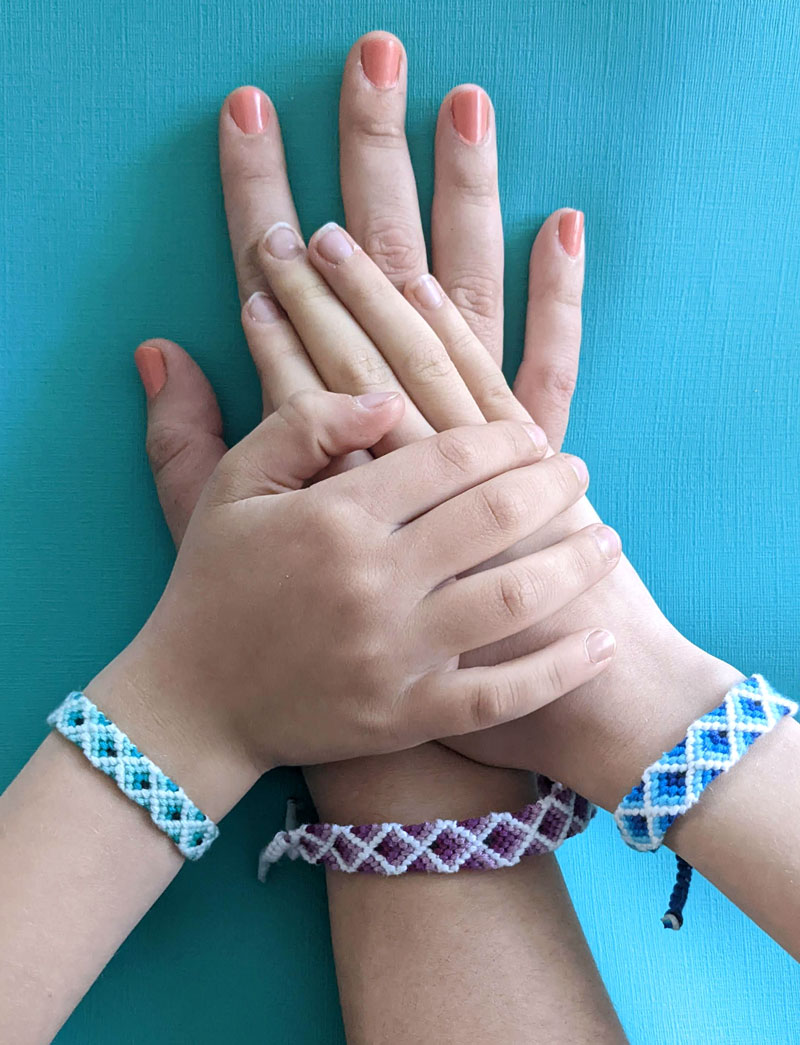
Originally, I made this with five colors. I used white through black for the strongest, most dramatic effect. I used a sky blue, cobalt, and navy blue as my three colors.
The effect is lovely!
However, the more strings you have, the wider your bracelet is – and the longer it takes to complete! So I wanted to see if it can be done with fewer.
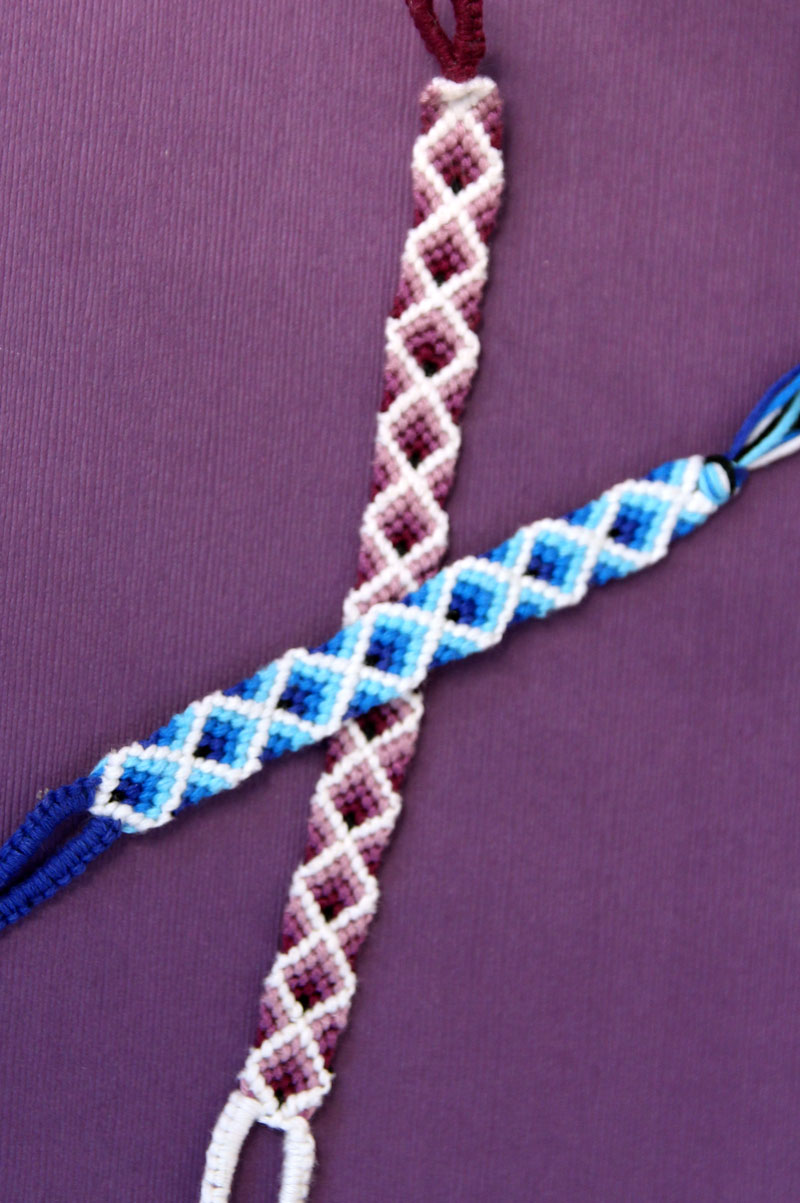
Can you do it in four colors too?
The answer is a resounding yes.
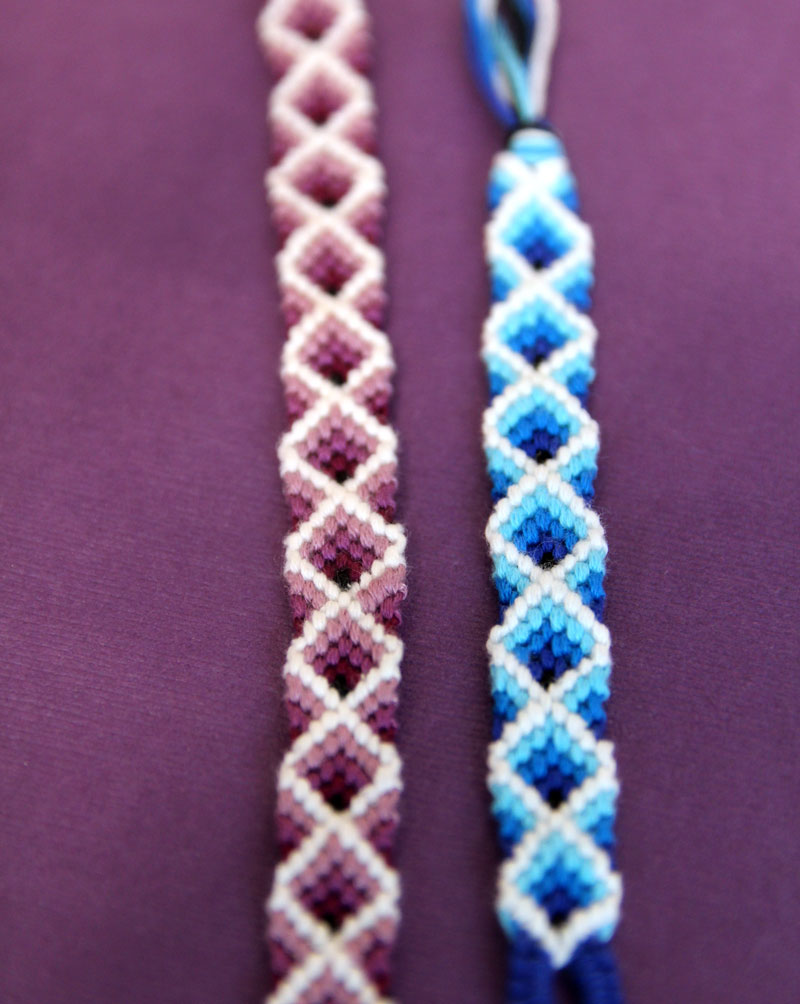
More colors (and yes, you can go with even more than five, if you like your bracelets super wide) will result in a more dramatic effect. Fewer colors will be subtler.
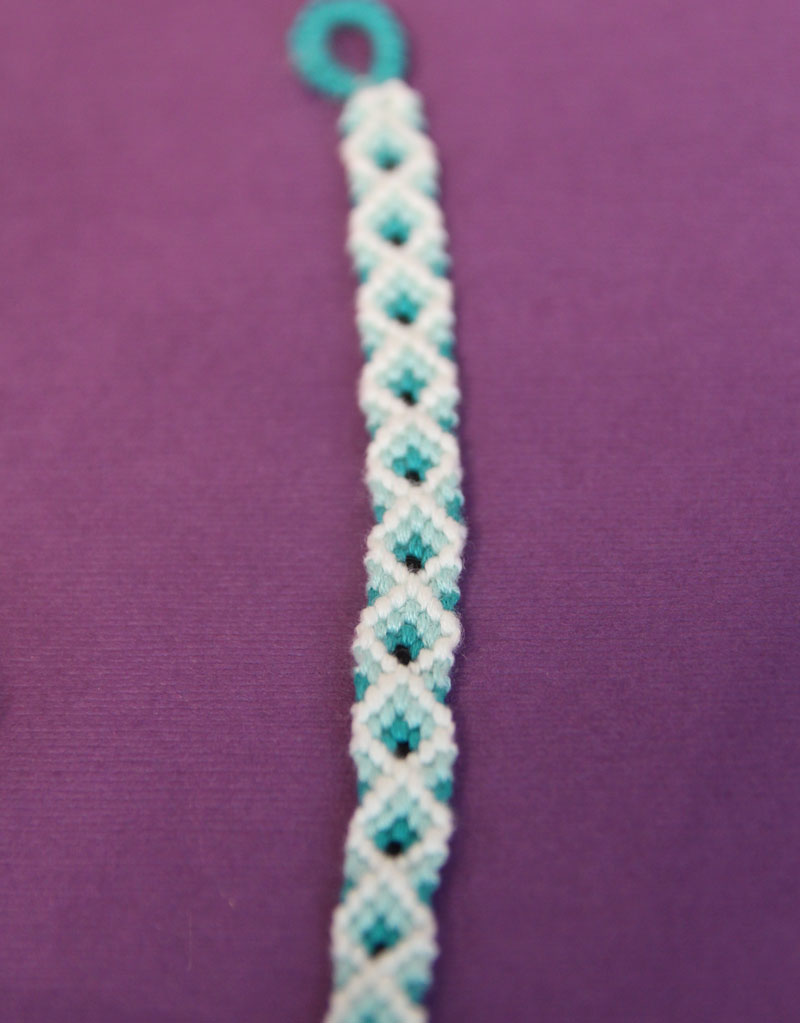
On the teal bracelet, I actually used a very light mint green as my lightest shade. It’s almost white. This contributes to a less dramatic effect. You can do the same with the darkest – use a very dark shade of the same instead of black.

Your lightest color thread will be quite long. If you tend to knot long threads, you can start your bracelet with a few rows of Chevron, and finish it with that as well, using the diamond friendship bracelet pattern for the center only.
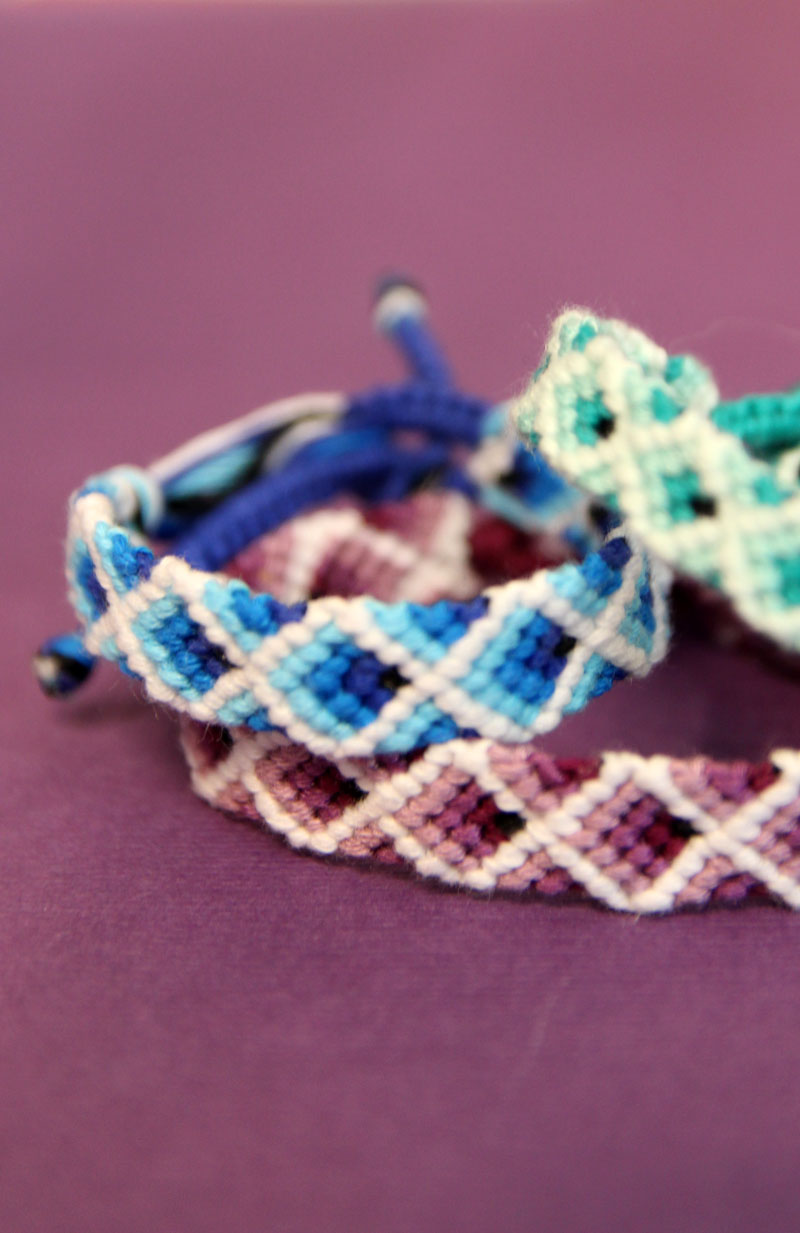
You can also add some string, just make sure your connecting knot ends up in the back of your work.
And a final tip: you can coat the finishing knot in fabric glue and glue it up tight for a trim final effect.
What you need for this diamond friendship bracelet pattern
Skills to know to make diamond friendship bracelets
- Foundation bracelet pattern: Chevron
- Knots: forward, backward – each knot is made of two forward or backward hitches.
- Rule #1: The lightest thread is the most prominent and will be used the most. The darkest will be used the least. You’ll need the most of the lightest so it’ll be pretty long.
- Rule #2: You’ll never be knotting a string around one lighter than it. The lightest it’ll go around is itself, with the rest of the strings going around the darker colors. So you know you completed a row when the next thread is lighter..
How to make a diamond friendship bracelet
Setting it up
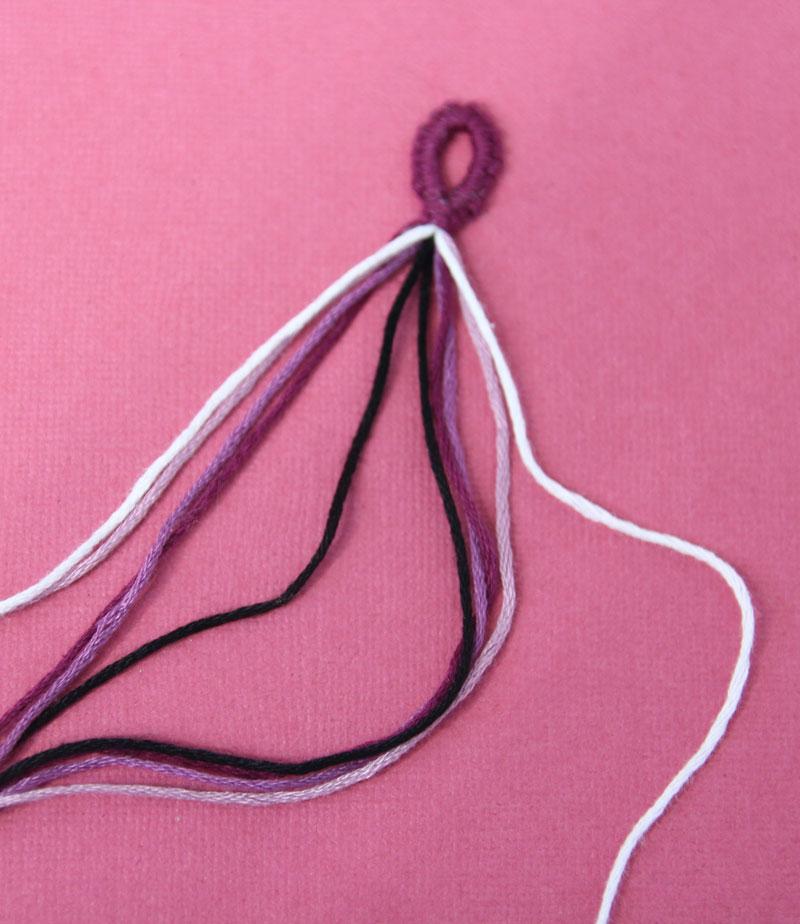
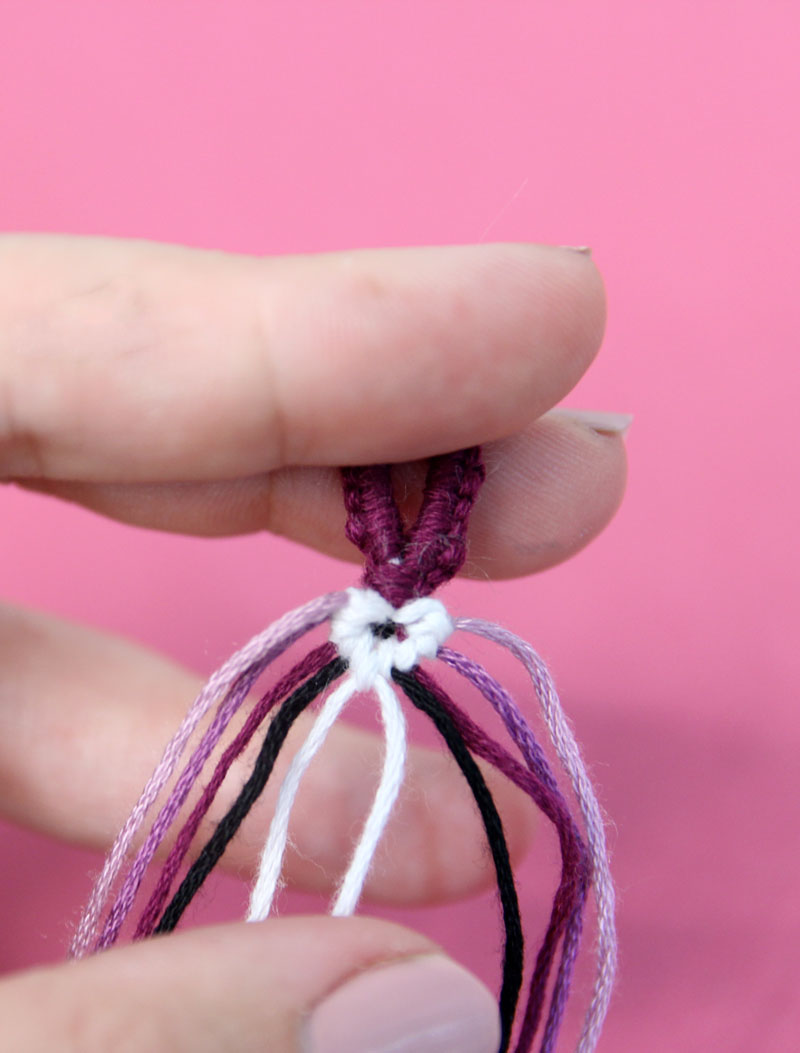
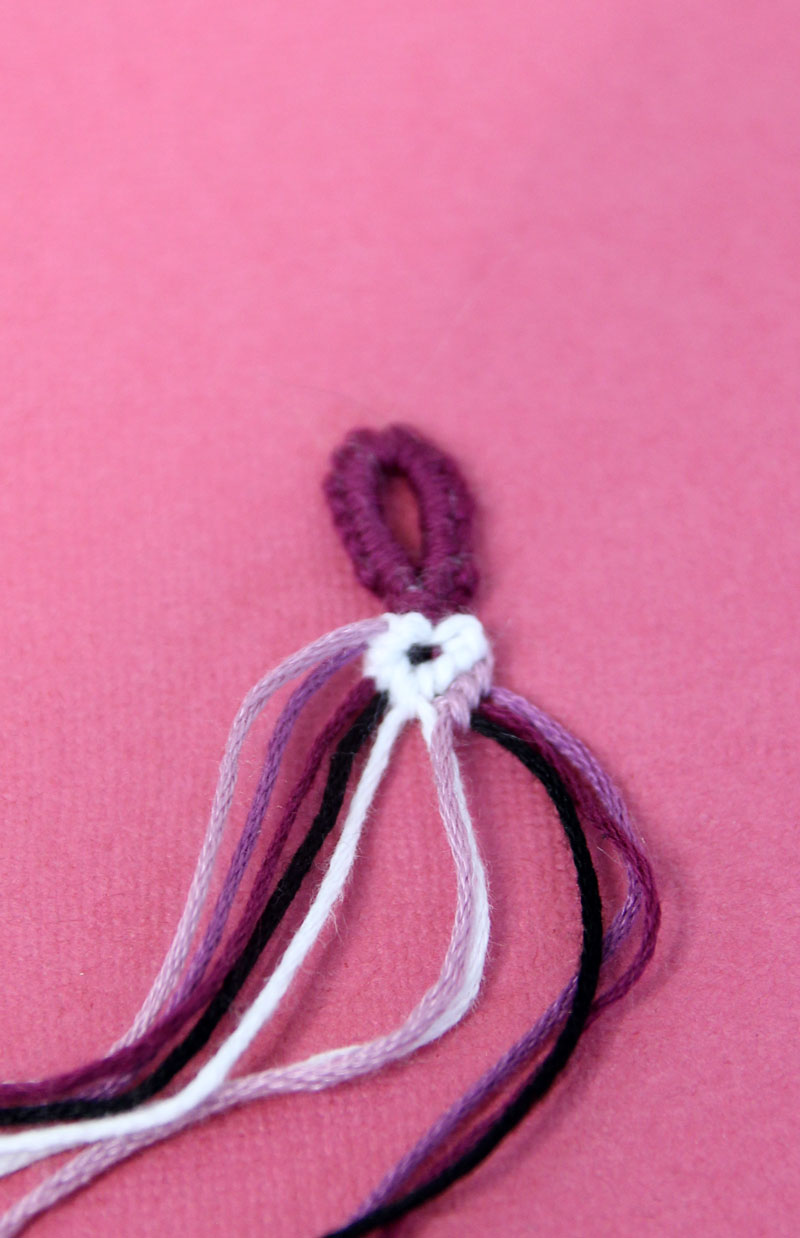
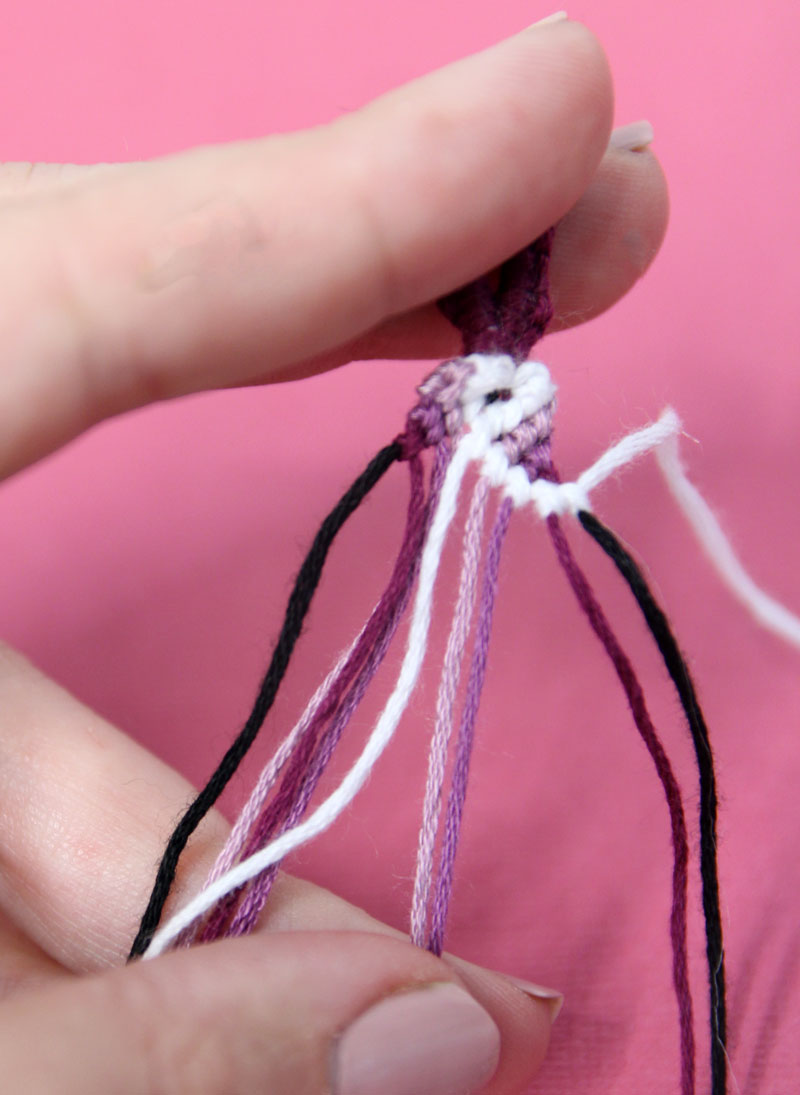
Start your friendship bracelet! I have a separate tutorial with different ways how to start and finish a friendship bracelet.
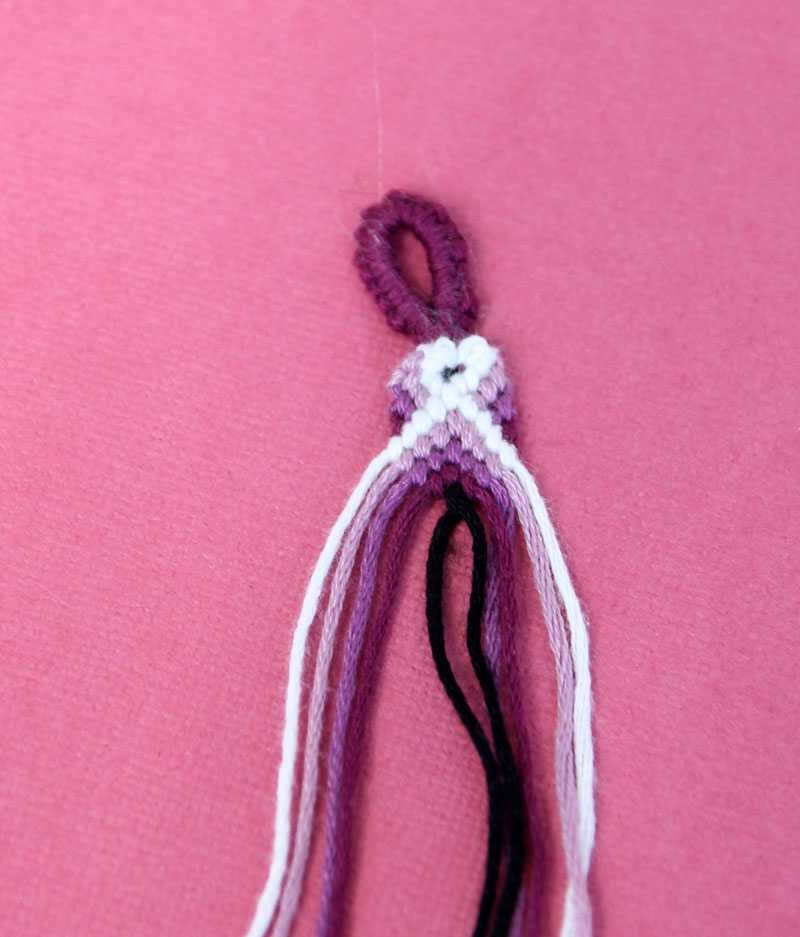
You’ll be starting your diamond friendship bracelet pattern with doubled-over threads.
To make this tutorial clear for you, I’ll be calling the strings as follows: white, light, medium, dark, black. The light-medium-dark refer to the three shades of your colored string. It doesn’t really matter which colors – it’s the shading that gives it the 3D effect.

This is essentially a modified chevron. You’ll be much better off making the diamond friendship bracelet pattern if you’ve given this one a go in the past! Before making this, I recommend you use my post to learn to make your own friendship bracelets, including chevron bracelets.
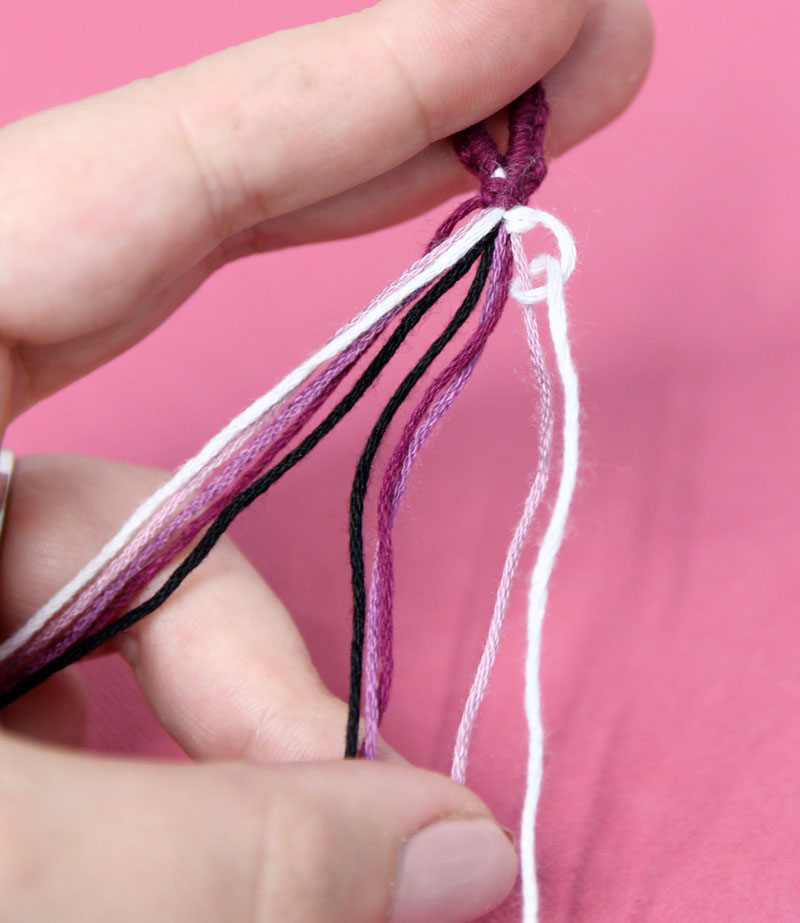
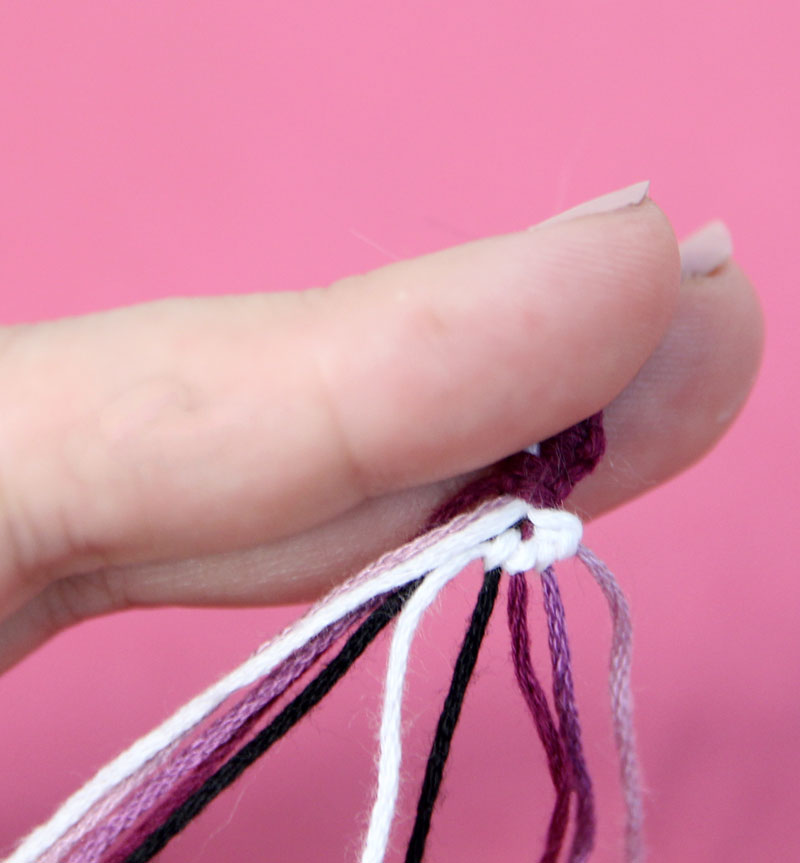
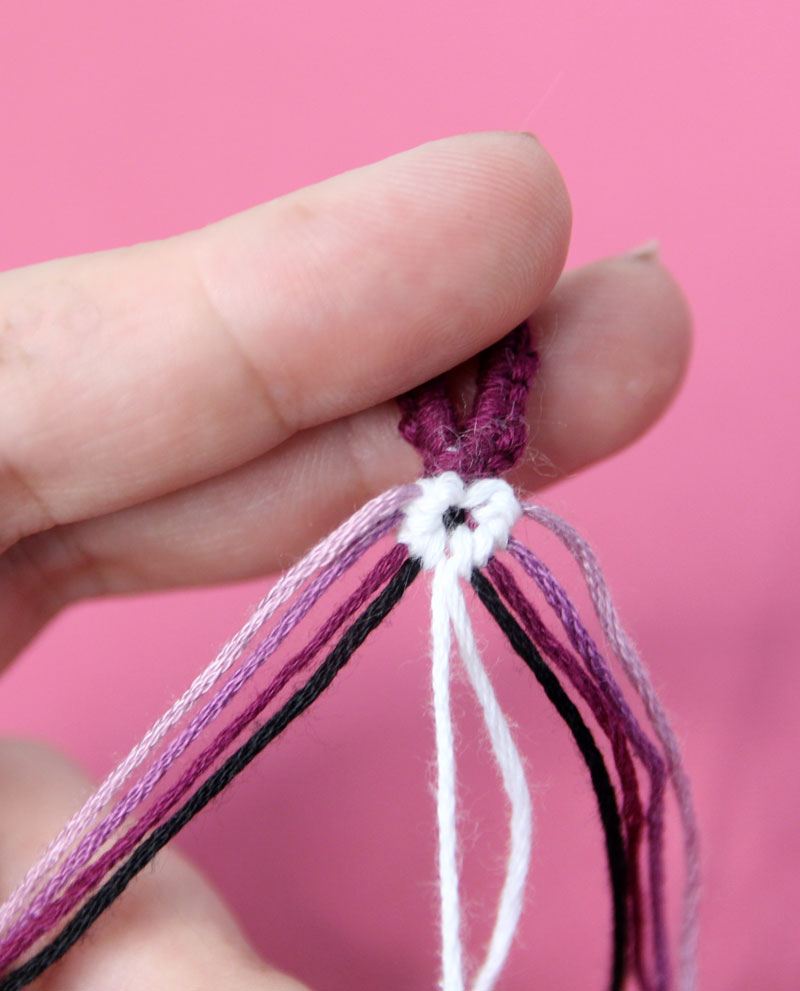
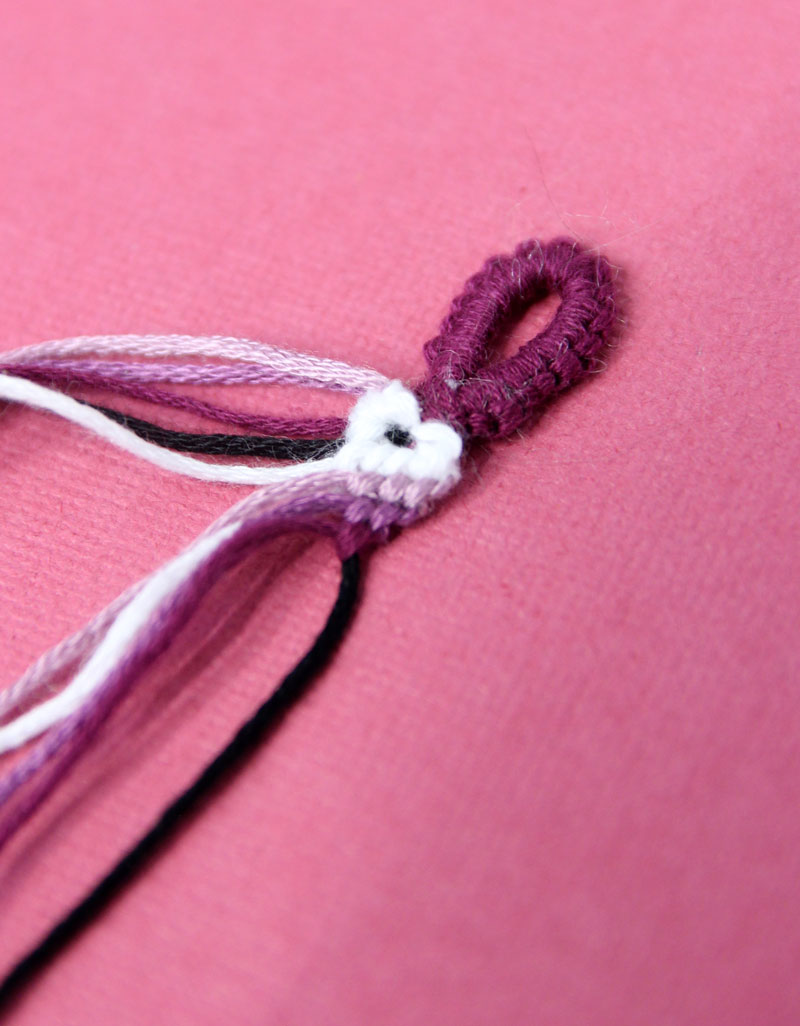
1. Start by setting up your bracelet as follows: lightest on the outsides and darkest on the inside. So from left to right, your threads should be arranged as follows: white, light, medium, dark, black, black, dark, medium, light, white.
Row 1
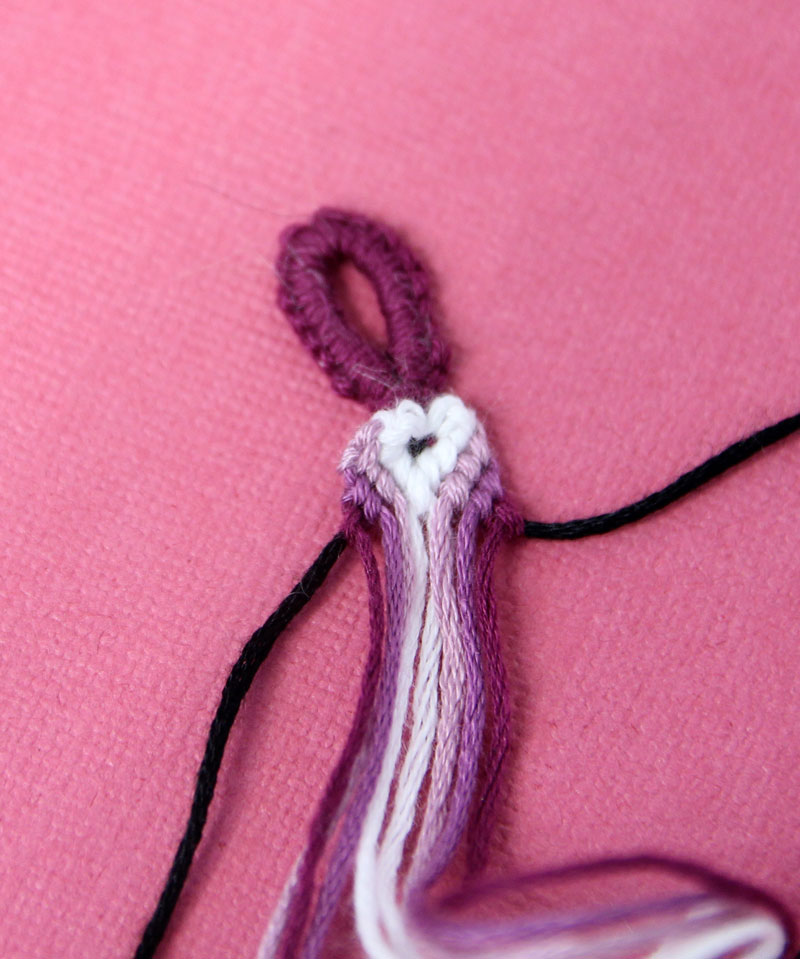
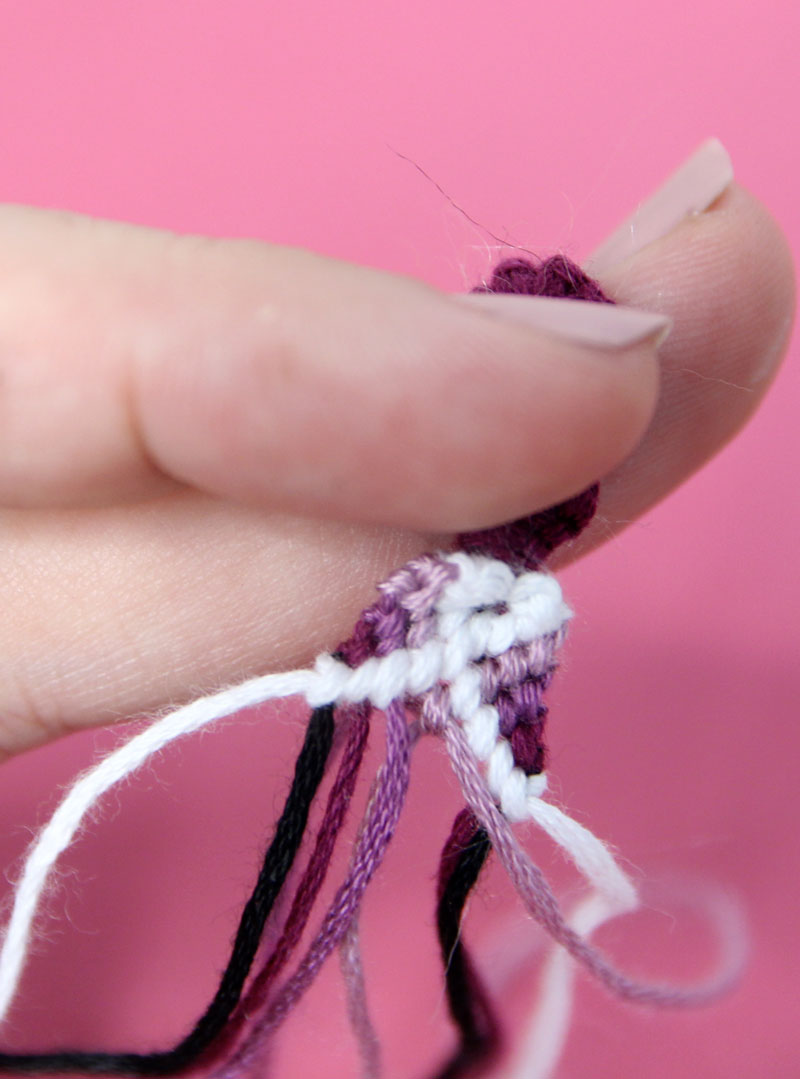
2. The first step is to make a first row of Chevron. Take your rightmost white thread. Backwards knot (two backwards hitches) around the light right next to it.
3. Keep backward knotting around each thread darker than it (medium, dark, black), from lightest to darkest, until you reach the second black one. This establishes the order of the threads
4. Now take the left white thread and repeat what you did, only in the reverse. Forward knot (two forward hitches) it around each thread from lightest to darkest – light, medium, dark, black – until you meet the first white one in the middle.
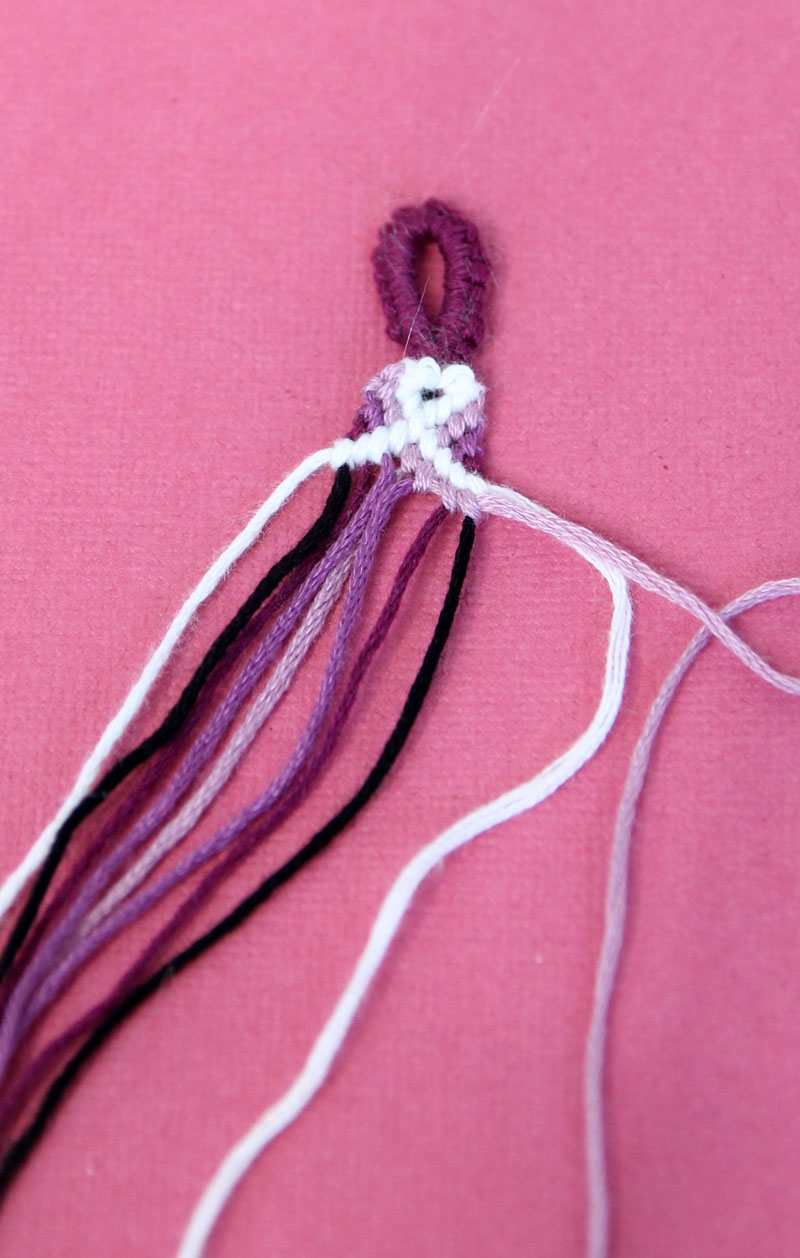
5. Complete the chevron V shape by knotting any white around the other white (twice in the same direction.) The first row can often look a bit odd – don’t worry about it. The shape establishes itself as you continue on with creating your bracelet.
Rows 2-5
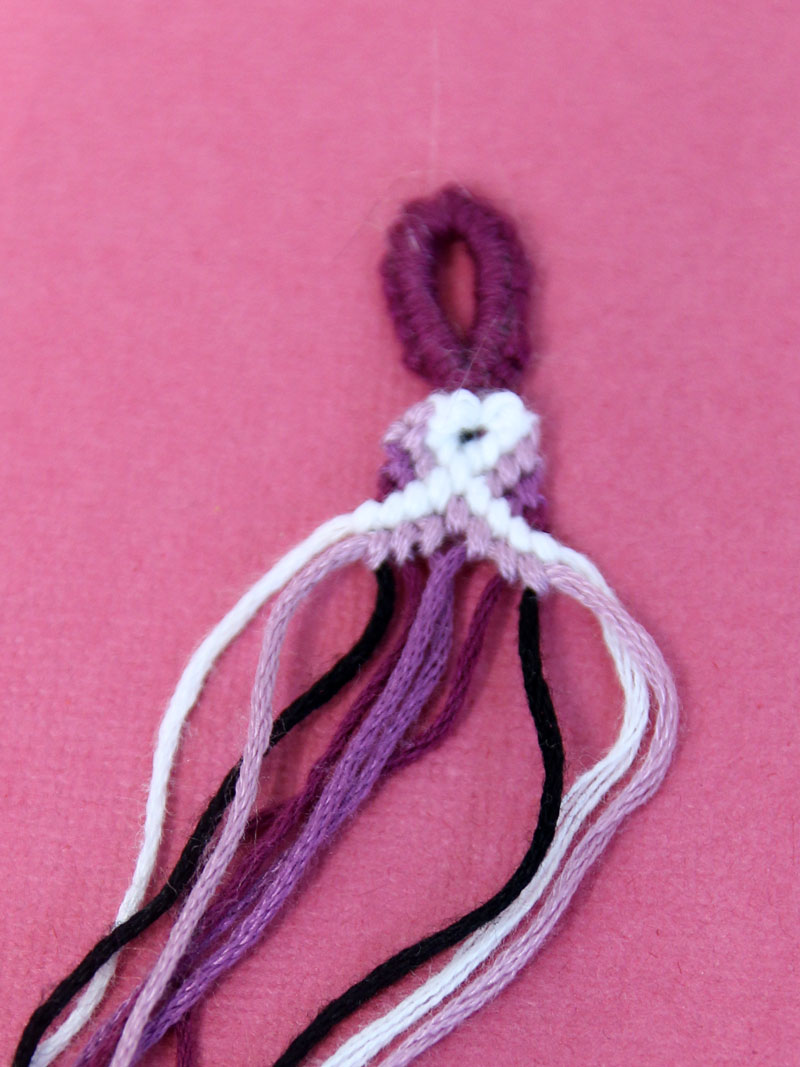
6. Take the rightmost light thread, backwards knot around the next three in order: medium, dark, black. STOP when you get to the white thread.
7. Now take the rightmost medium thread, backwards knot around dark and black. Take the dark thread and backwards knot around black. Always stop when you get to the lighter threads.
8. Repeat this in the reverse on the other set! Light gets forward knotted around medium, dark, black. Medium around dark and black. And dark around black.
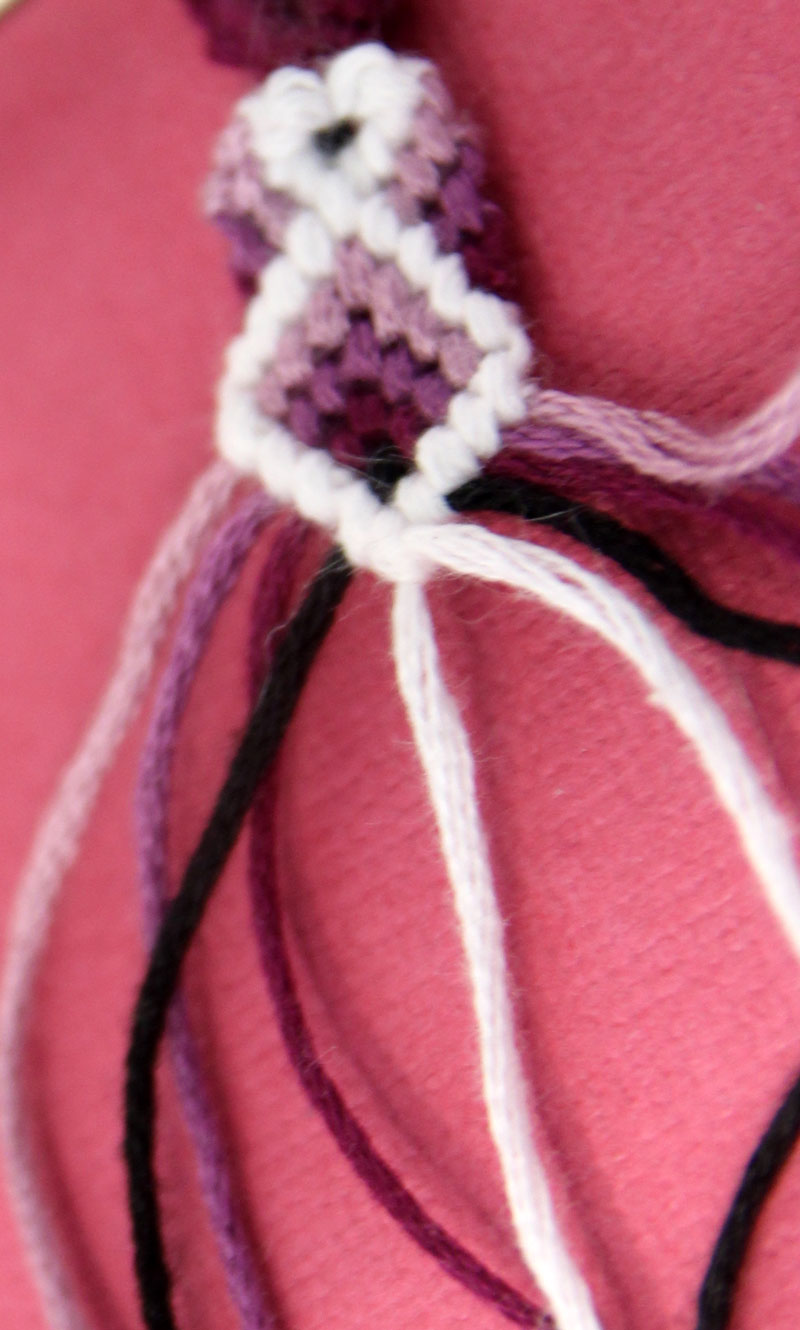
9. Now, take your right center white thread. Forward knot around light, medium, dark, and black until it reaches the outer position.
10. Repeat with the left white thread, backwards knotting around light, medium, dark, and black until it reaches the outer position. You’ve formed the outer split 3D shapes, as well as an upside down white chevron.

Rows 6-9
You’re going to be creating the inside of the 3D diamond. To do this, you’re “shading it in” with the deepest corner black, and the outer rim white (which you already formed). This is again going to be an upside down chevron, with each row only knotted around those darker than it.
11. Take the left light and forward knot around the light next to it.
12. Continue forward knotting it around medium, dark, and black. Stop when you hit the white.
13. Repeat in the reverse with the light that’s still in the center. Backwards knot it around medium, dark, and black.
14. Medium is in the center. Repeat the process around itself, dark and black to create a smaller upside down V. Then repeat with dark. Black only gets knotted around itself (don’t forget this step!!). You now have the 3D filling of the diamond friendship bracelet pattern.
15. Continue as you did with step 2-5, creating a single white chevron row. While this is really “row 1” of your pattern, this is also where you’ll see the 3D filled diamond effect really come together!
Keep knotting your diamond friendship bracelet pattern until it’s complete. Then make another – and another! Isn’t it so incredibly cool?!
Active Time:
2 hours
Total Time:
2 hours
Difficulty:
Intermediate
Estimated Cost:
$1
Learn this incredibly cool 3D friendship bracelet pattern in a diamond shape! This bracelet is quite beginner friendly, due to the sequential row knotting. It’s a take on the Chevron bracelet with a bit of a twist.
Instructions
- Cut strings to length: White: 90 inches, Light: 80 inches, Medium: 60 inchesDark: 40 inches, Black: 20 inches.
- Set up your bracelet by folding over your strings so you have each color twice. To make this tutorial clear for you, I’ll be calling the strings as follows: white, light, medium, dark, black. The light-medium-dark refer to the three shades of your colored string. They should be arranged as follows: lightest on the outsides and darkest on the inside. So from left to right, your threads should be arranged as follows: white, light, medium, dark, black, black, dark, medium, light, white.
- The first step is to make a first row of Chevron. Take your rightmost
white thread. Backwards knot (two backwards hitches) around the light
right next to it. - Keep backward knotting around each thread darker than it (medium, dark,
black), from lightest to darkest, until you reach the second black one.
This establishes the order of the threads. - Now take the left white thread and repeat what you did, only in the reverse. Forward knot (two forward hitches) it around each thread from lightest to darkest – light, medium, dark, black – until you meet the first white one in the middle.
- Complete the chevron V shape by knotting any white around the other
white (twice in the same direction.) The first row can often look a bit
odd – don’t worry about it. The shape establishes itself as you continue
on with creating your bracelet. - Take the rightmost light thread, backwards knot around the next three in order: medium, dark, black. STOP when you get to the white thread.
- Now take the rightmost medium thread, backwards knot around dark and black. Take the dark thread and backwards knot around black. Always stop when you get to the lighter threads.
- Repeat this in the reverse on the other set! Light gets forward knotted around medium, dark, black. Medium around dark and black. And dark around black.
- Now, take your right center white thread. Forward knot around light,
medium, dark, and black until it reaches the outer position. - Repeat with the left white thread, backwards knotting around light, medium, dark, and black until it reaches the outer position. You’ve formed the outer split 3D shapes, as well as an upside down white chevron.
- You’re going to be creating the inside of the 3D diamond. To do this, you’re “shading it in” with the deepest corner black, and the outer rim white (which you already formed). This is again going to be an upside down chevron, with each row only knotted around those darker than it.
- Take the left light and forward knot around the light next to it.
- Continue forward knotting it around medium, dark, and black. Stop when you hit the white.
- Repeat in the reverse with the light that’s still in the center. Backwards knot it around medium, dark, and black.
- Medium is in the center. Repeat the process around itself, dark and black to create a smaller upside down V. Then repeat with dark. Black only gets knotted around itself (don’t forget this step!!). You now have the 3D filling of the diamond friendship bracelet pattern.
- Continue as you did with step 2-5, creating a single white chevron row. While this is really “row 1” of your pattern, this is also where you’ll see the 3D filled diamond effect really come together!
- Keep knotting your diamond friendship bracelet pattern until it’s complete.
Notes
- You can use fewer or more colors, but keep in mind that each color you add or removes makes up TWO strands. I wouldn’t try this with fewer than four colors, and more than six will be very, very wide. Your lightest thread will also need to be quite long to compensate.
- Knots used: forward, backward – each knot is made of two forward or backward hitches.
- Rule #1: The lightest thread is the most prominent and will be used the most. The darkest will be used the least. You’ll need the most of the lightest so it’ll be pretty long.
- Rule #2: You’ll never be knotting a string around one lighter than it. The lightest it’ll go around is itself, with the rest of the strings going around the
darker colors. So you know you completed a row when the next thread is
lighter..
Recommended Products
As an Amazon Associate and member of other affiliate programs, I earn from qualifying purchases.

:max_bytes(150000):strip_icc():focal(999x0:1001x2)/rita-moreno-2024-oscars-031024-54cb2c55c28543c6893ec395fd29d6de.jpg "Rita Moreno, 92, Debuts Major Hair Change at 2024 Oscars")


