
In part 1 of our resin weblog series, we in depth what is resin, and then in element two, we went through the important applications required to use it. Now in portion 3, making use of our Resin Jewellery Starter Kit (860 031A), we have place jointly a guide on how to use resin
Put together your doing the job space
An essential component when mastering how to use resin is understanding the value of a well ready performing location. You will want superior ventilation and a clean, flat surface area to work on a desk following to an open up window is high-quality. Address your perform floor with newspaper or something equivalent and disposable to secure towards spills and lay out your machines.

N.B. The acrylic blocks are utilized to retain goods perfectly flat as they are curing. (Blue tac can be utilised to safe parts if required) Be certain pendant bails hold about the edge of the block to keep the location amount and prevent any tilting.
Measure out the resin
This is done using a fantastic nozzle on the top of every single bottle which can make it uncomplicated to count every fall. If you are not using these sorts of bottles, the resin will have to have to be weighed out using digital scales.
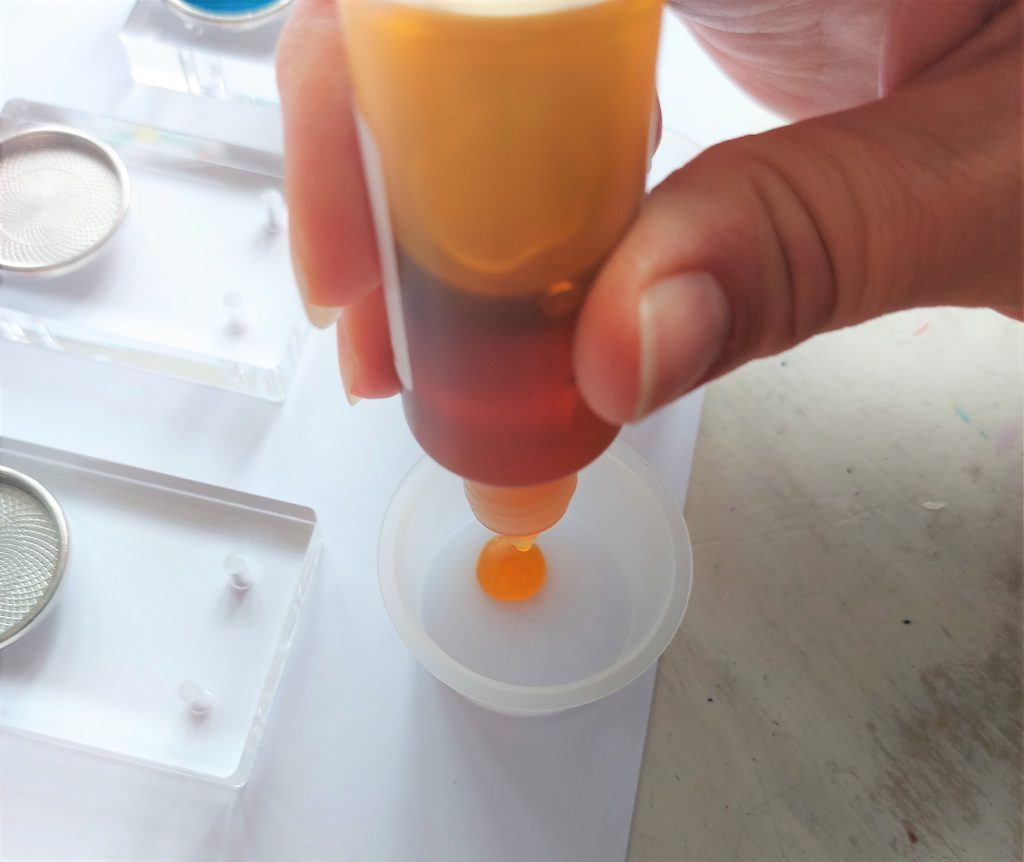
This stage is critical, so double check out your ratio just before setting up to prevent any issues. An critical portion when mastering how to use resin is to have an understanding of that ratios will vary throughout products and solutions but in this scenario, it was 2:1, (resin to hardener).
Insert the hardener
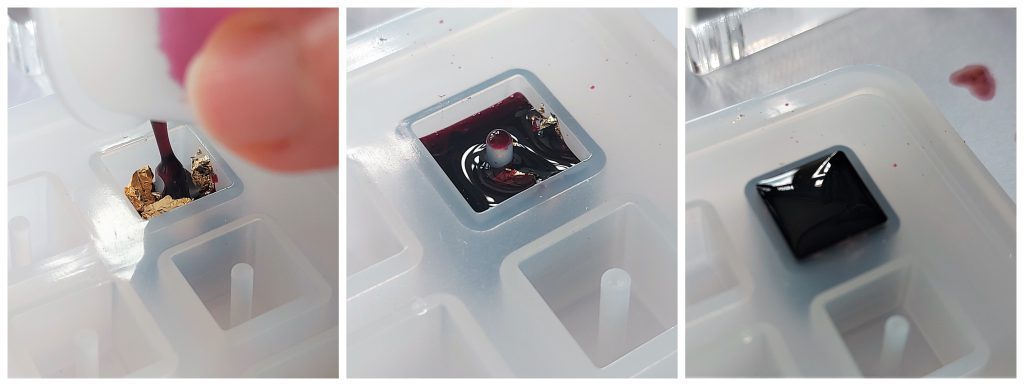
This set will come with a pipette, creating it uncomplicated to count each individual fall of hardener (recall the 2:1 ratio of resin to hardener). In this occasion 20 drops of hardener have been added to 40 drops of resin.
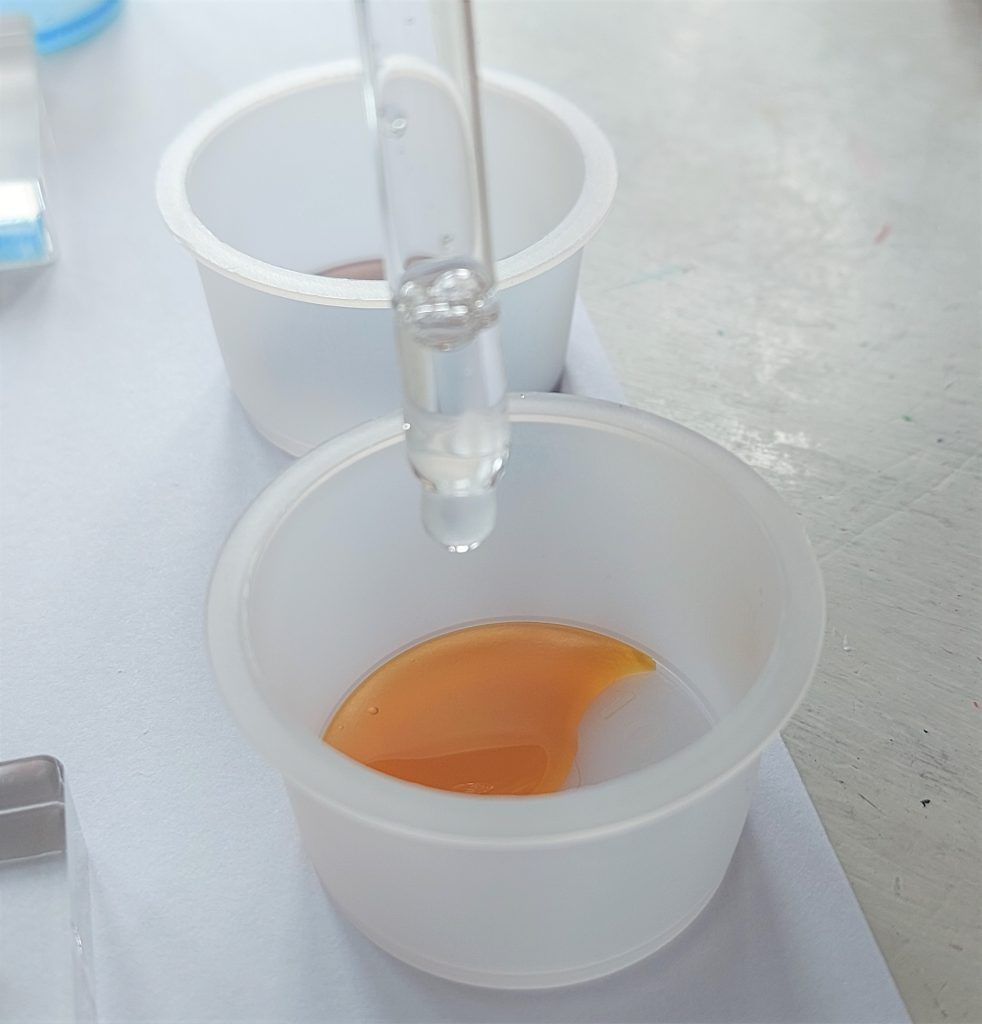
N.B. If applying crystal clear resin, this is the stage to add the color using either a pigment paste or mica powder. The resin used right here was pre-colored.
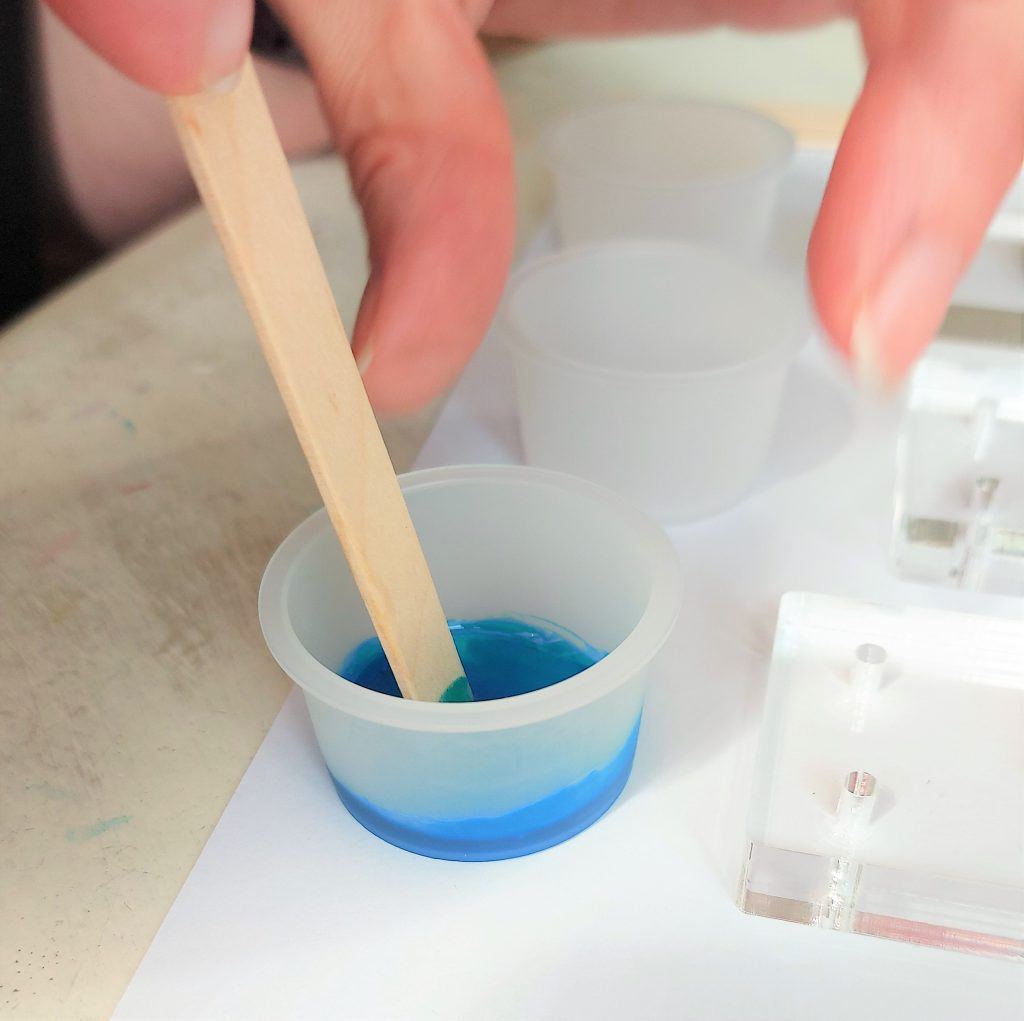
Carefully mix
Comply with the guidance (typically 1-3minutes) as this will vary throughout solutions. Stay clear of bubbles in resin by guaranteeing you are not getting about vigorous, you are aiming for a smooth combination.
As soon as blended, you have approximately 45minutes performing time ahead of the product or service commences to cure so start placing the resin into the location with out as well much delay. You could slowly but surely pour it or use the wooden mixing stick for a lot more handle.
Fill the placing
The resin wants to sit a little bit proud of the edge and enable to get rid of for 24 hours at room temperature. (Resin will shrink in the course of the curing method, so you want a awesome dome of merchandise on the major of your piece, which will shrink to a flat area after hardened).
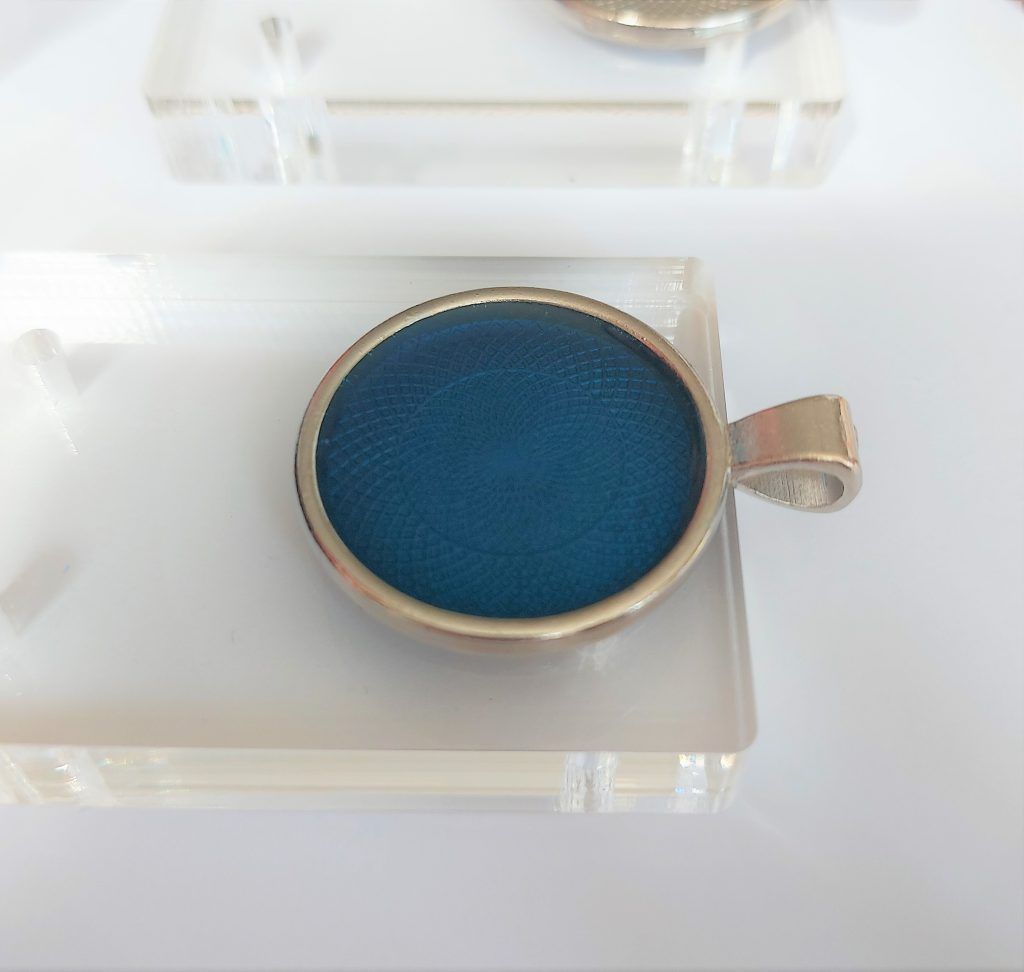
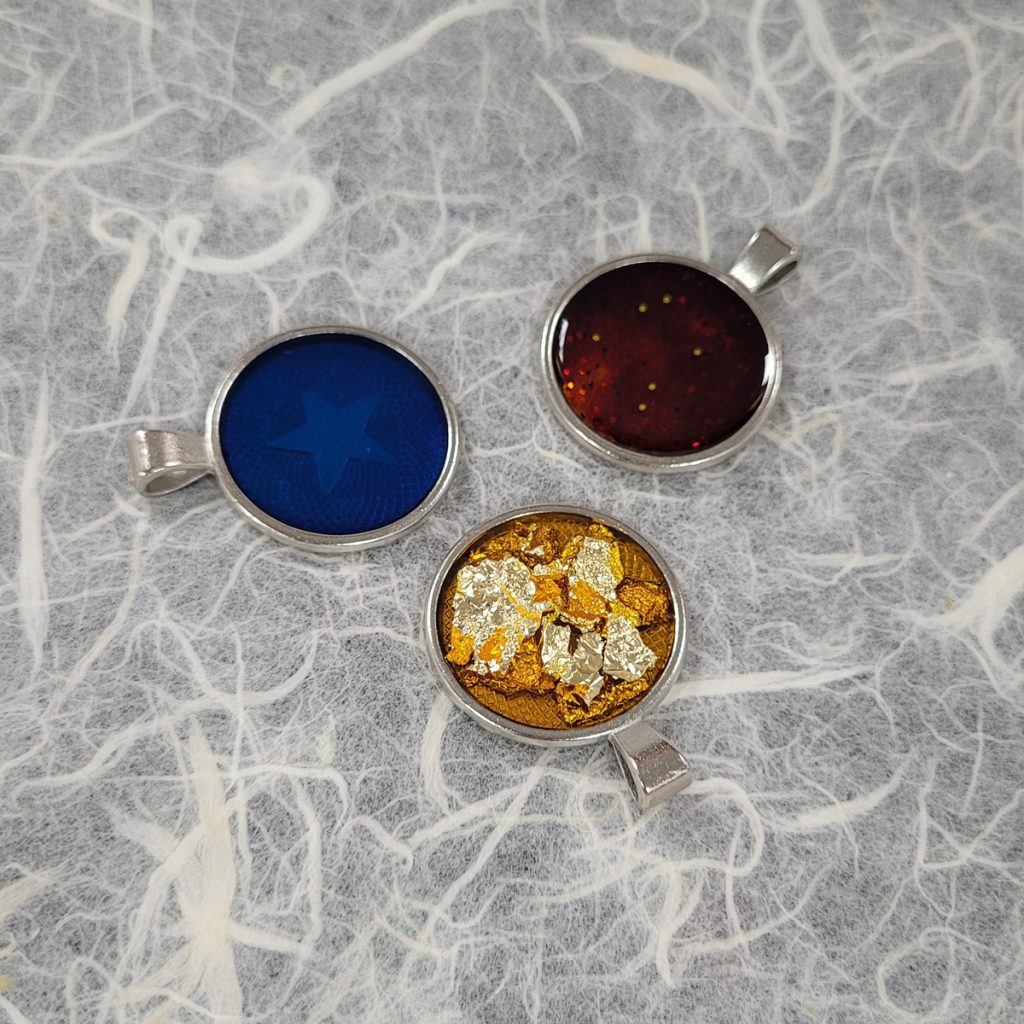
N.B. As soon as cured, goods designed in this way call for no far more ending and can be worn straight absent. Having said that, if you want to forged pieces, additional techniques are required to accomplish a glossy surface area.
Stick to ways 1 – 5 applying a silicone mould in its place of a steel placing.
Sand rough edges
Remove items from the mould just after 24 hrs and sand any tough edges employing soaked and dry paper or micro-mesh cloths. Progressively perform by way of the grades relocating from lower to high holding strokes in the identical path. A mask must be worn although accomplishing this
Polish to end
Applying a gentle cotton cloth, use a acceptable polish to buff resin to a high shine.
Want to come across out what is resin and how to make jewelry from resin? See extra in our Resin Novices Tutorial series or see our resin hints and strategies. What would you like to know about resin?


:max_bytes(150000):strip_icc():focal(999x0:1001x2)/rita-moreno-2024-oscars-031024-54cb2c55c28543c6893ec395fd29d6de.jpg "Rita Moreno, 92, Debuts Major Hair Change at 2024 Oscars")
.webp "Lovely Metal Frame Macrame Earrings Tutorials by NoTailCatJewelry / The Beading Gem")


